Construction Progression Photo Editing
CaptureOne Construction Progression Photo Editing
-
Click Customer Folder in Capture One
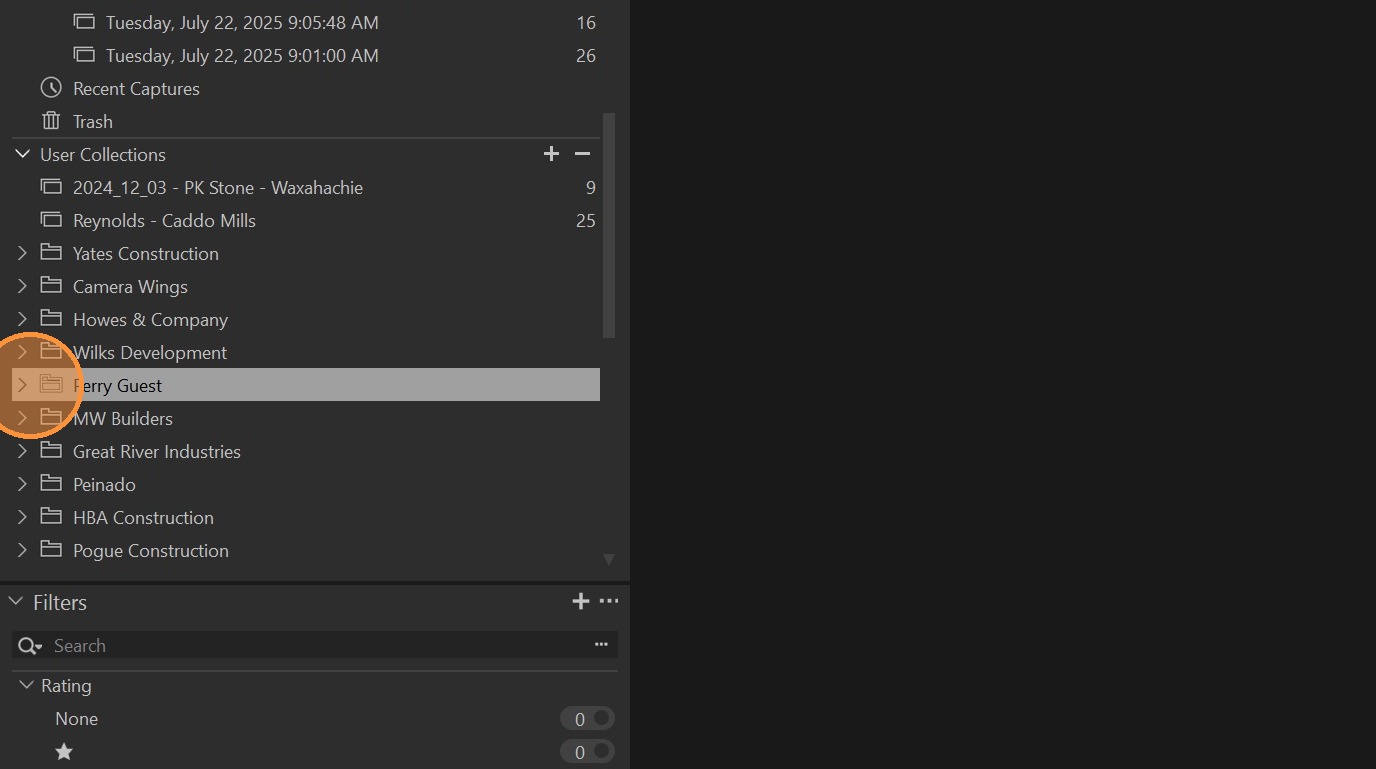
-
Click on the project you are working on
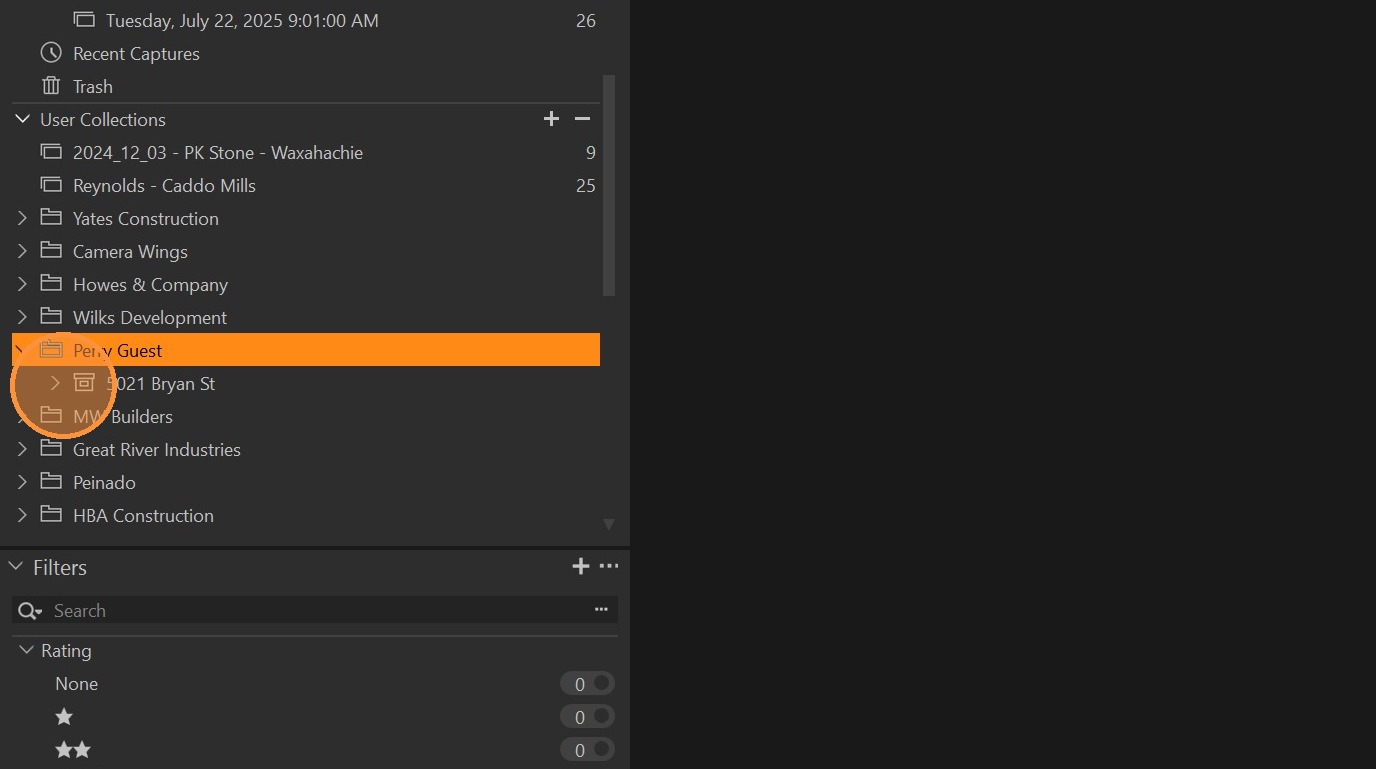
-
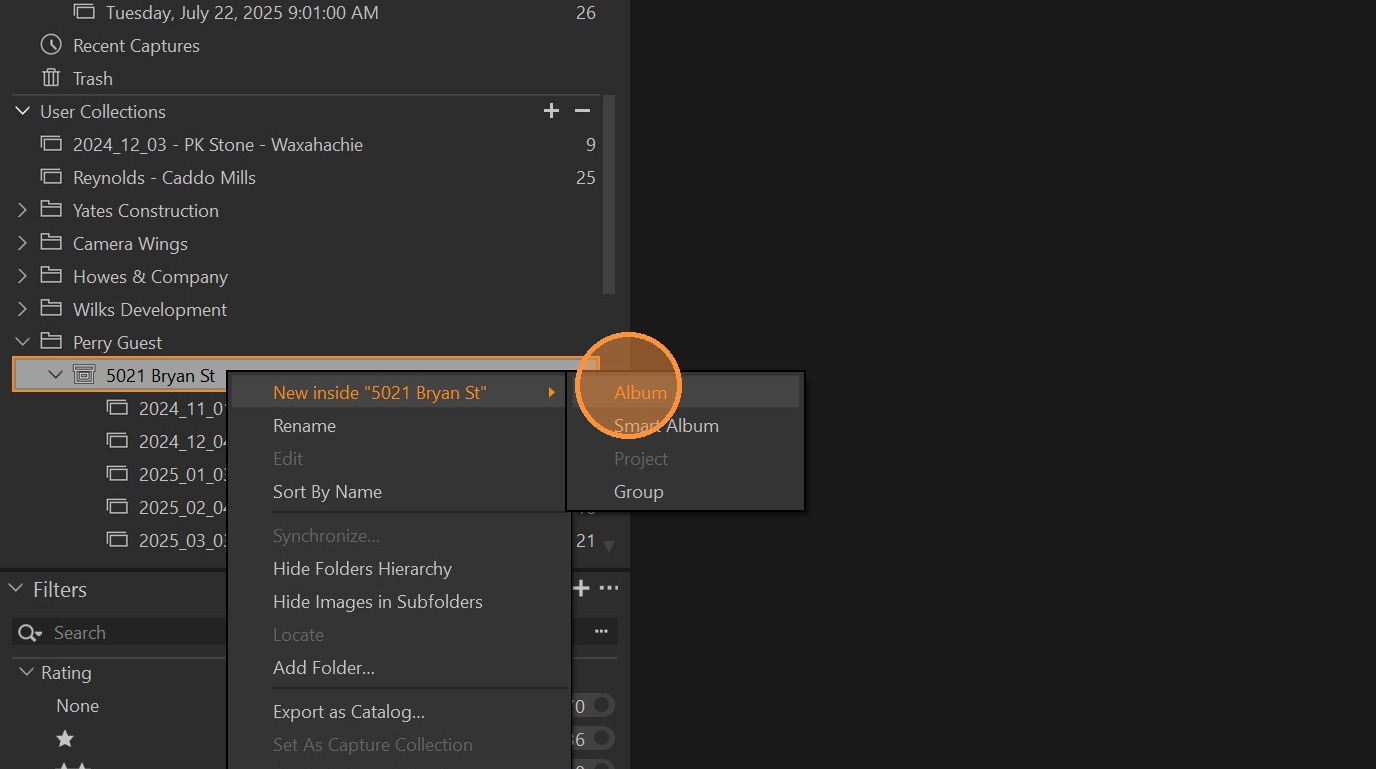
Right click on the project name
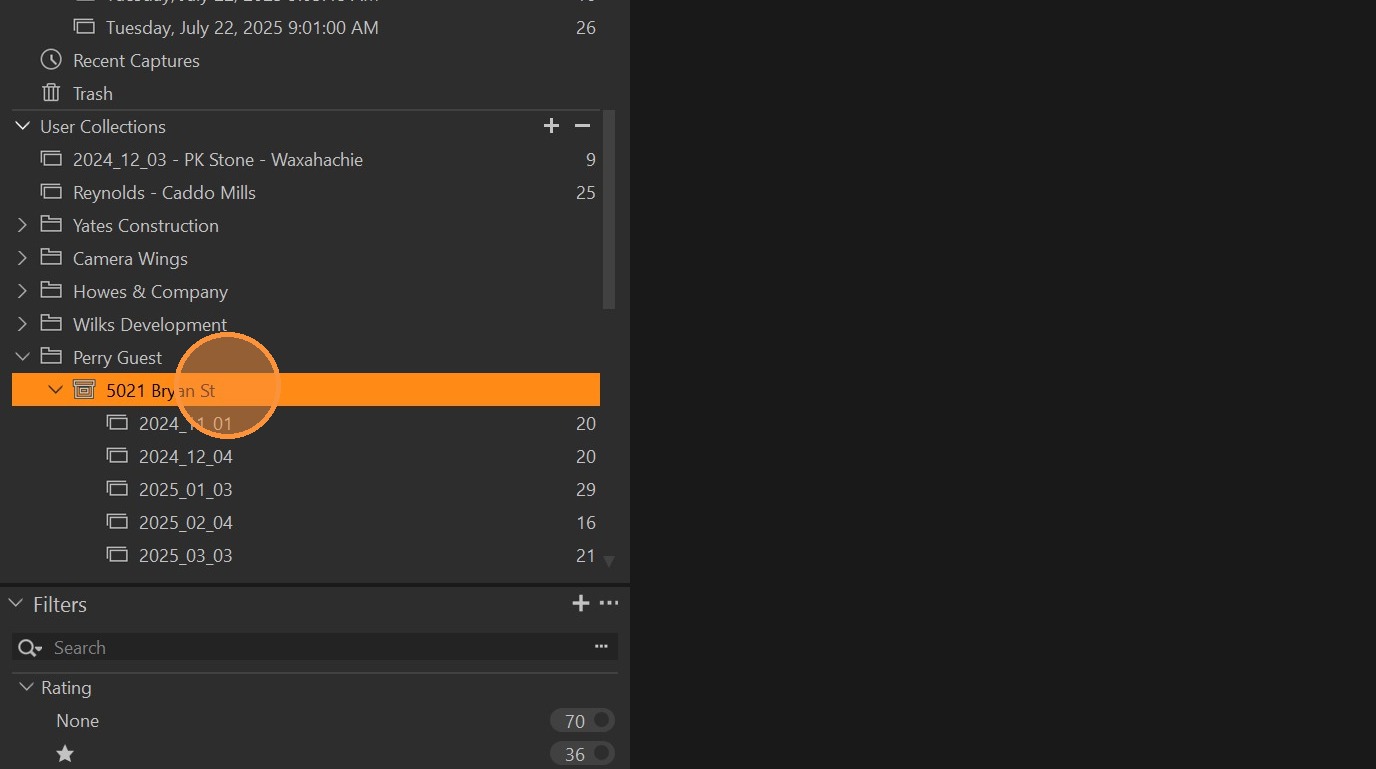
-
Click "New inside "5021 Bryan St""
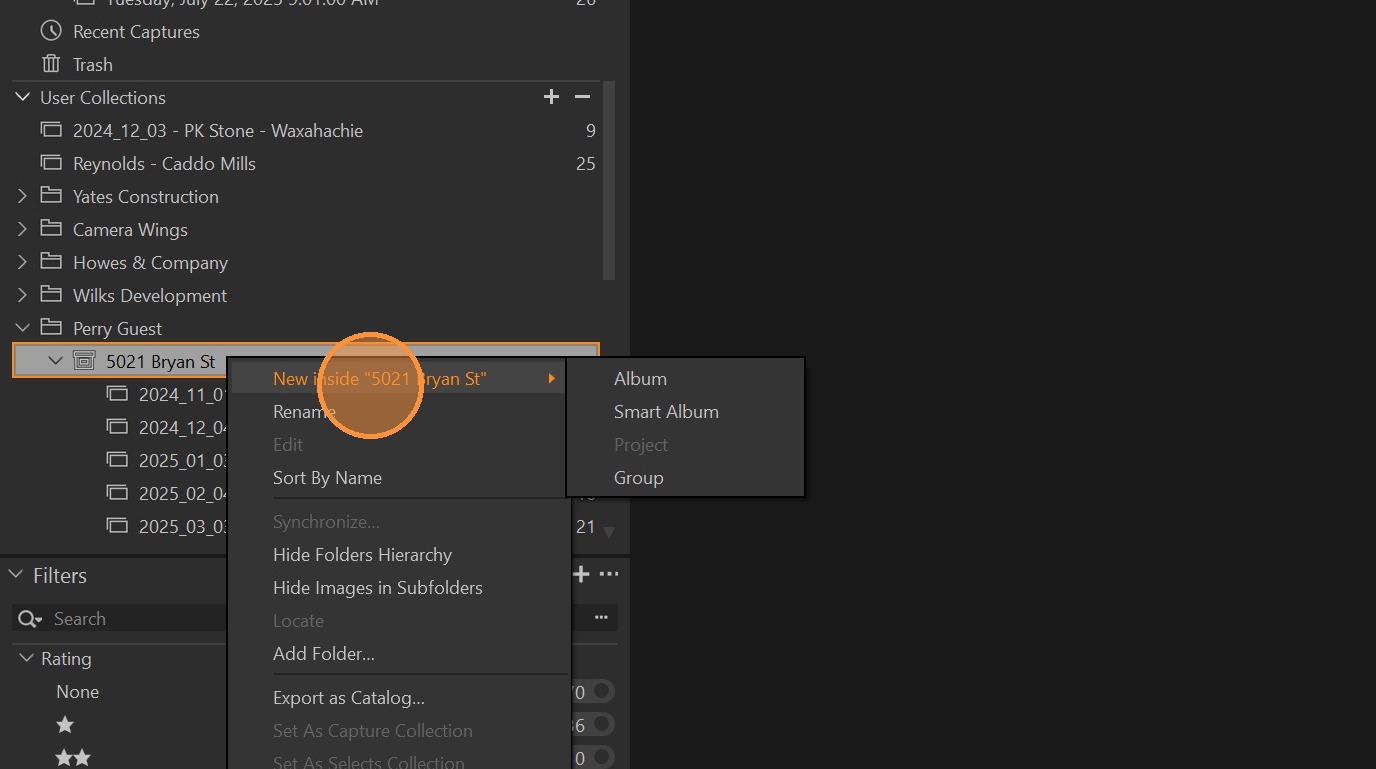
-
Click "Album"
-
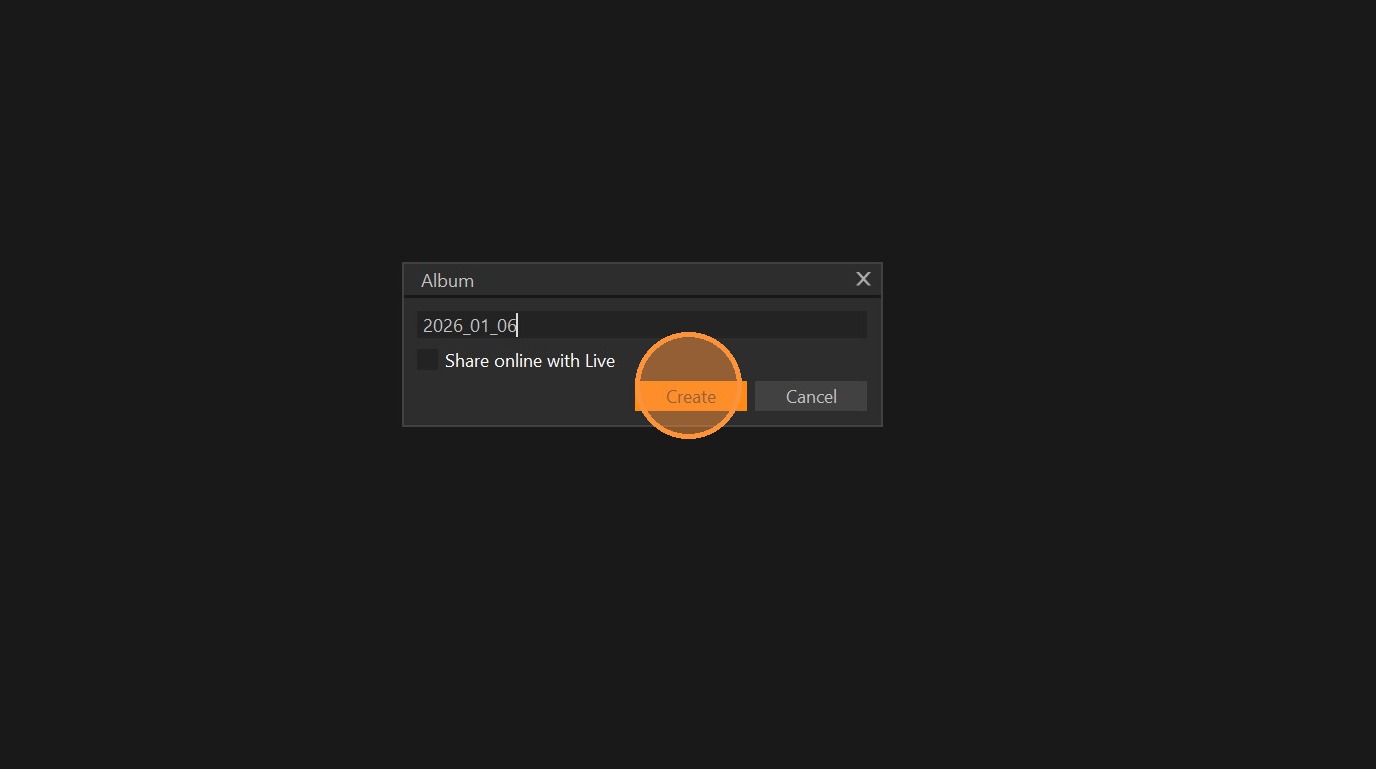
Enter the current capture date and click "Create"
-
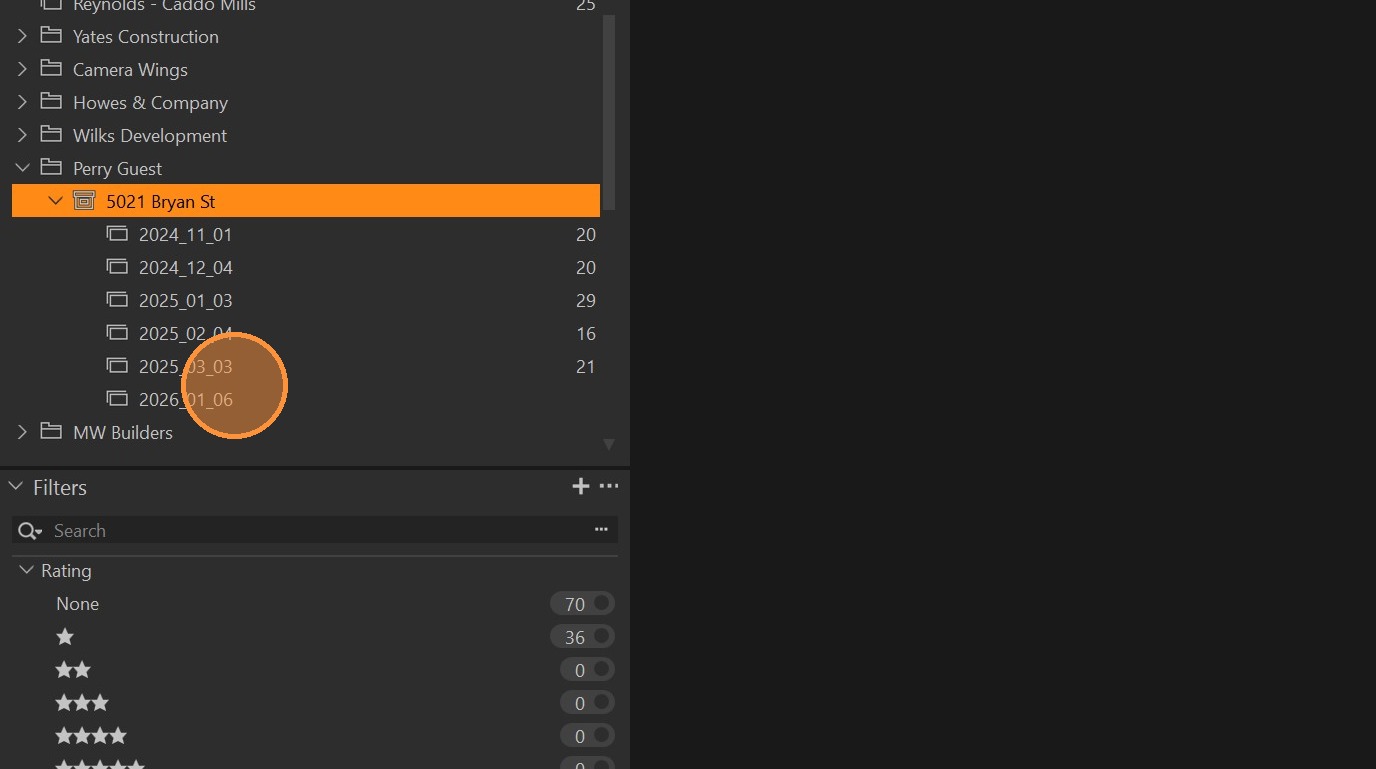
Click on the current album
-
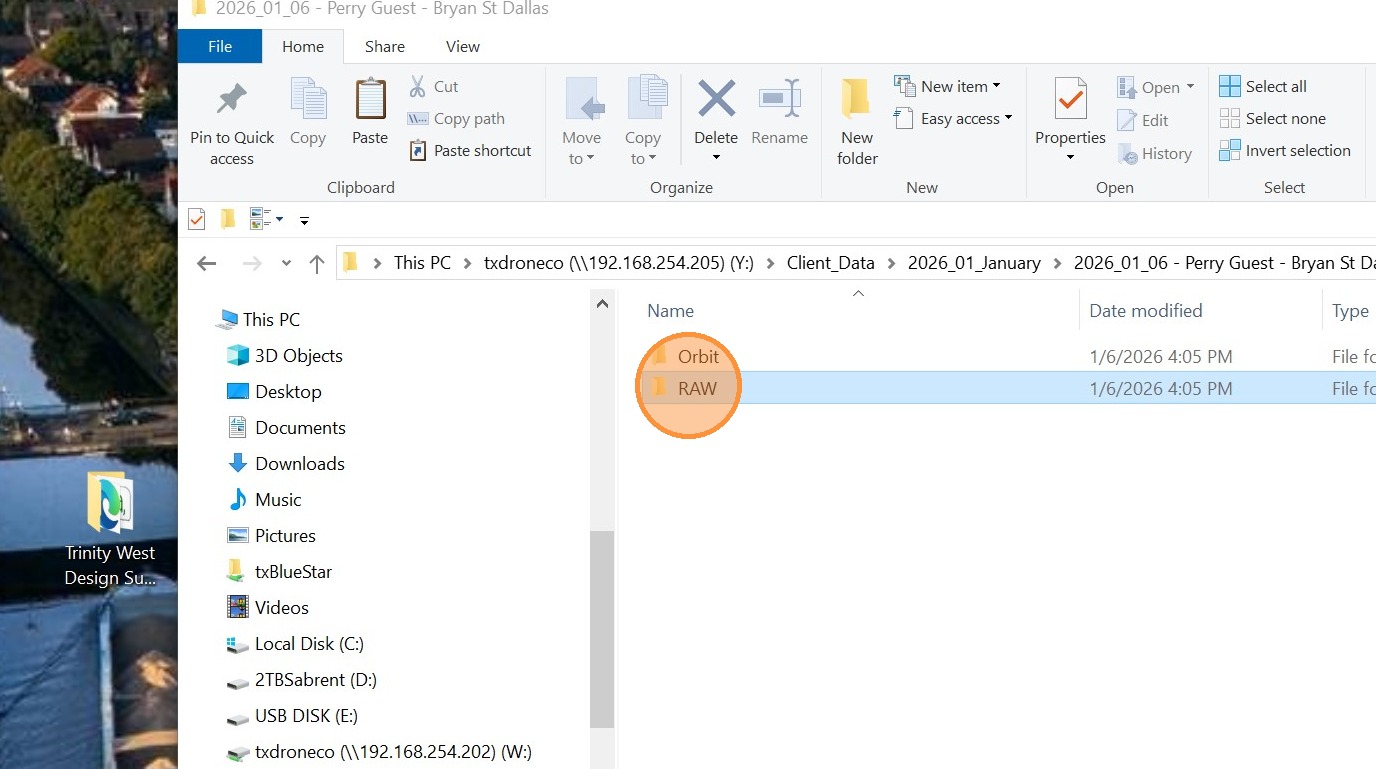
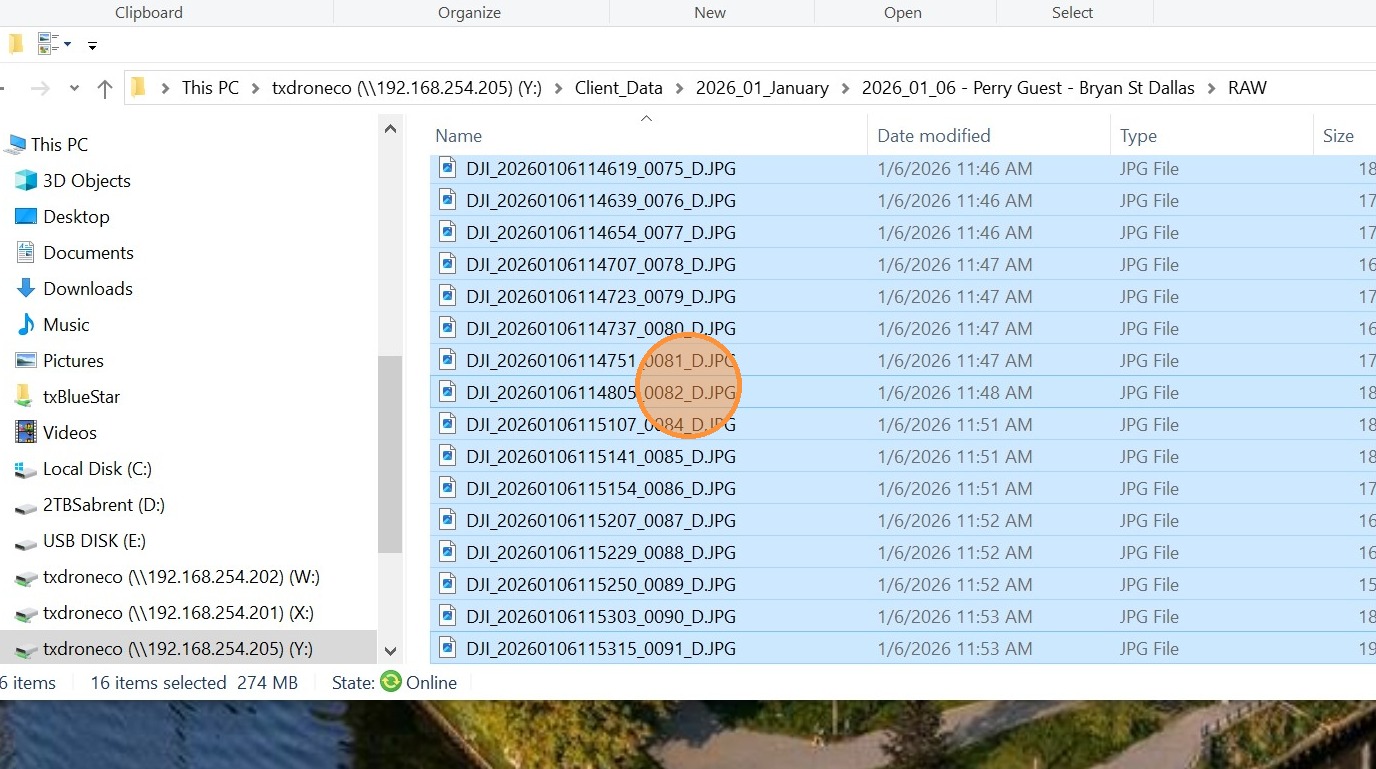
Locate the current capture images
-
Select all pictures and drag them into the dark grey empty space inside CaptureOne
-
Click "Pick all" to select all Images
-
Click "Import All"
-
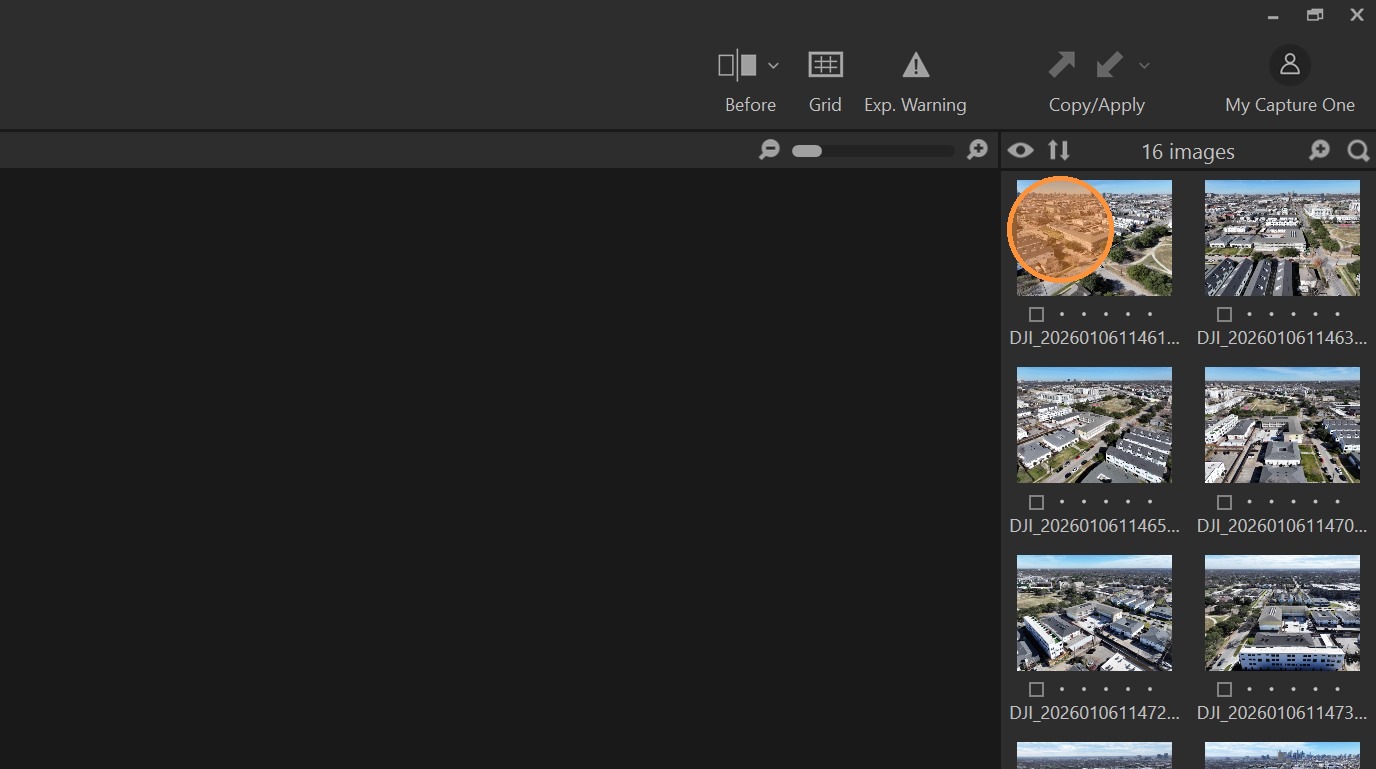
Click on the first image
-
Hold the "Shift" button and click on the last image to select all images
-
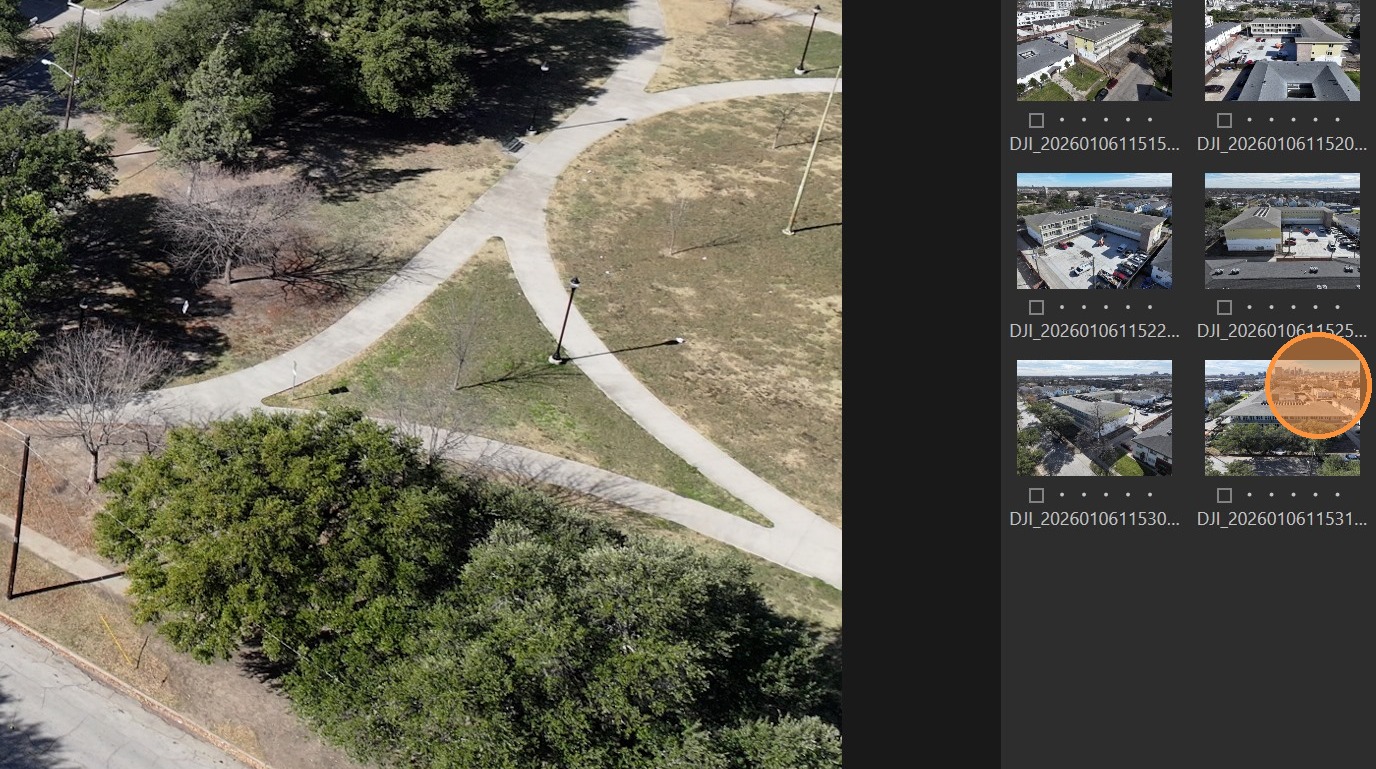
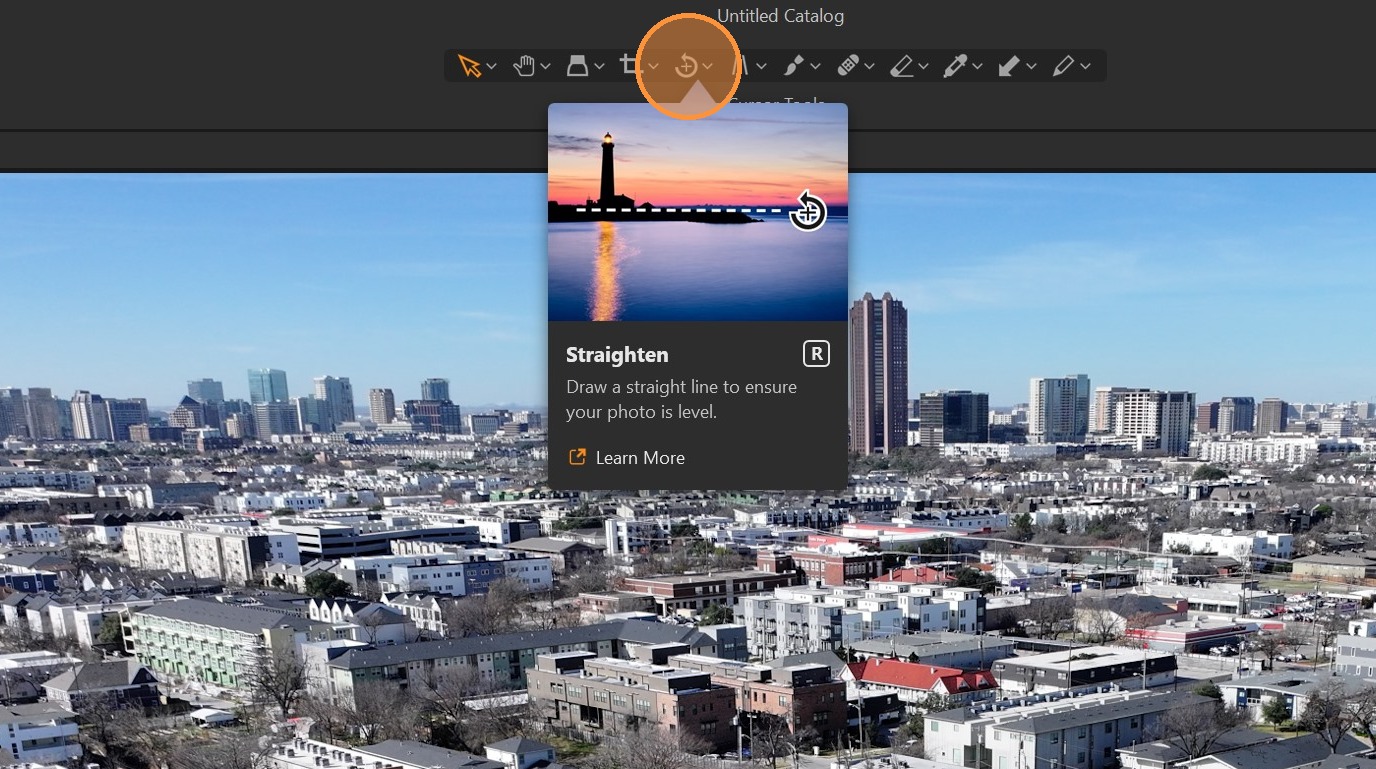
Click on the symbol for the leveling tool
-
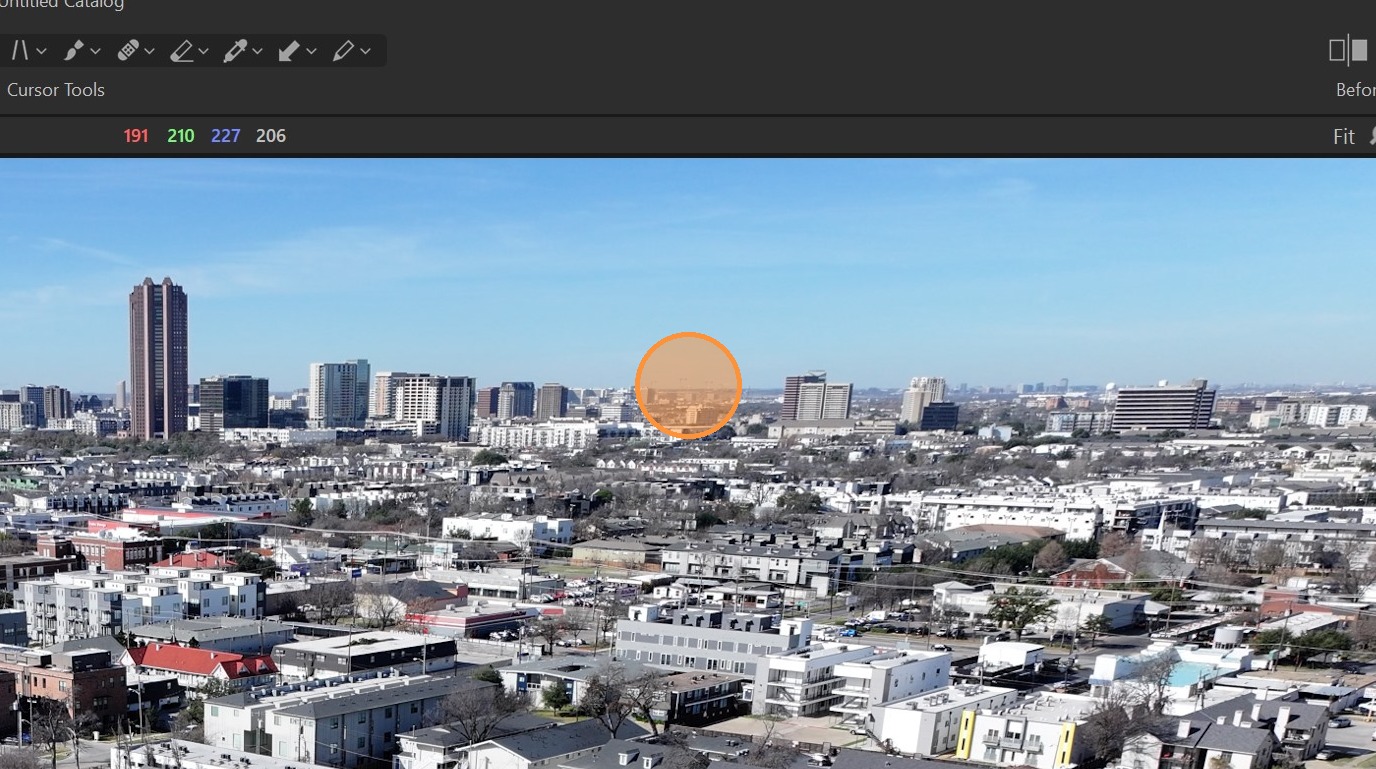
Select a well visible part of the horizon on the left side of the image
-
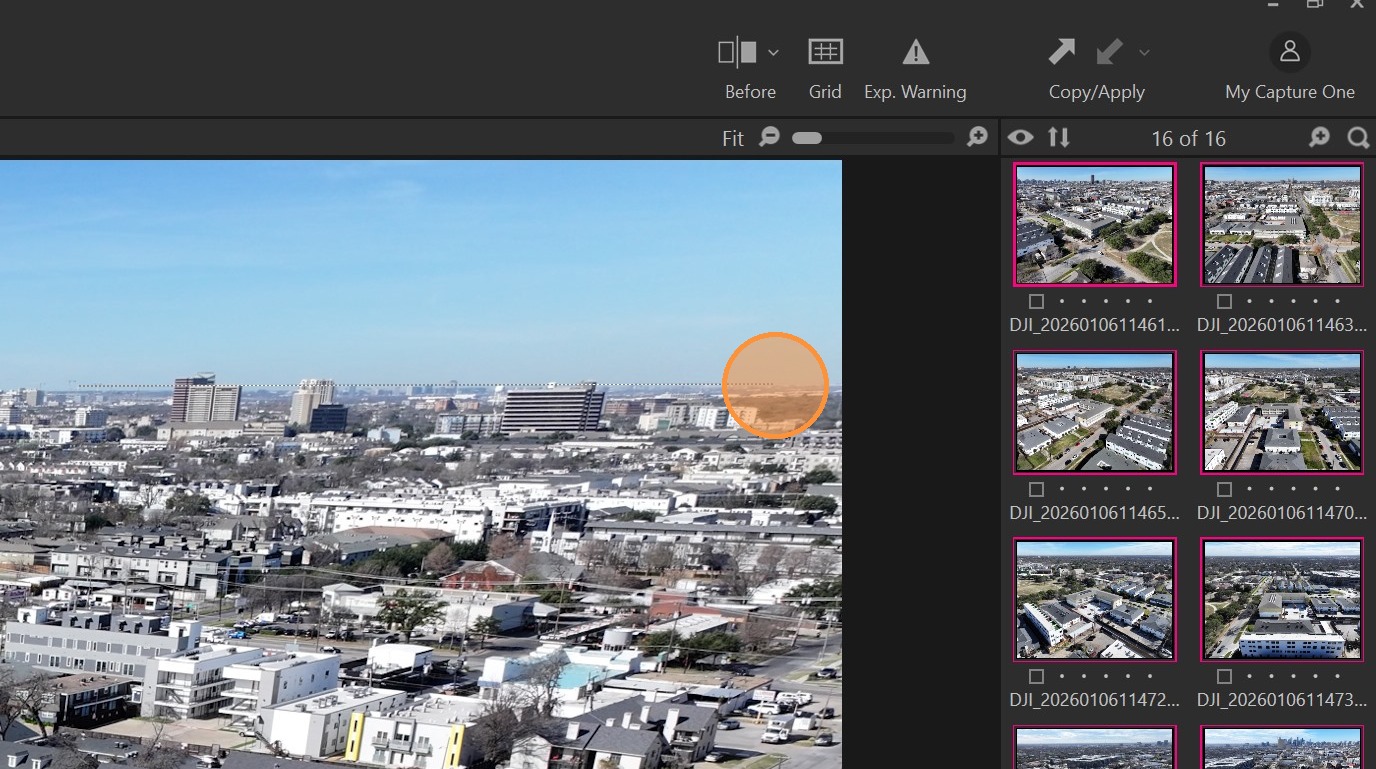
Click on a part of the horizon on the right, the image will level.
-
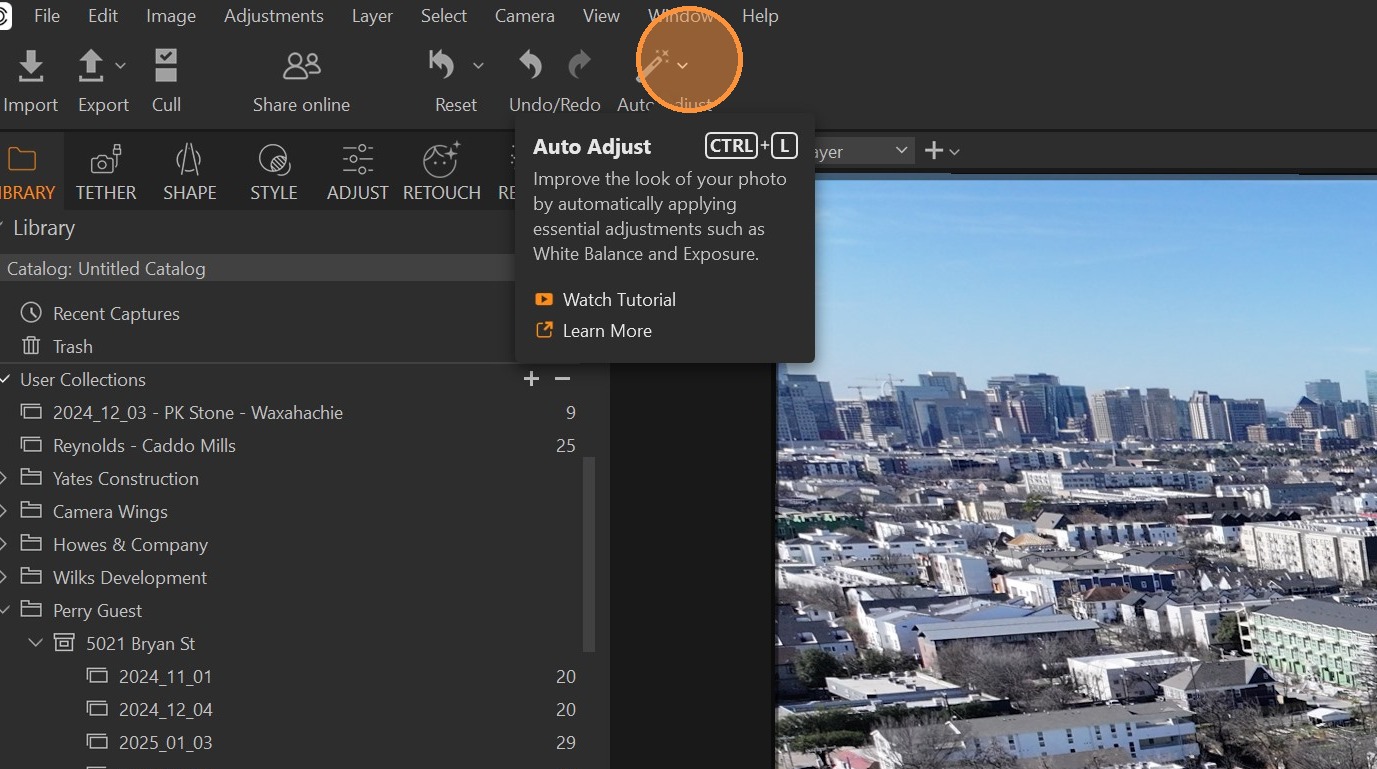
Click on the dropdown menu symbol for the "Auto Adjust" tool.
-
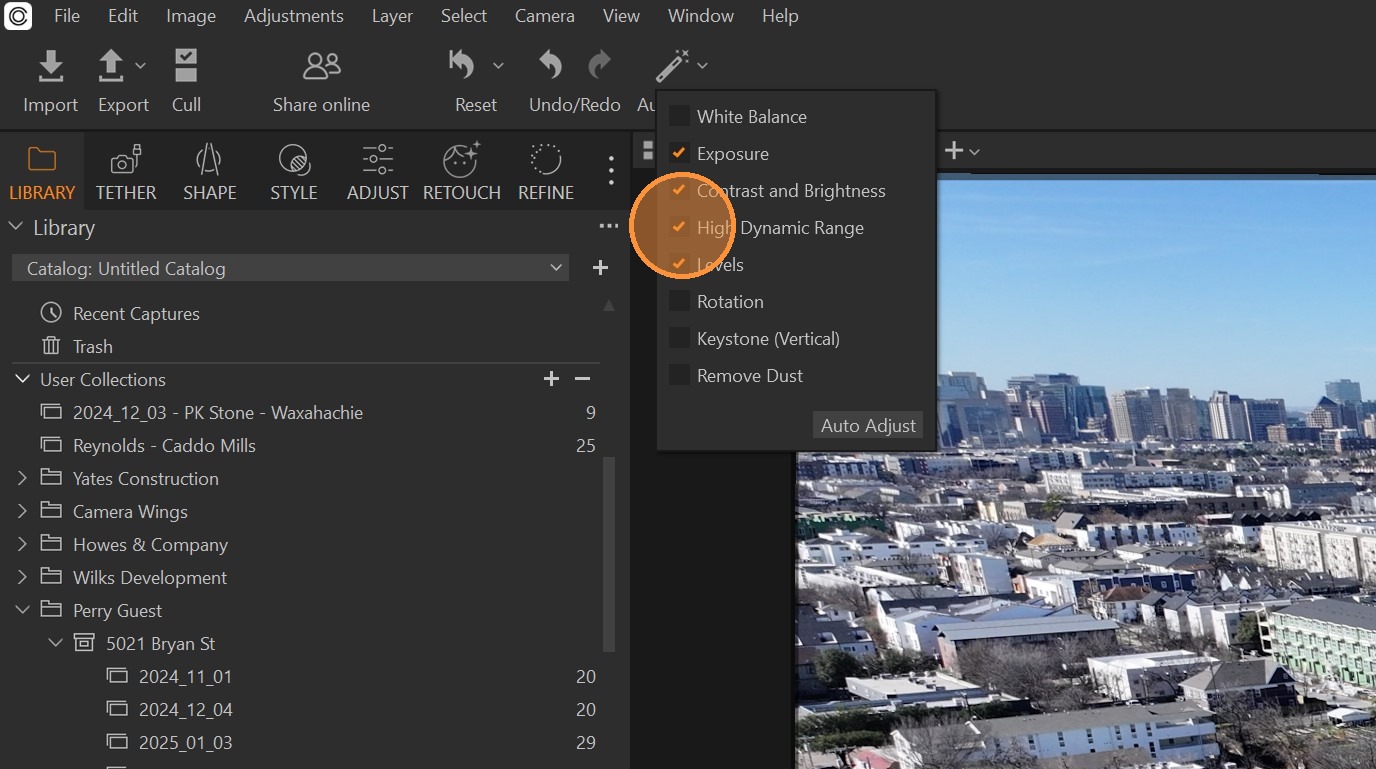
Deselect all options except for "Exposure" and "Contrast and Brightness".
-
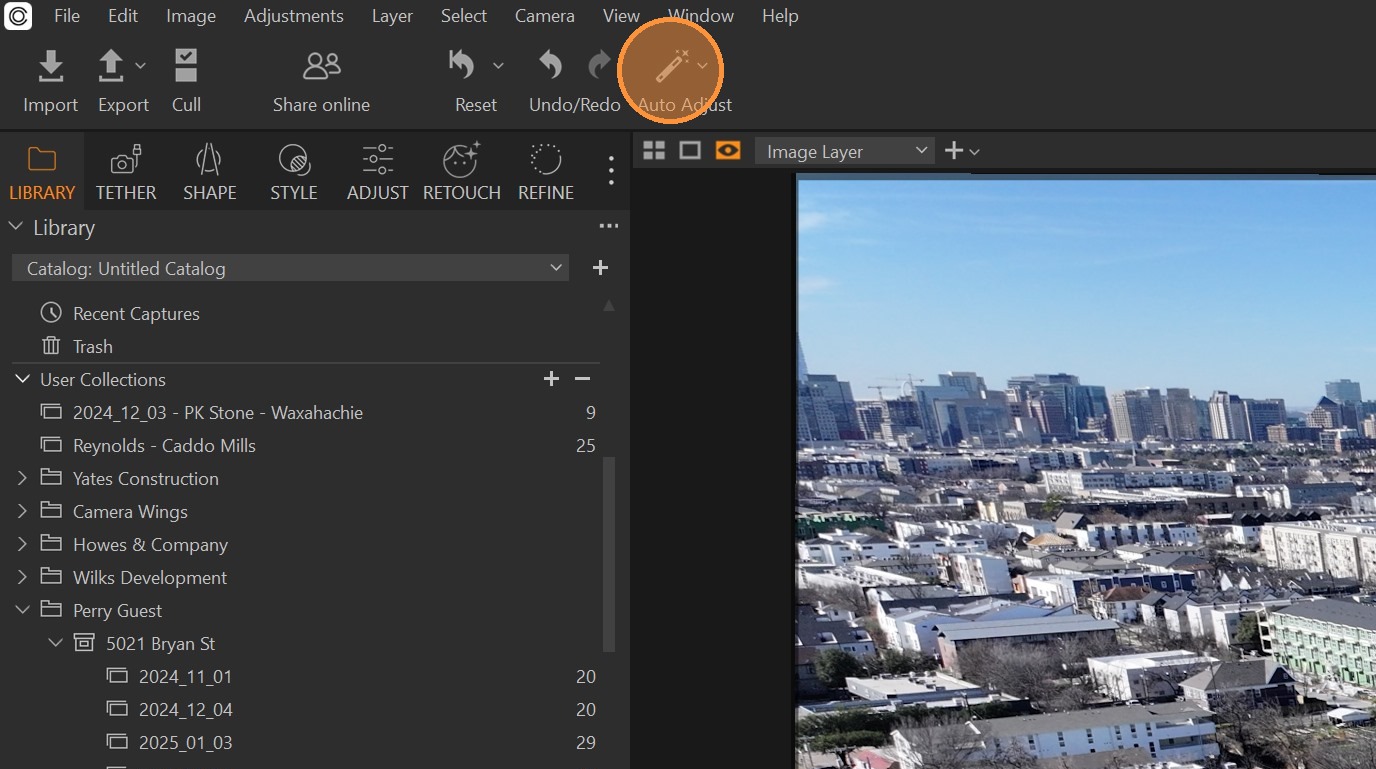
Click "Auto Adjust"
-
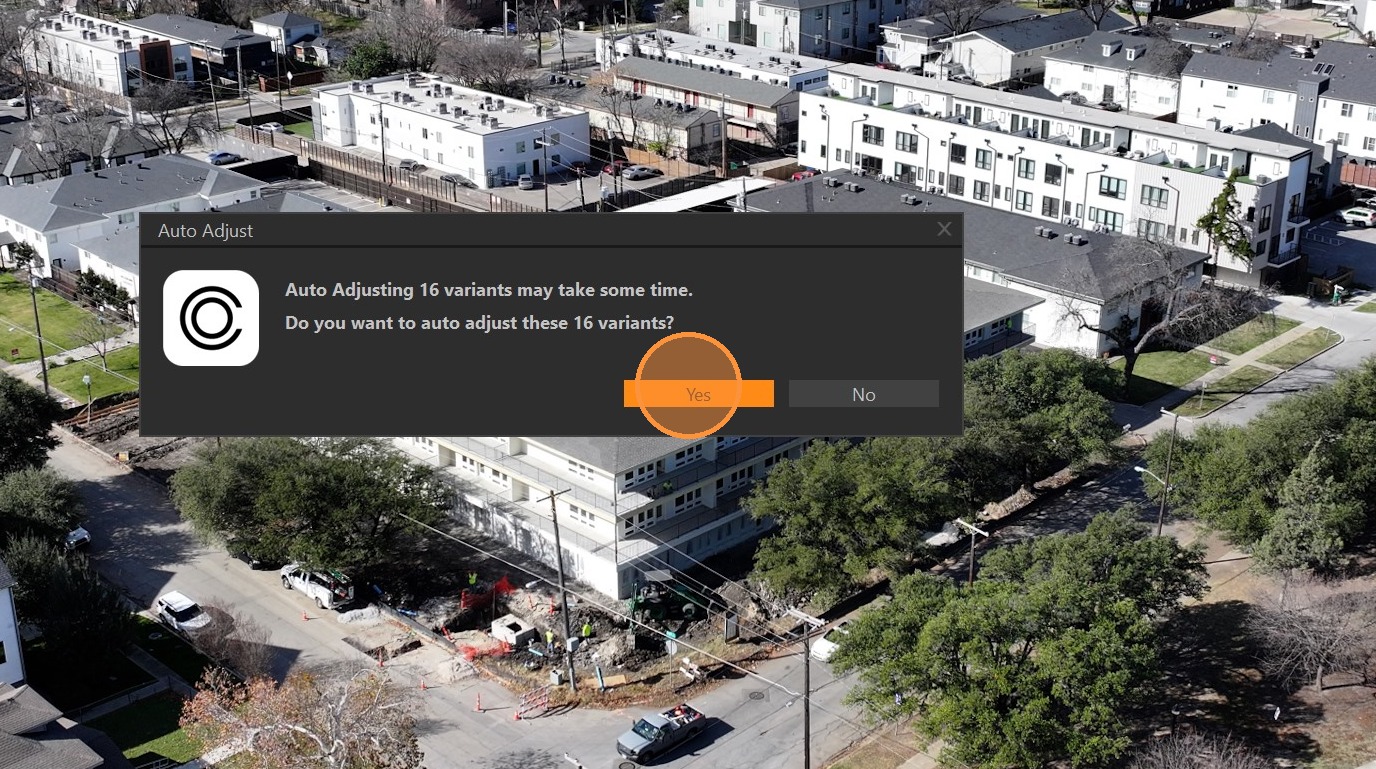
Confirm after checking that all images are selected for Auto Adjust.
-
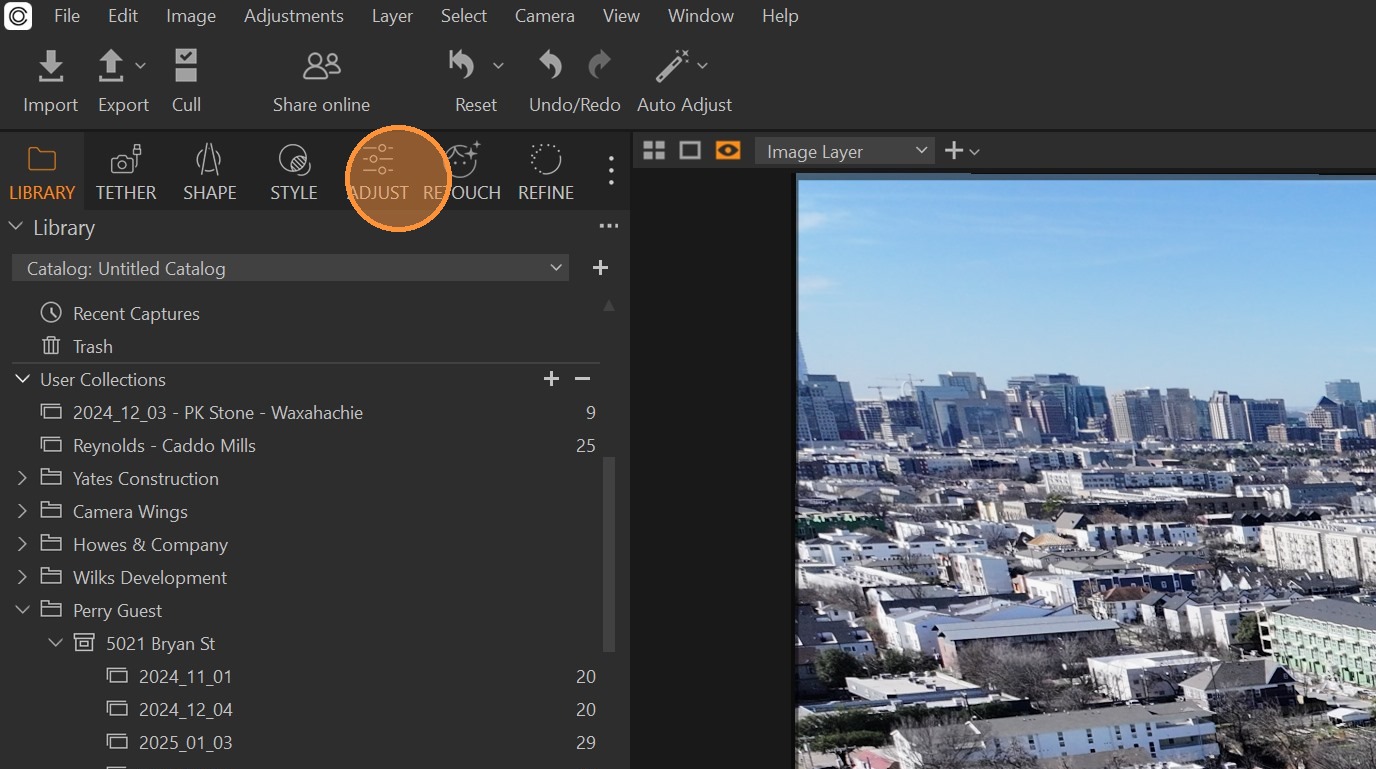
Click "Adjust" to manually adjust the pictures.
-
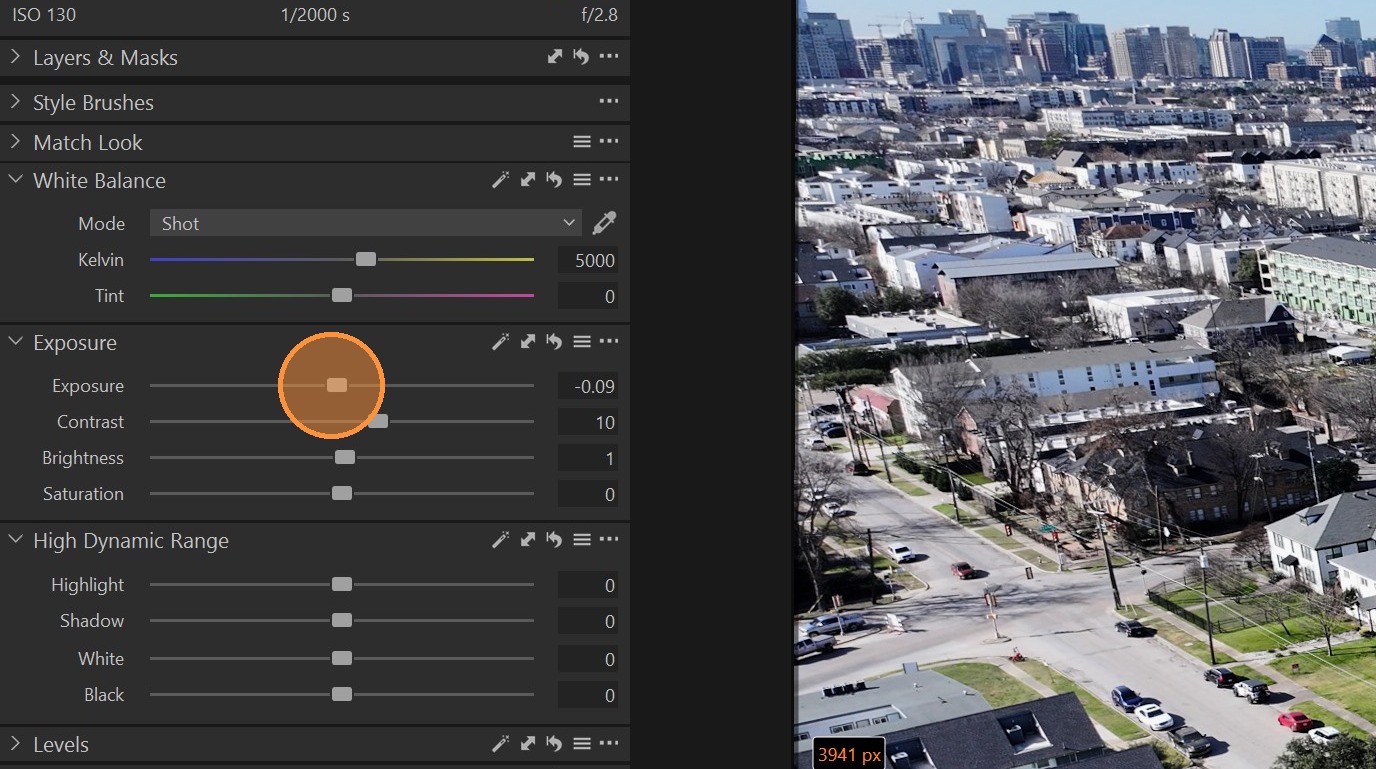
Use the sliders or change the values in the respective fields to color correct the images.
-
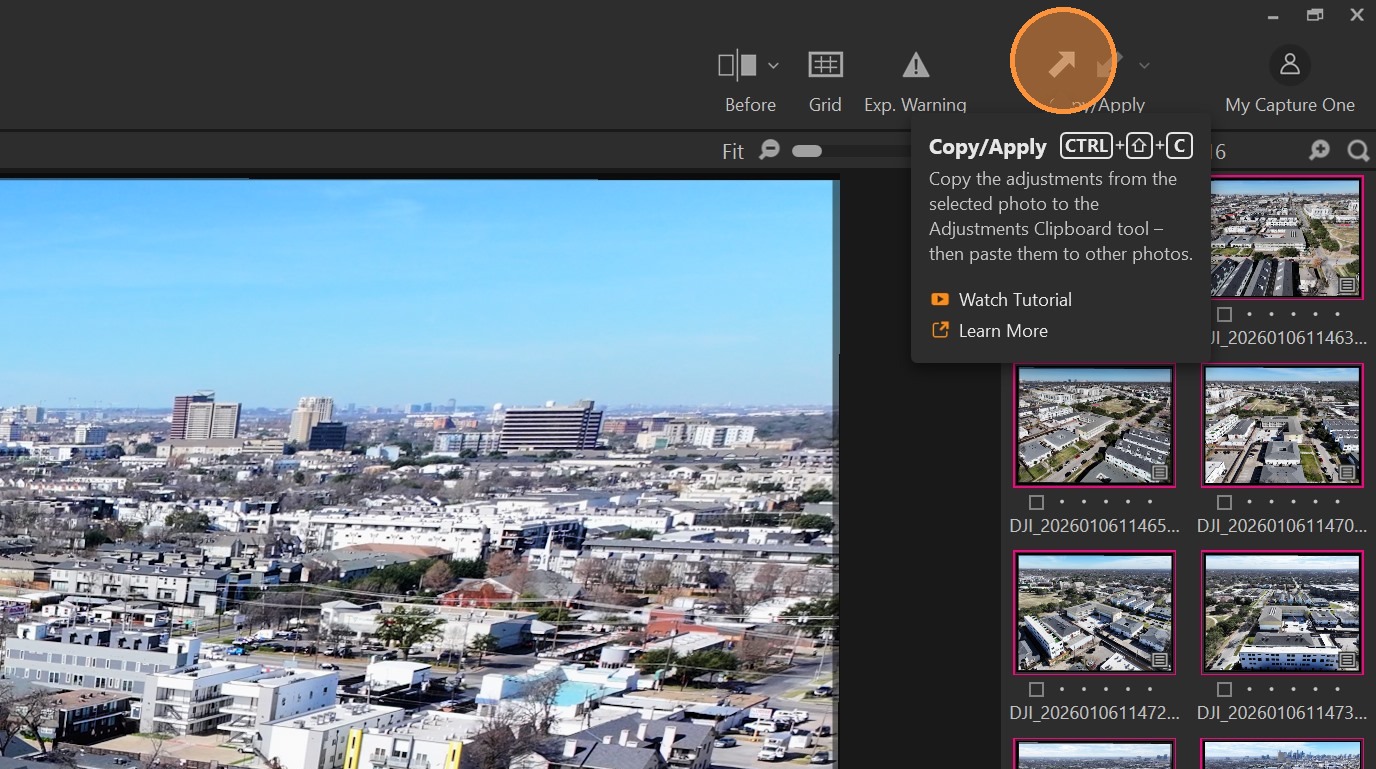
Click the left arrow to copy the values of the currently selected image.
-
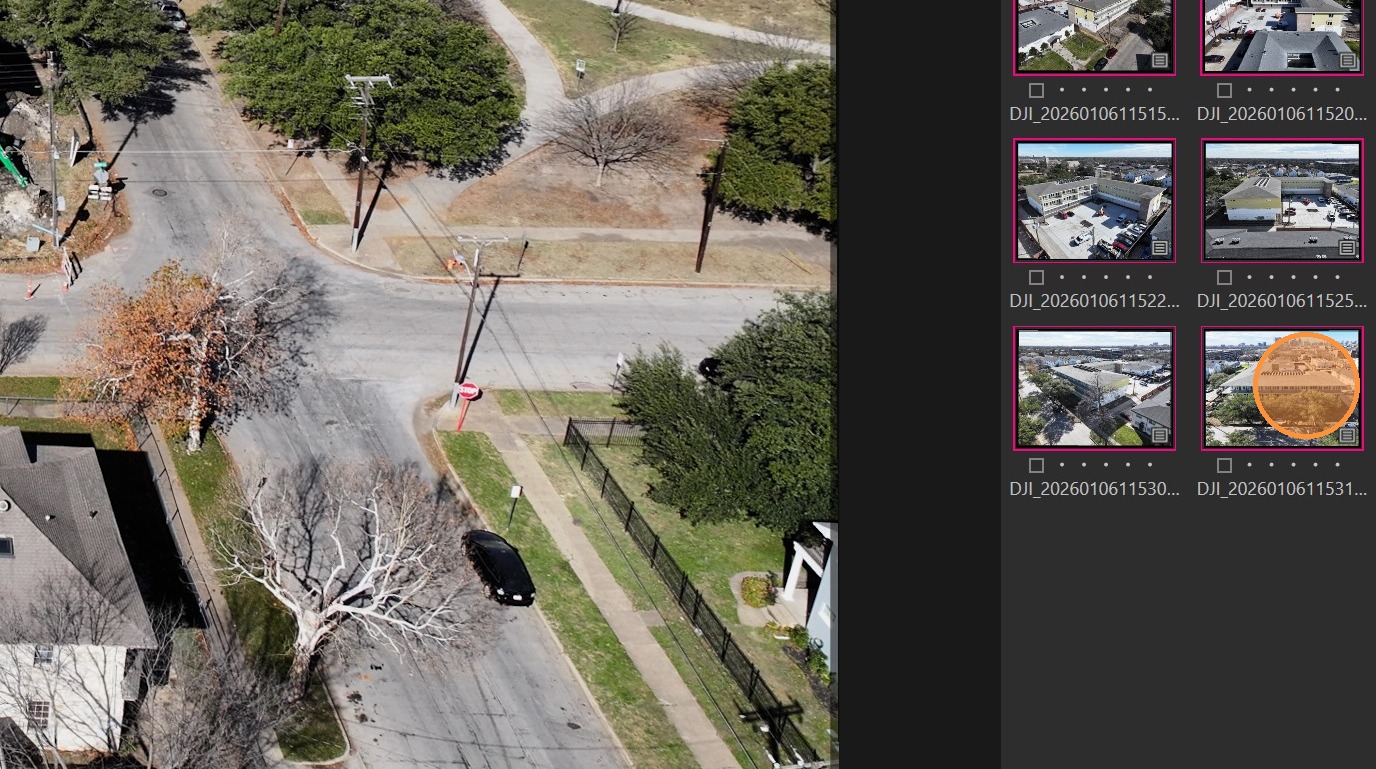
Select the other images while holding "Shift".
-
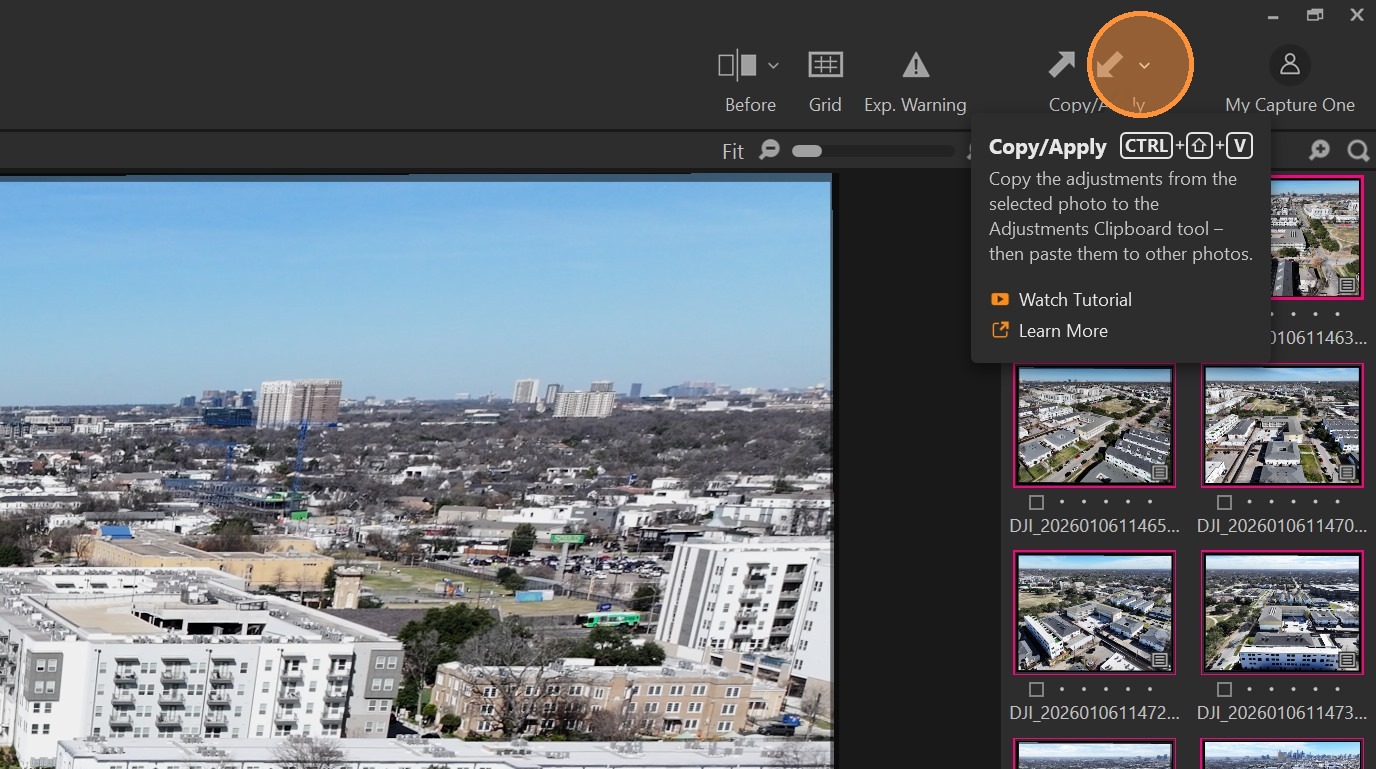
Click on the dropdown menu symbol.
-
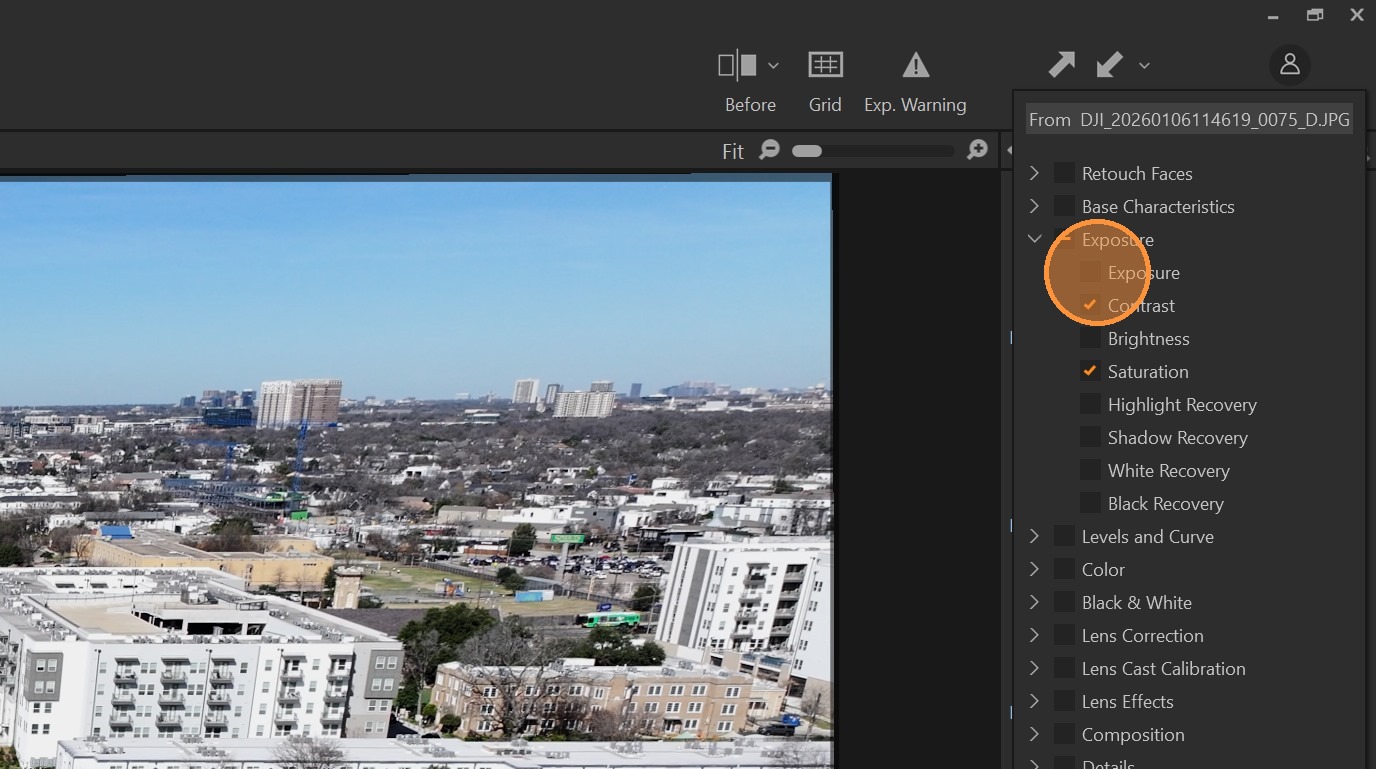
Make sure that only Contrast and Saturation are selected.
-
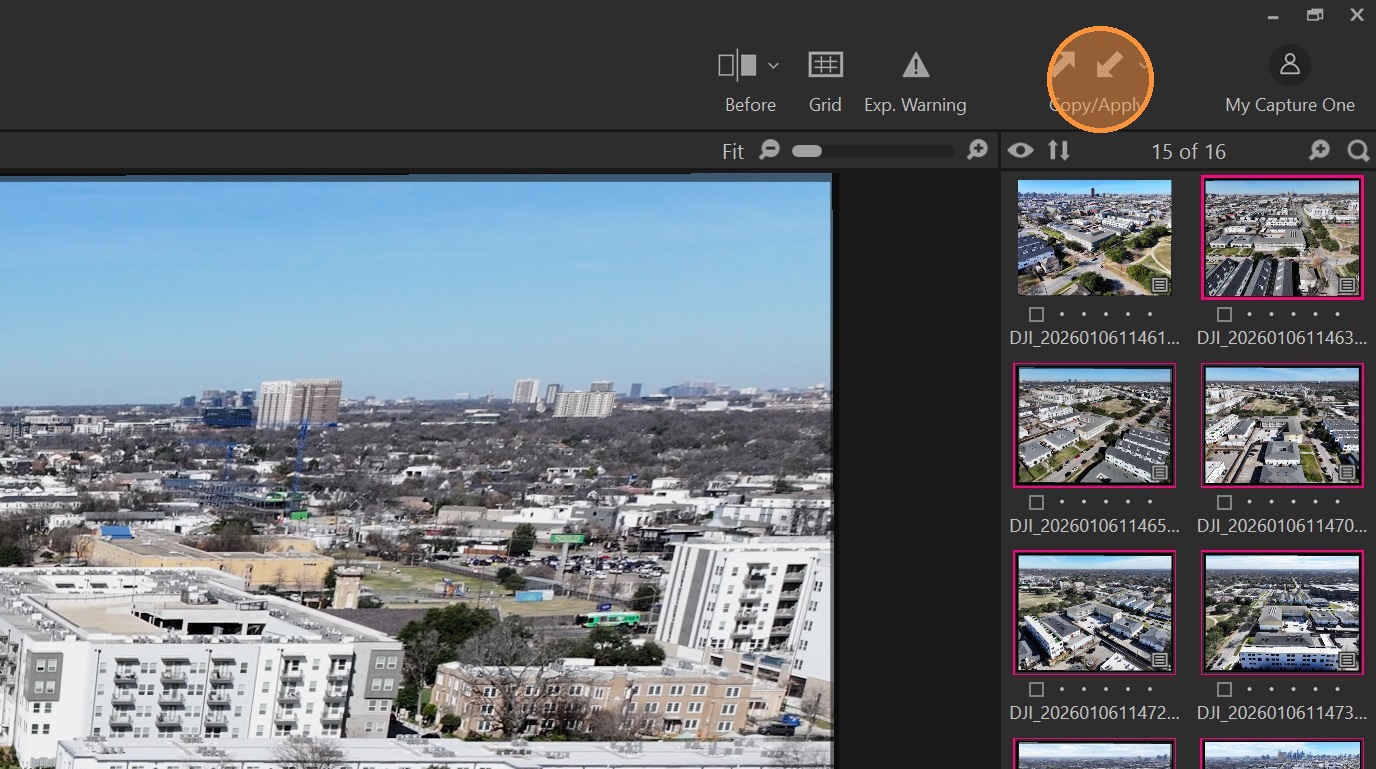
Click the right arrow to apply the changes to the images.
-
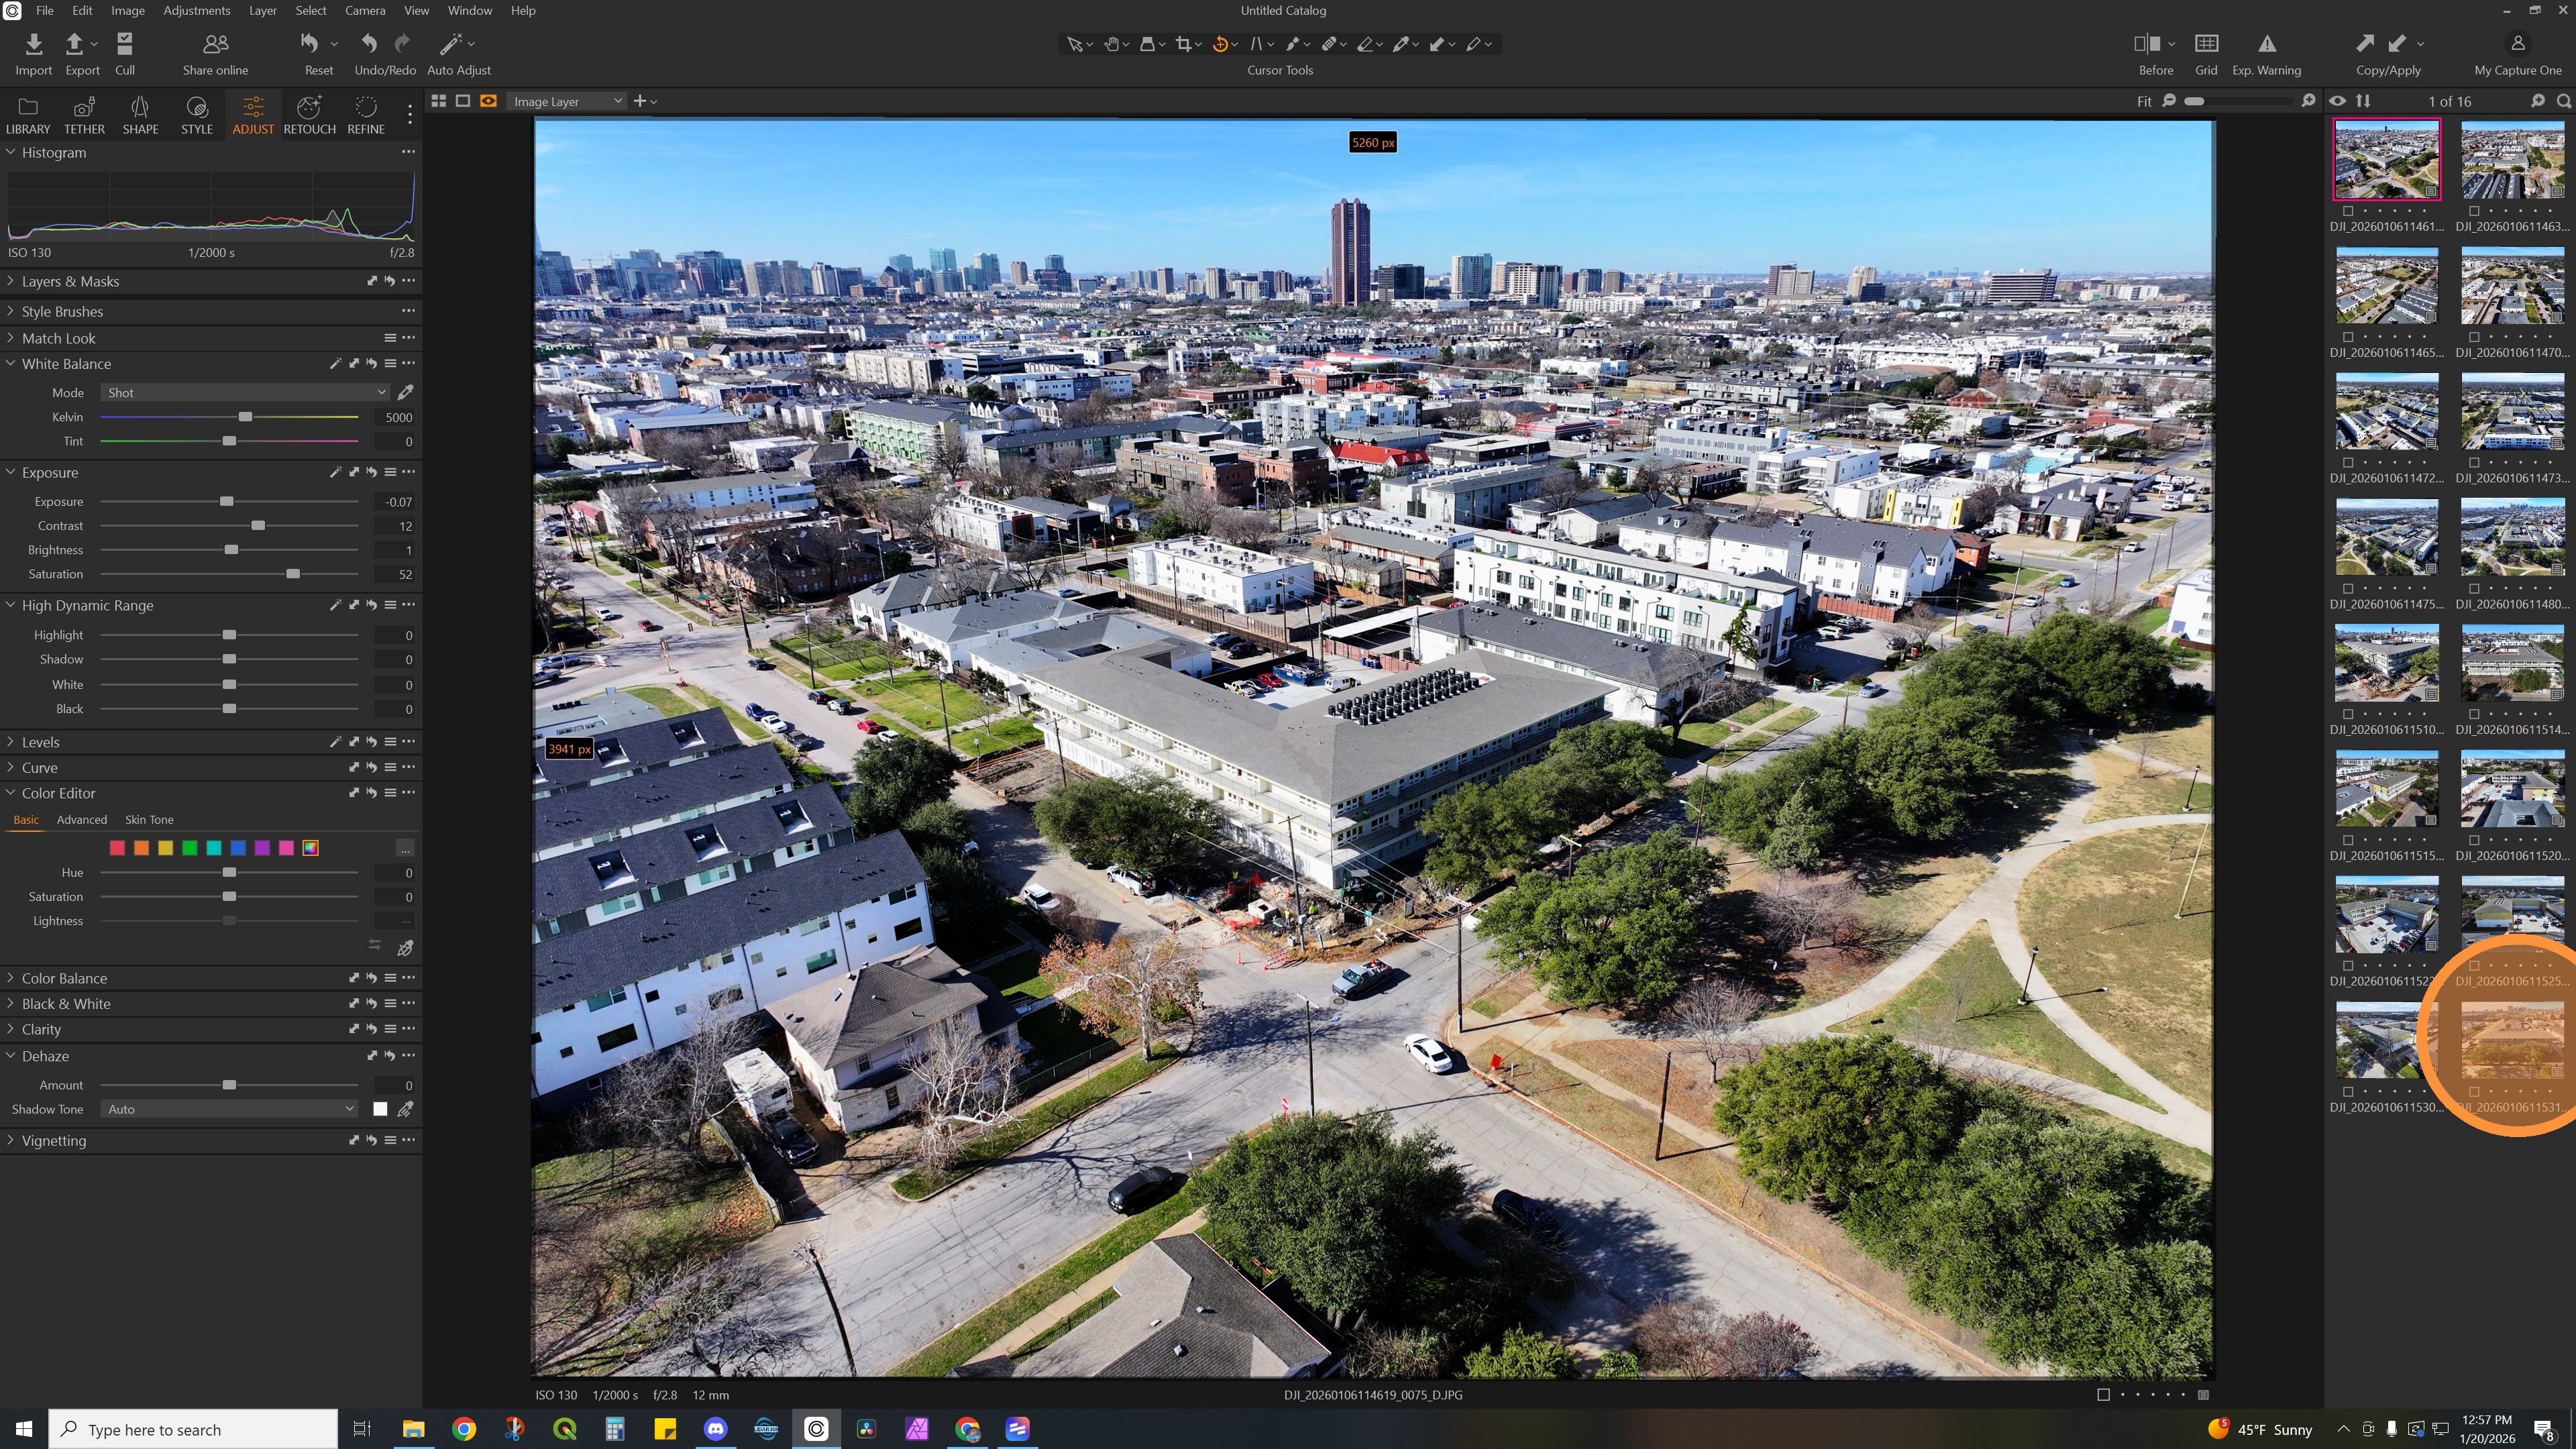
Select all images again.
-
Finish Manual adjustments for remaining images.
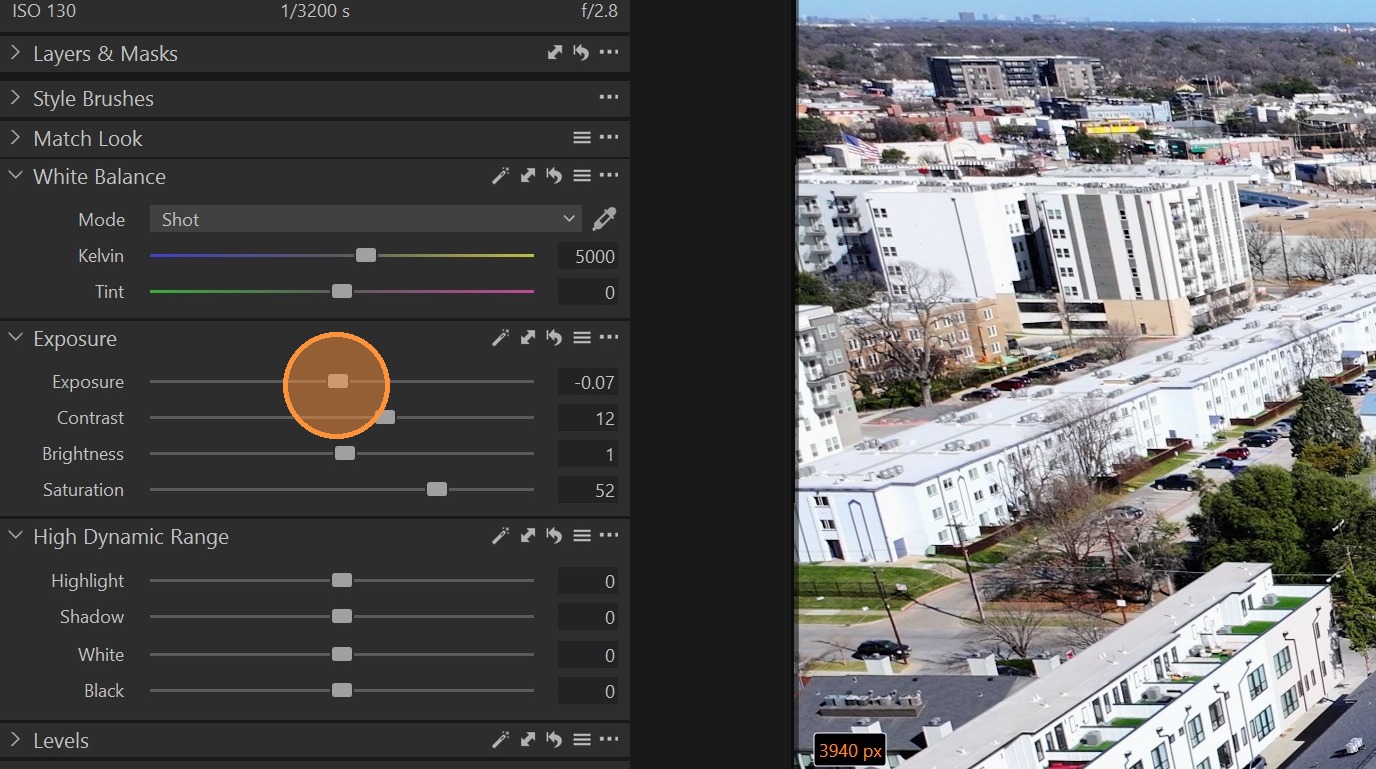
-
Click"Export"
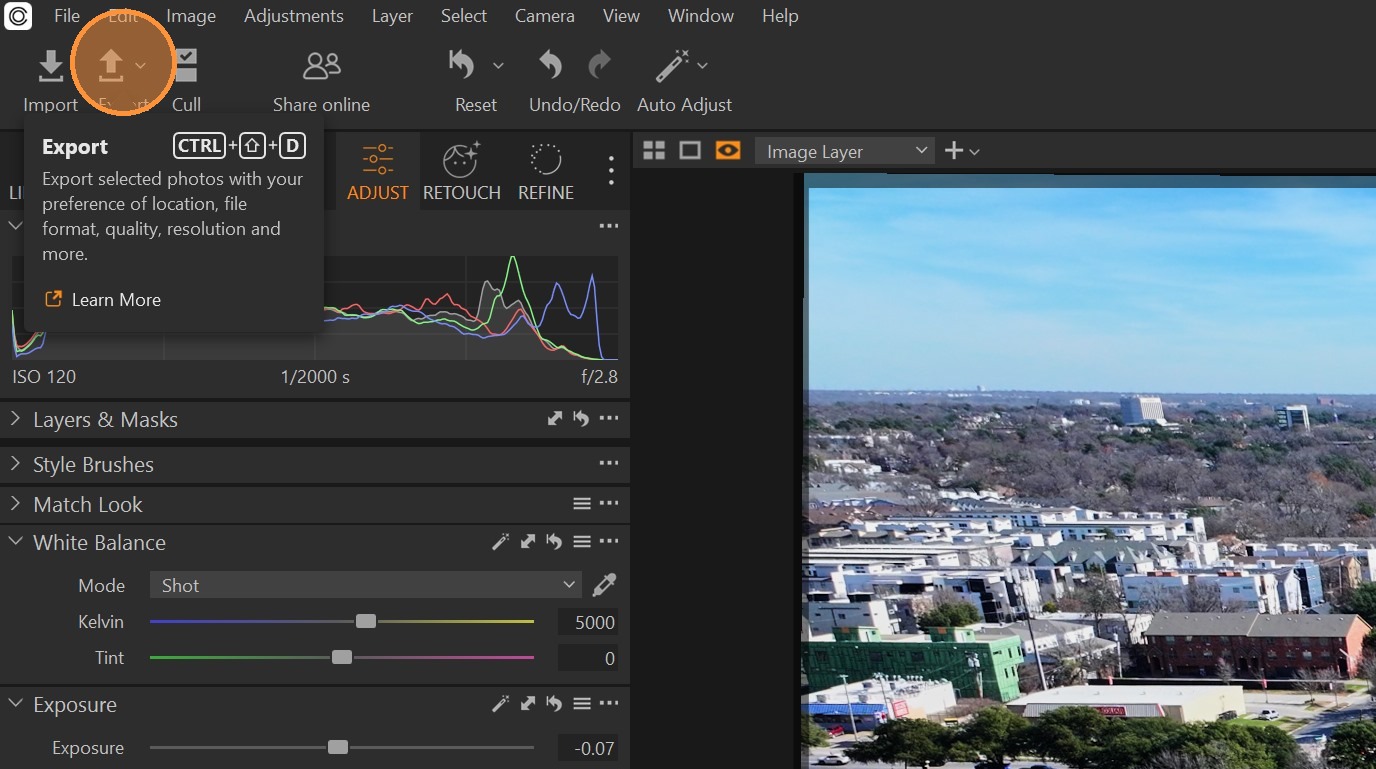
-
Click on the target folder dropdown
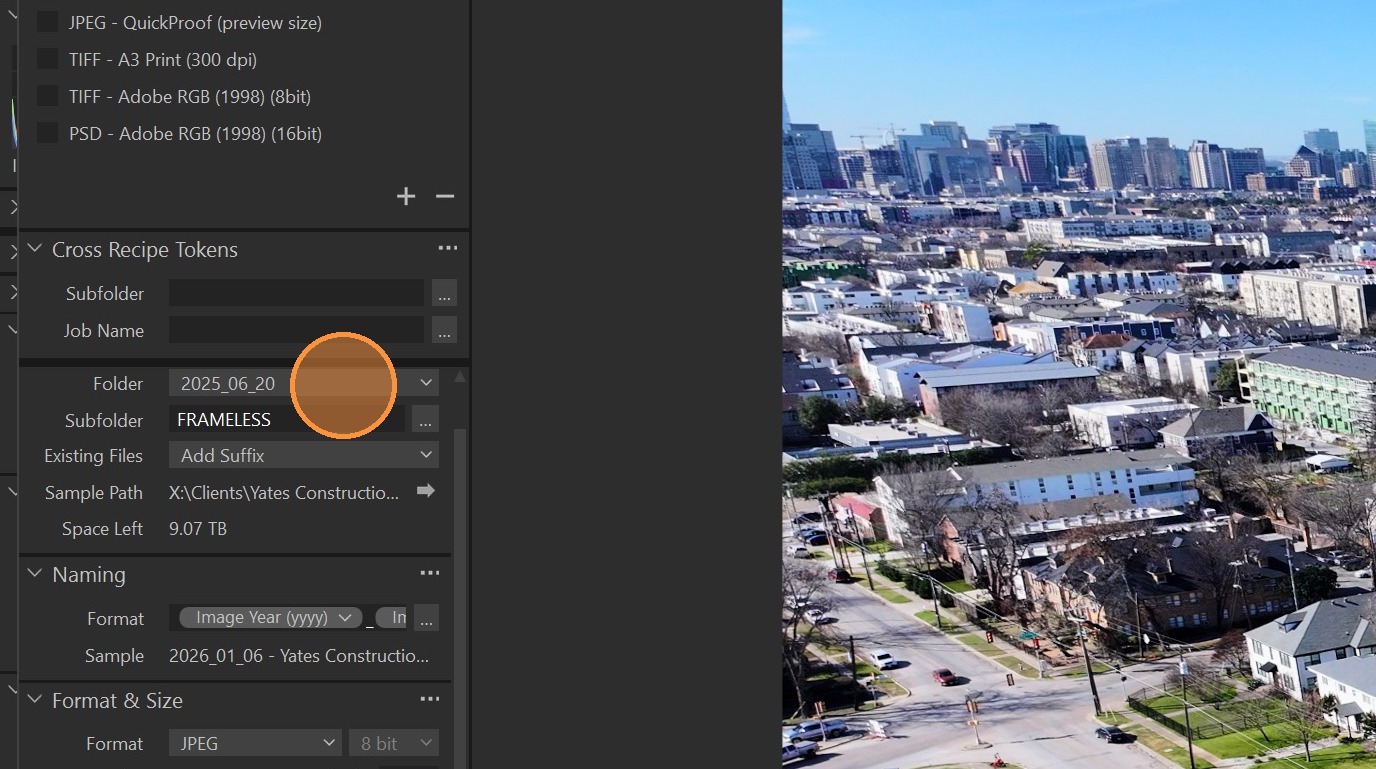
-
Click "Choose Folder…"
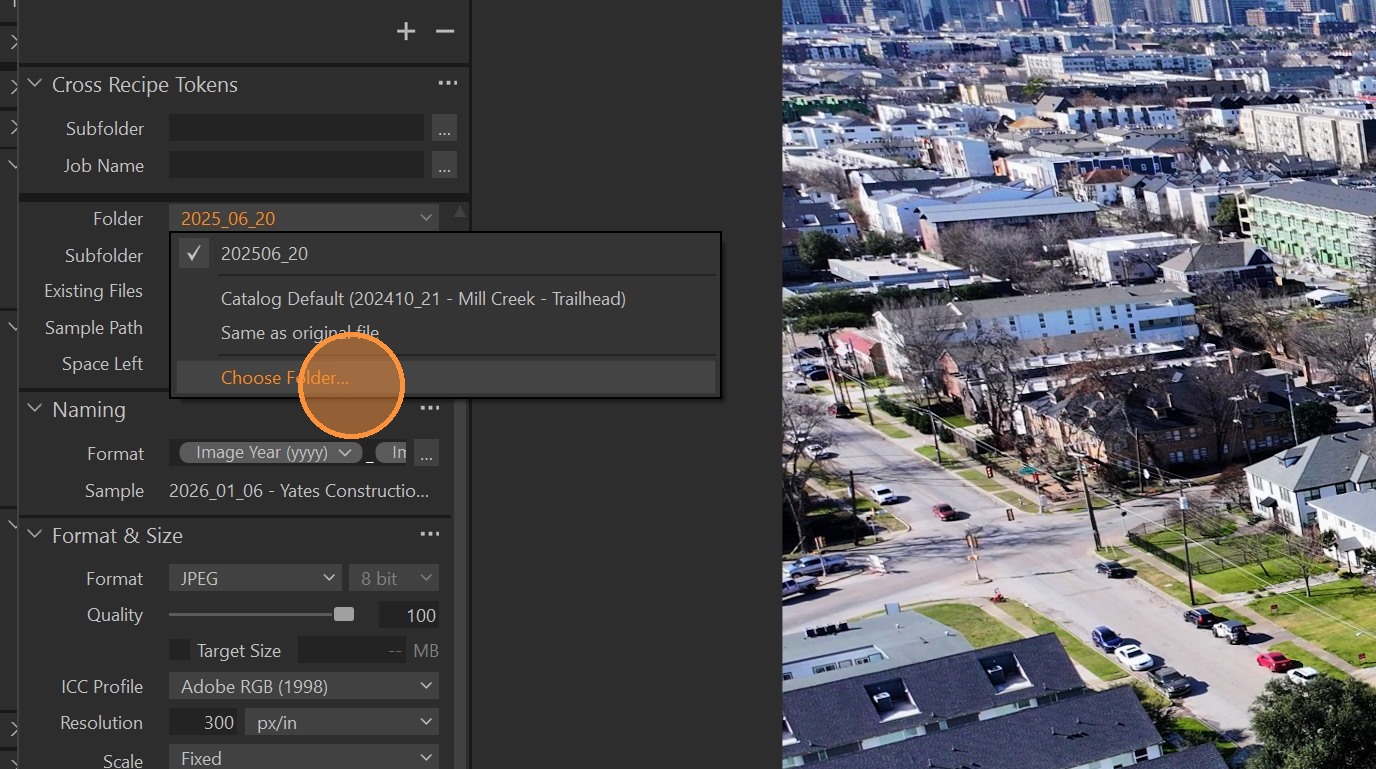
-
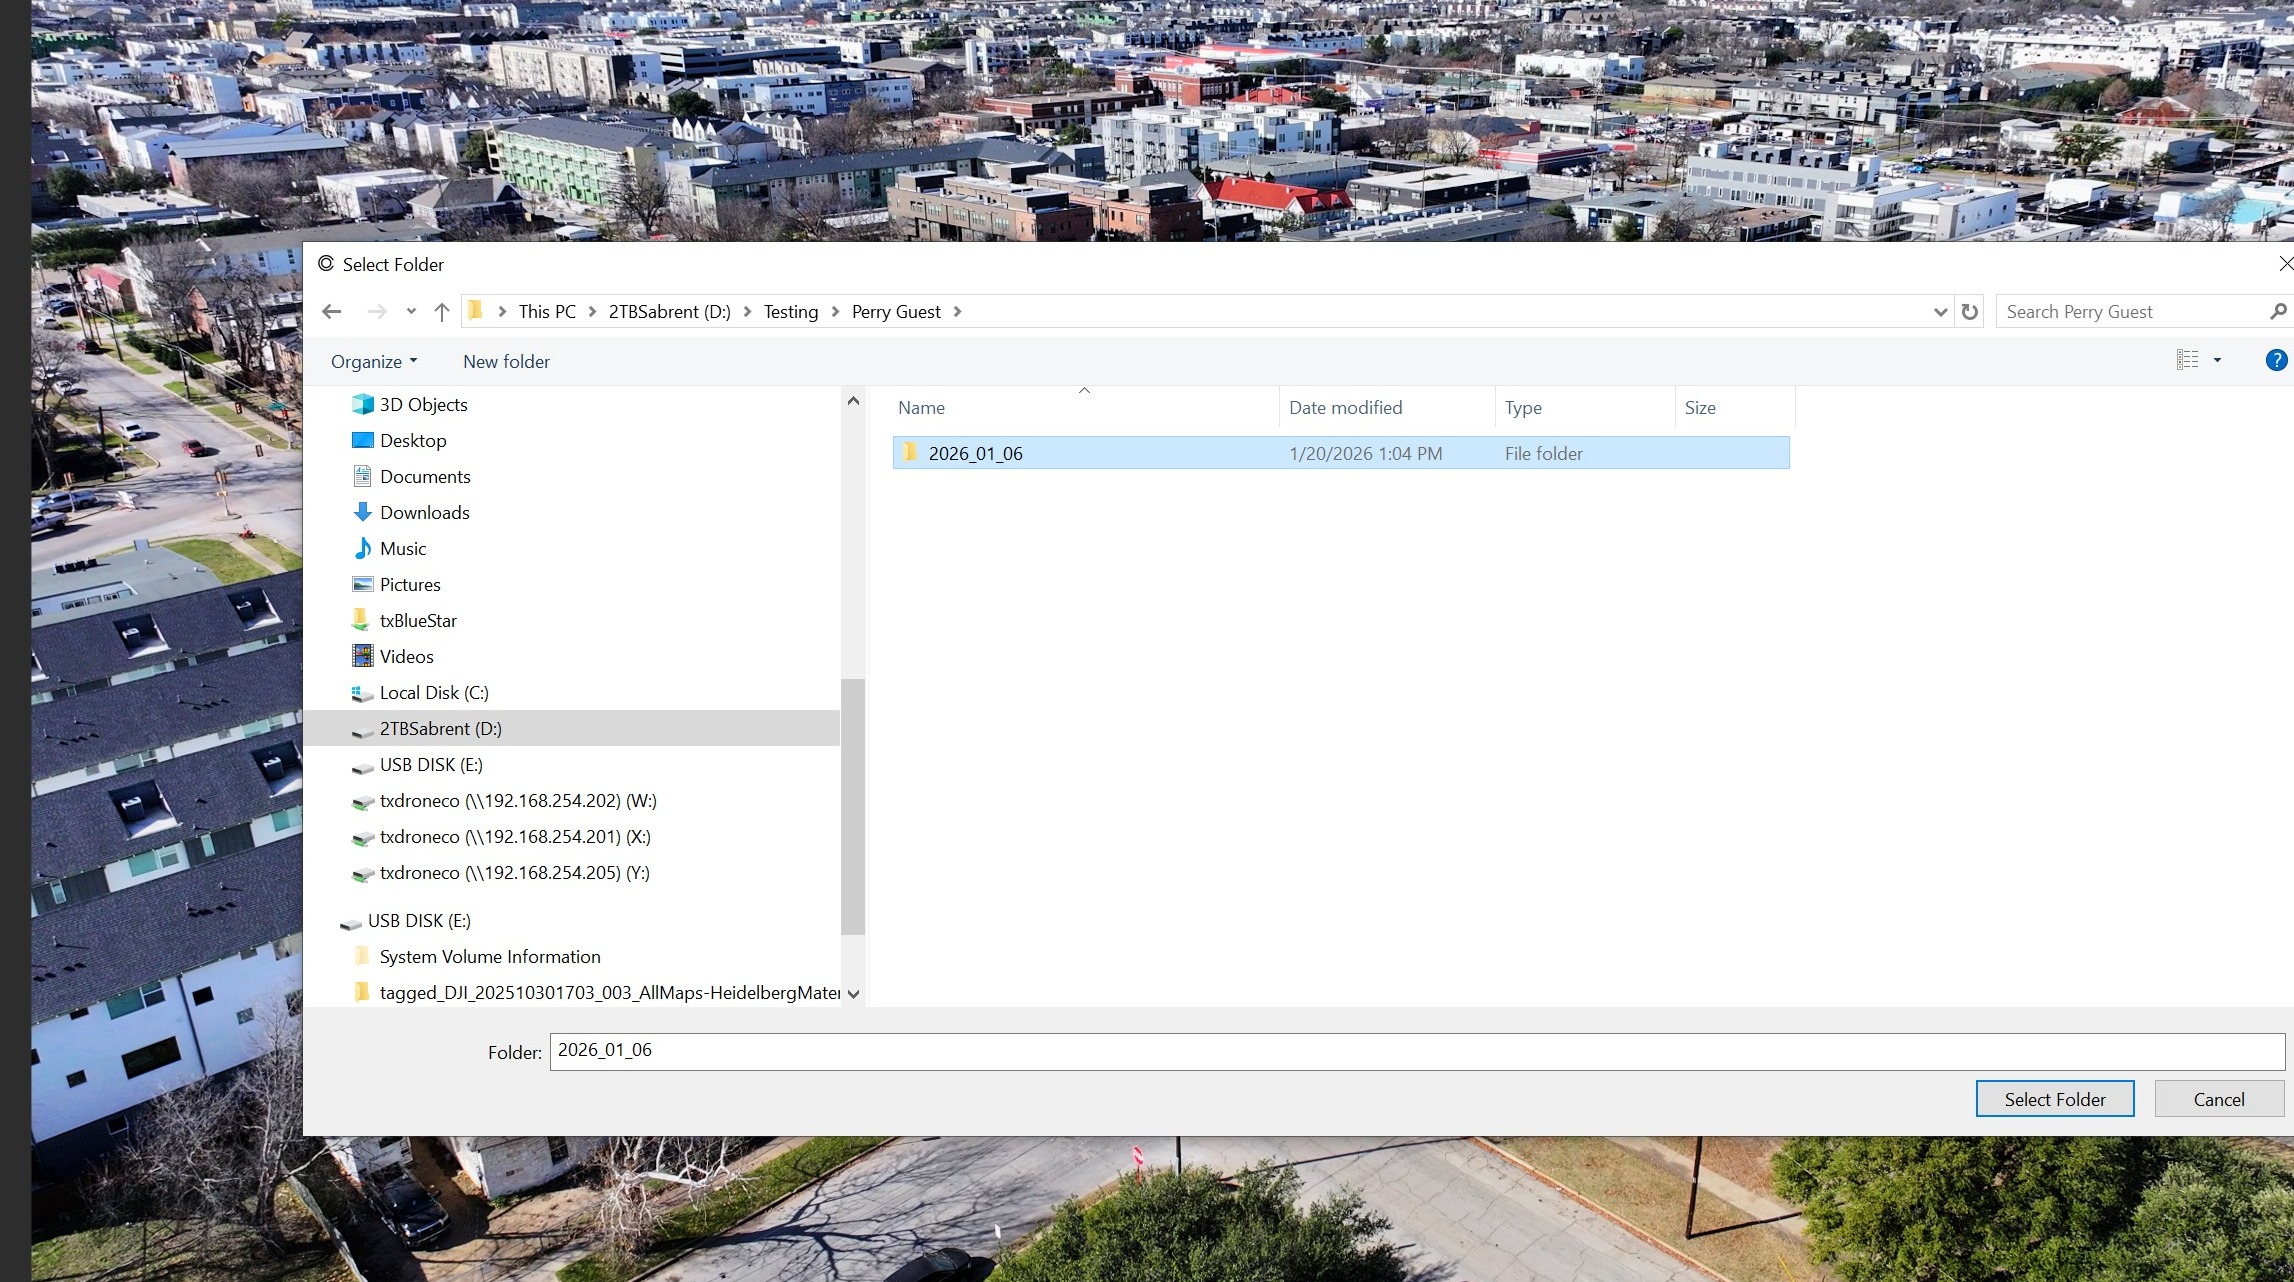
Navigate to the destination folder for the Export.
-
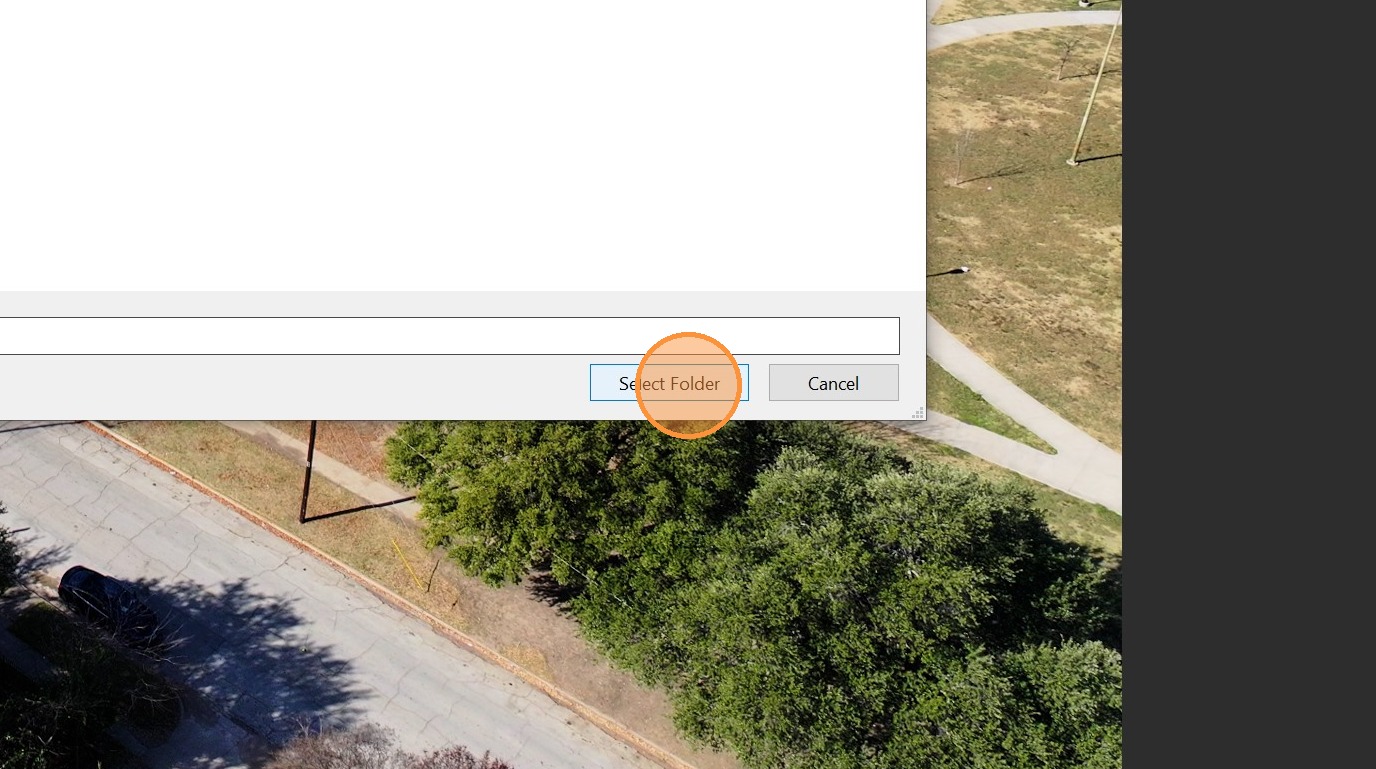
Click "Select Folder"
-
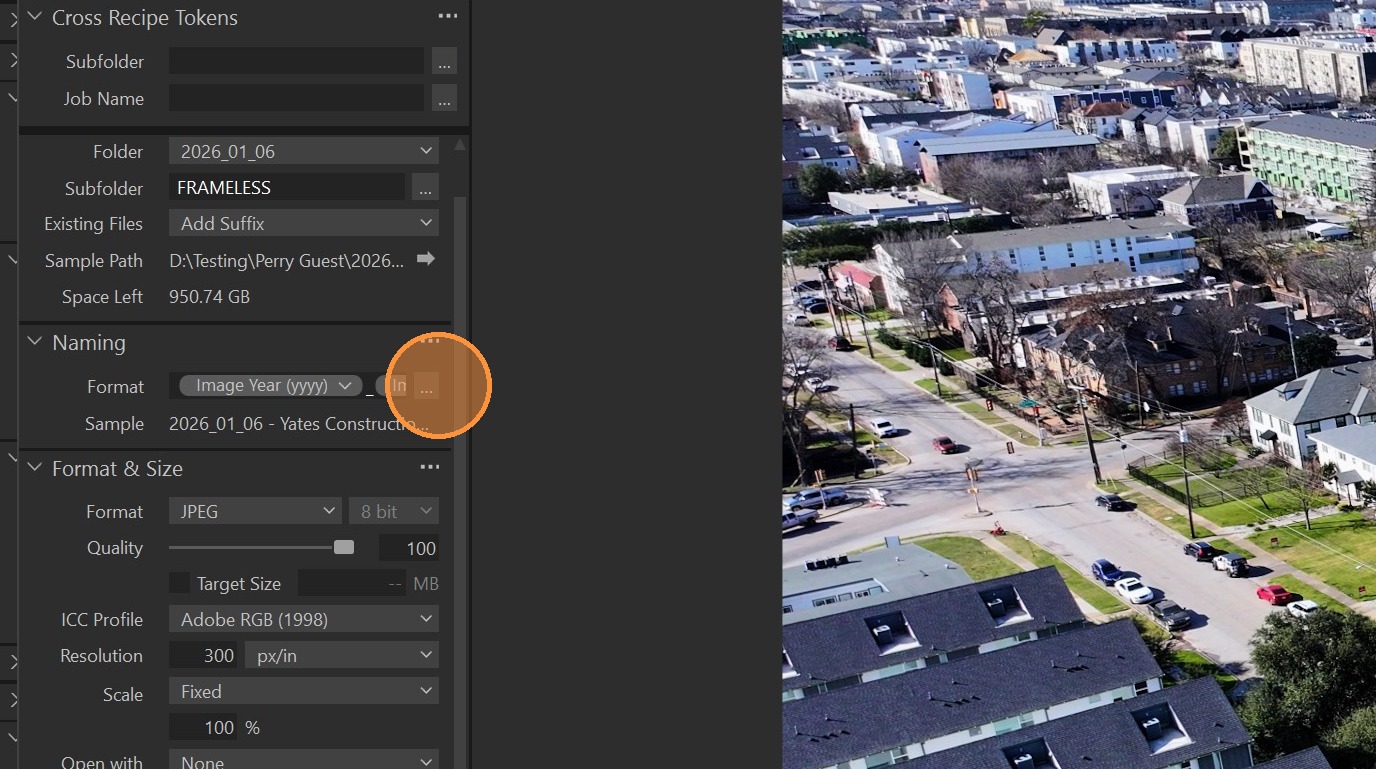
Click the three dots to change the naming format.
-
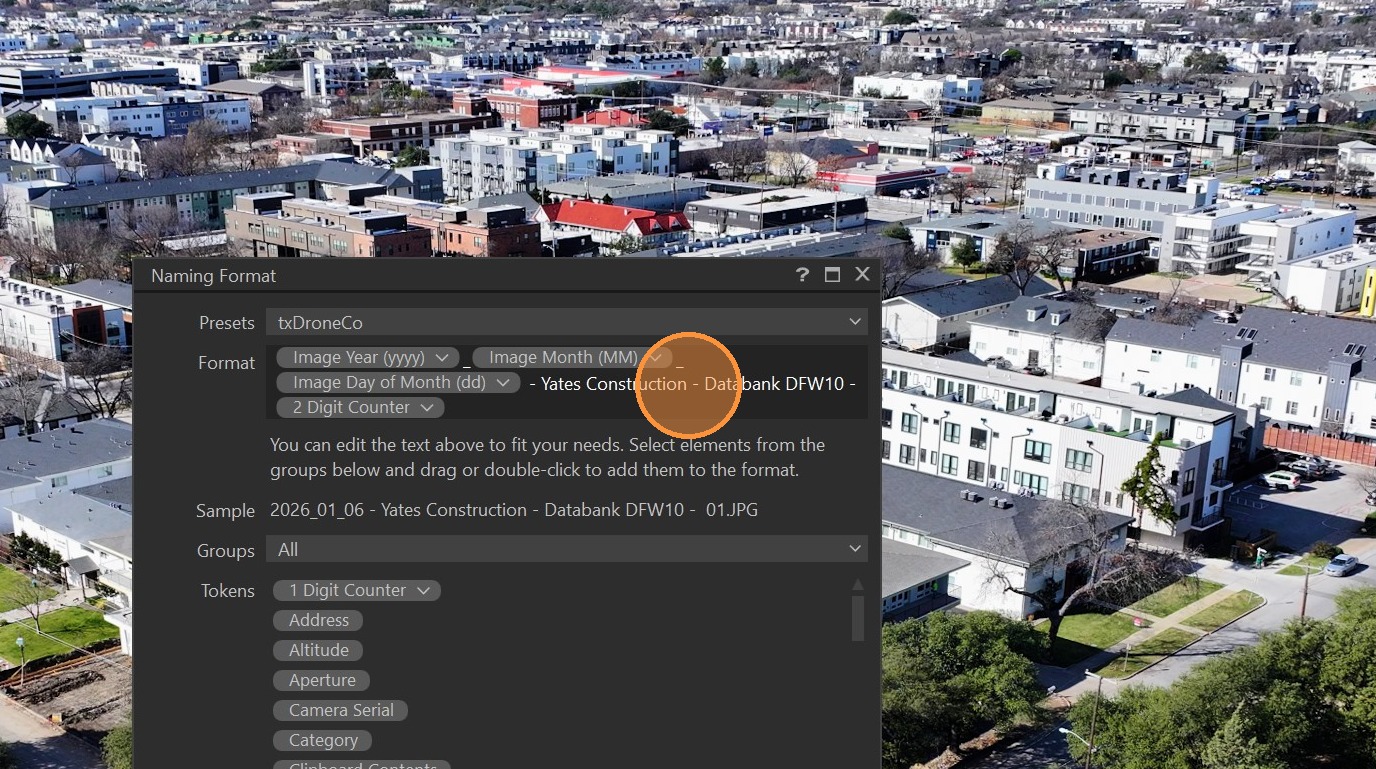
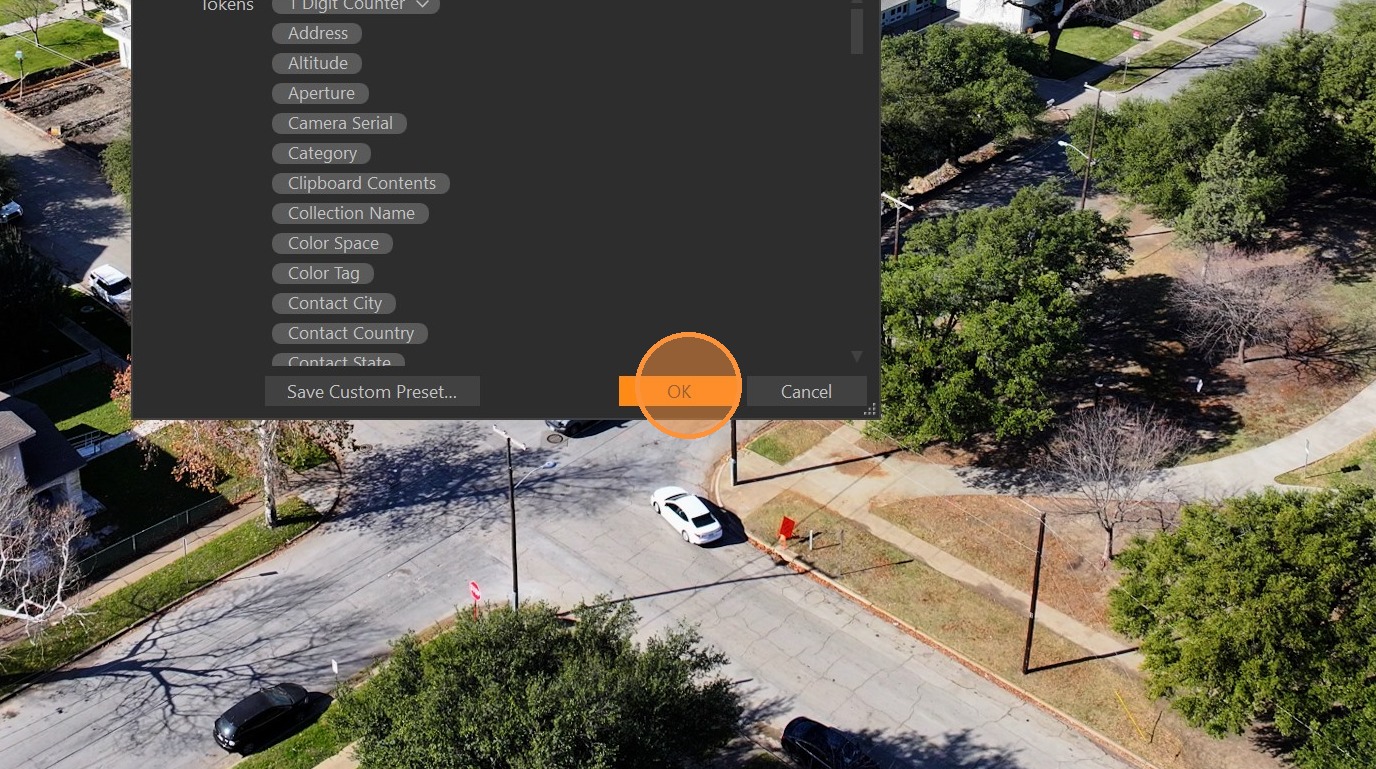
Confirm that the Naming Structure is set up in such a way that it creates "YYYY_MM_DD - Company - Project"
-
Click "OK"
-
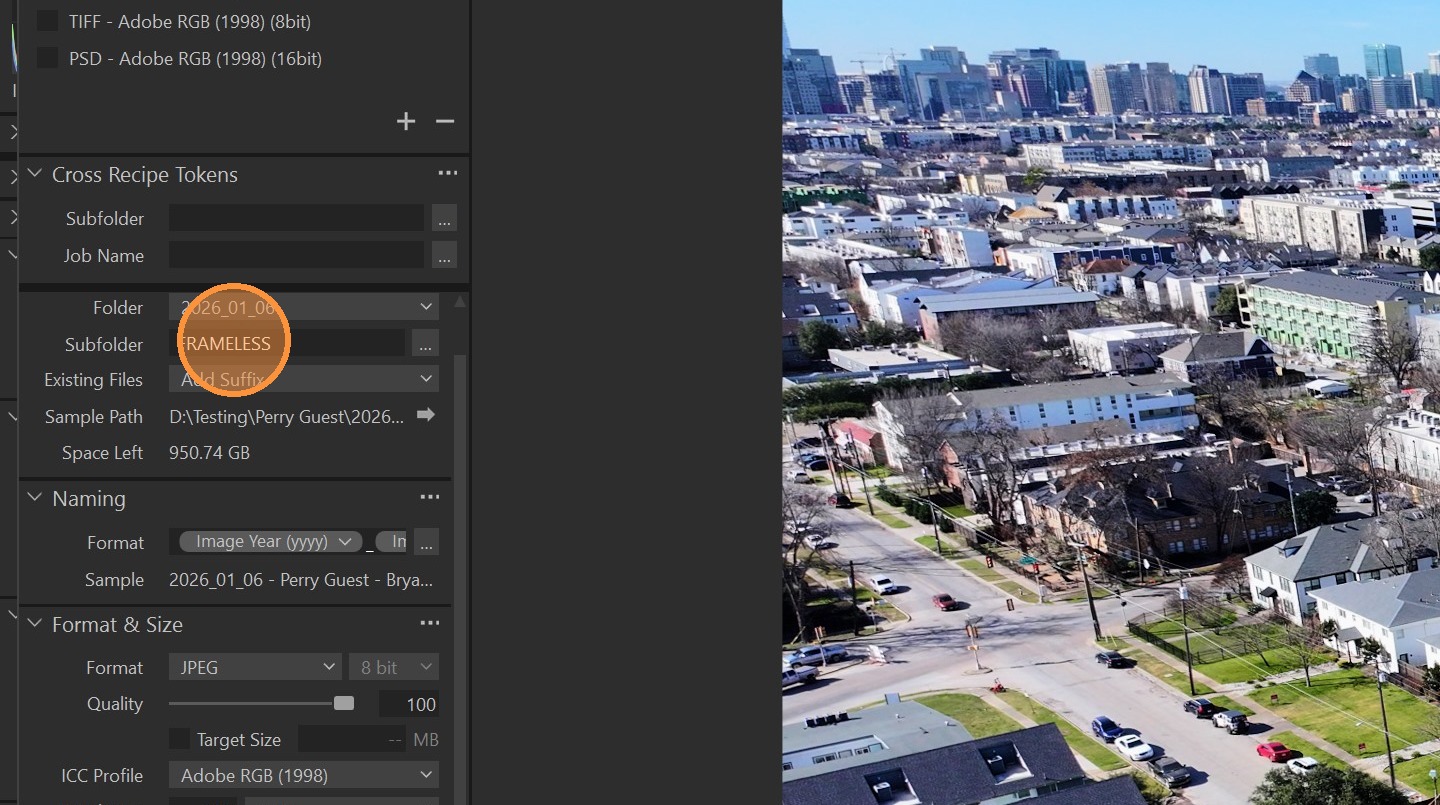
Make Sure that the Subfolder is named "FRAMELESS"
-
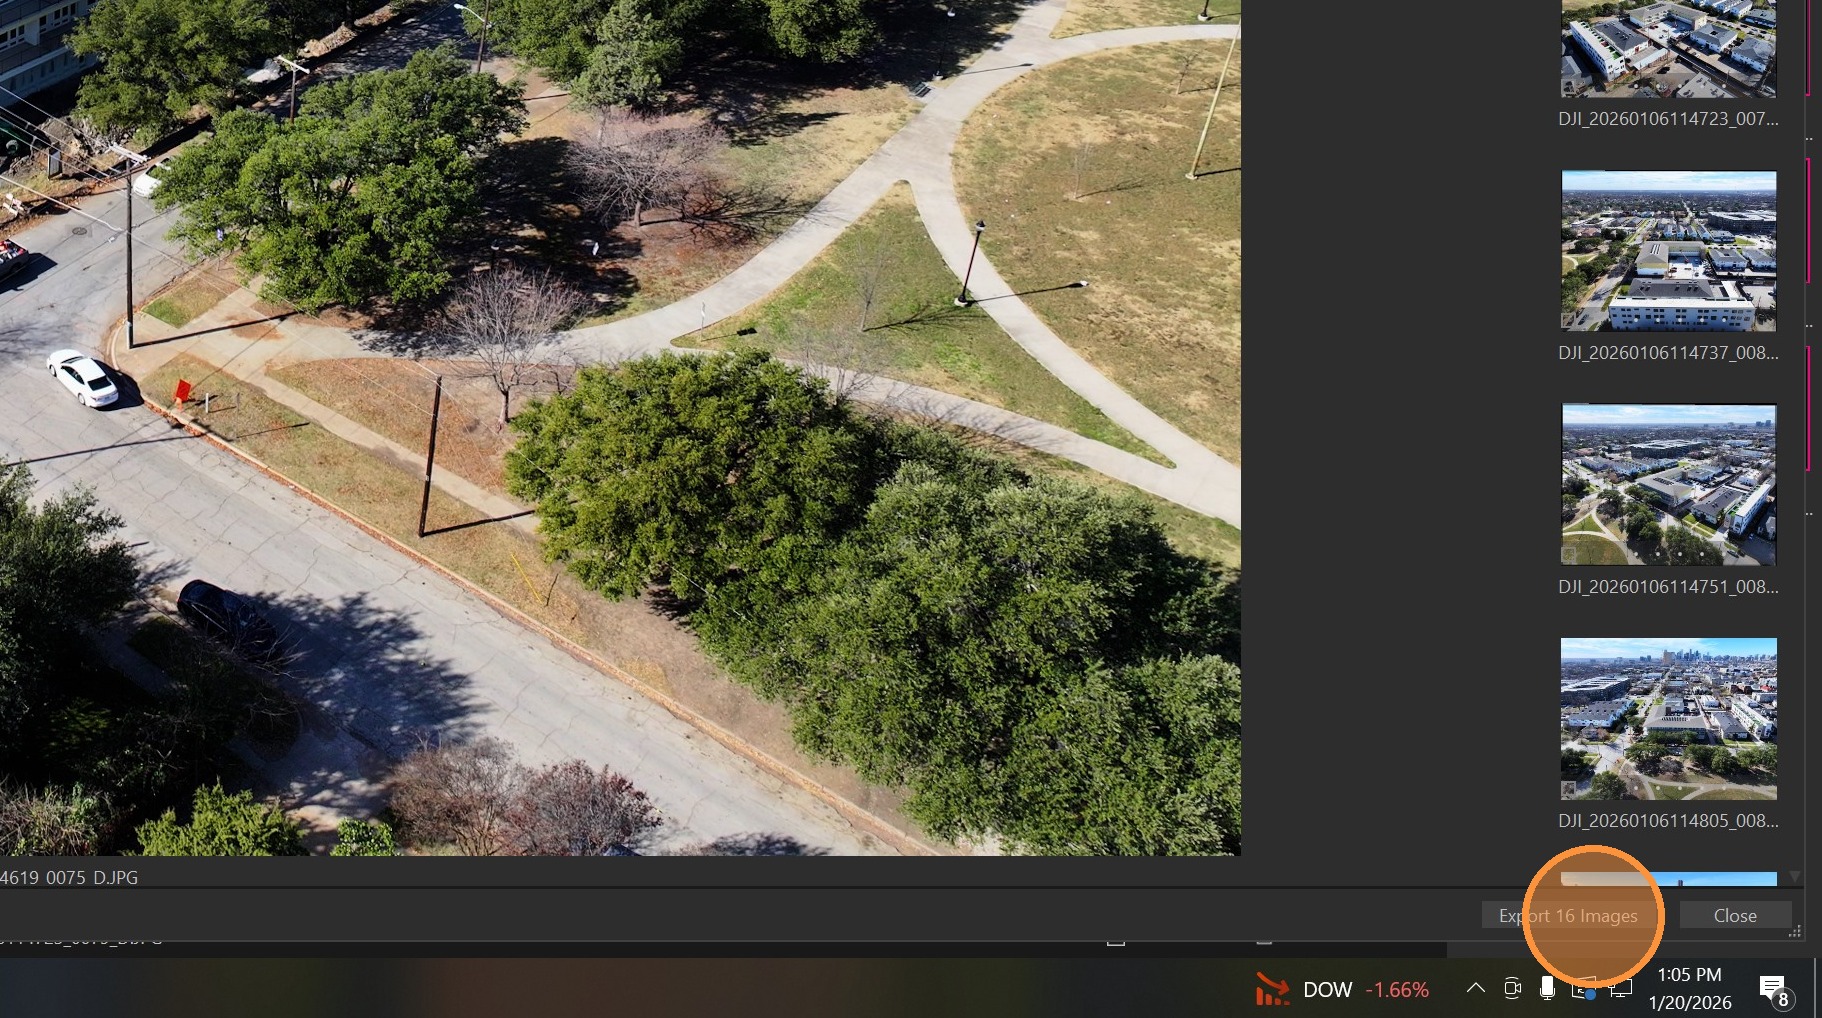
Click "Export Images"
-
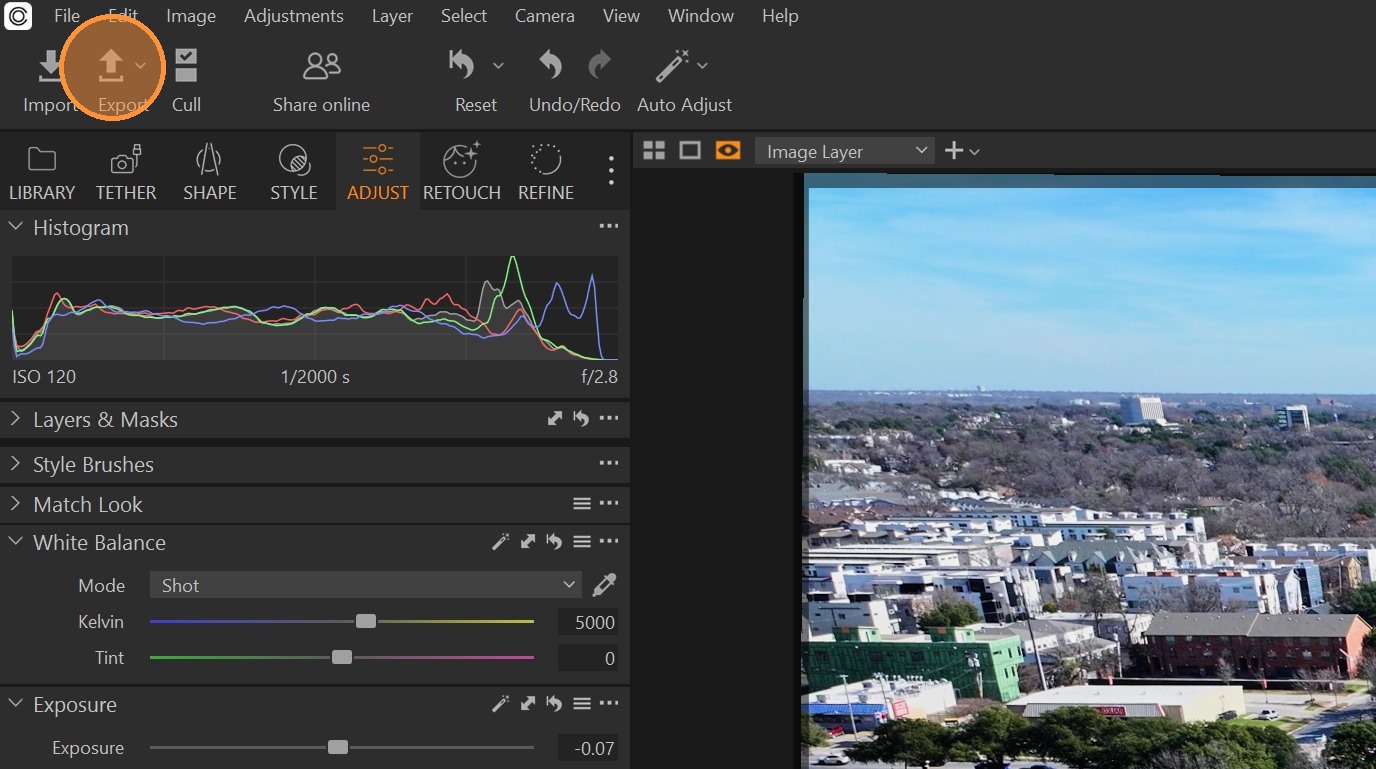
Click "Export" again
-
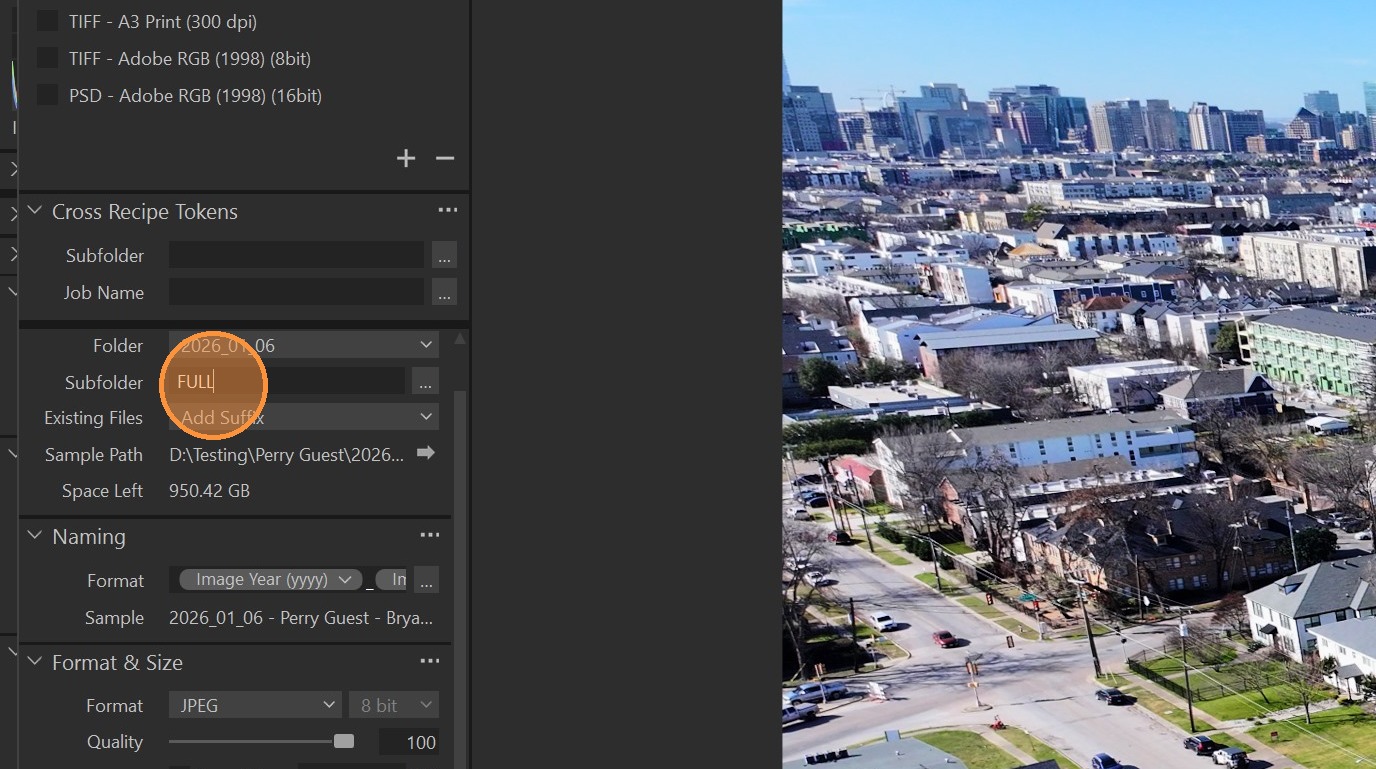
Change the Subfolder name to "FULL"
-
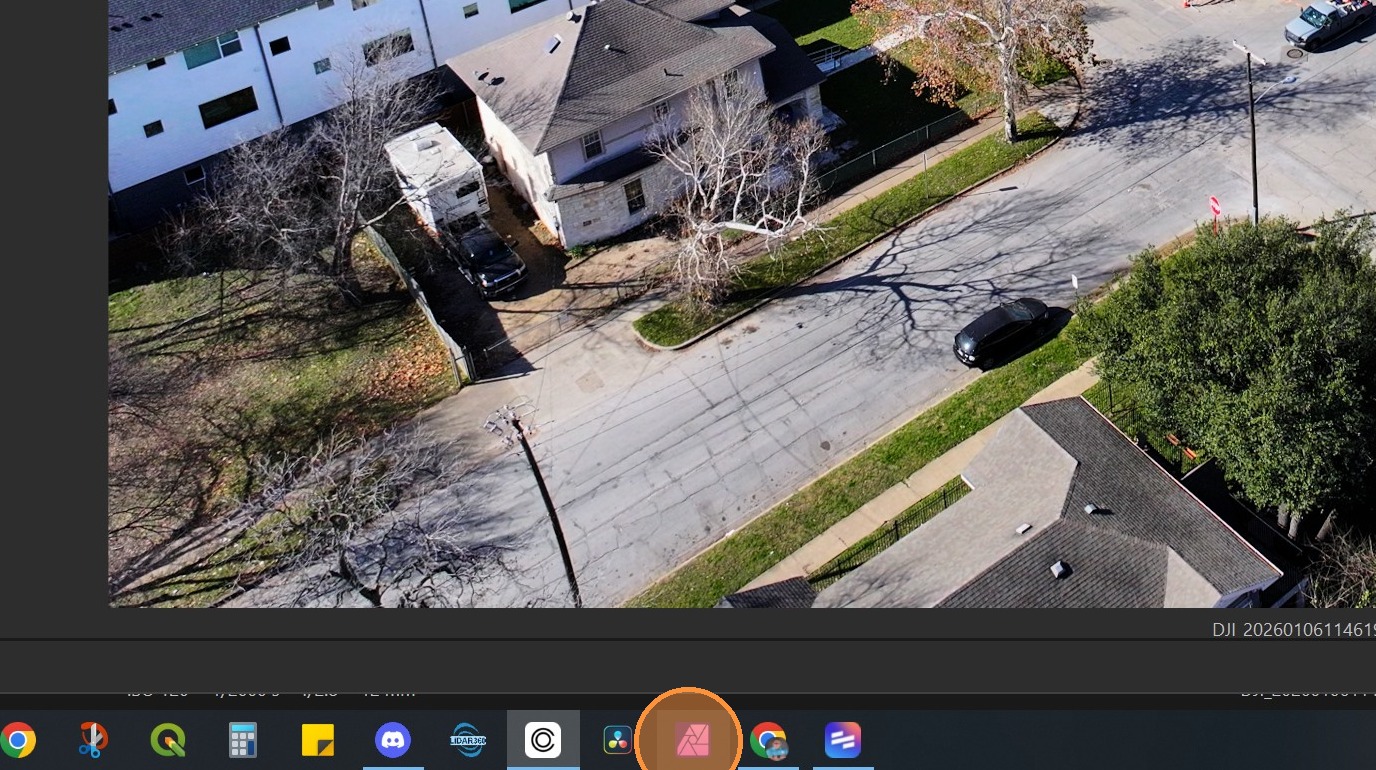
Open "Affinity Photo 2"
-
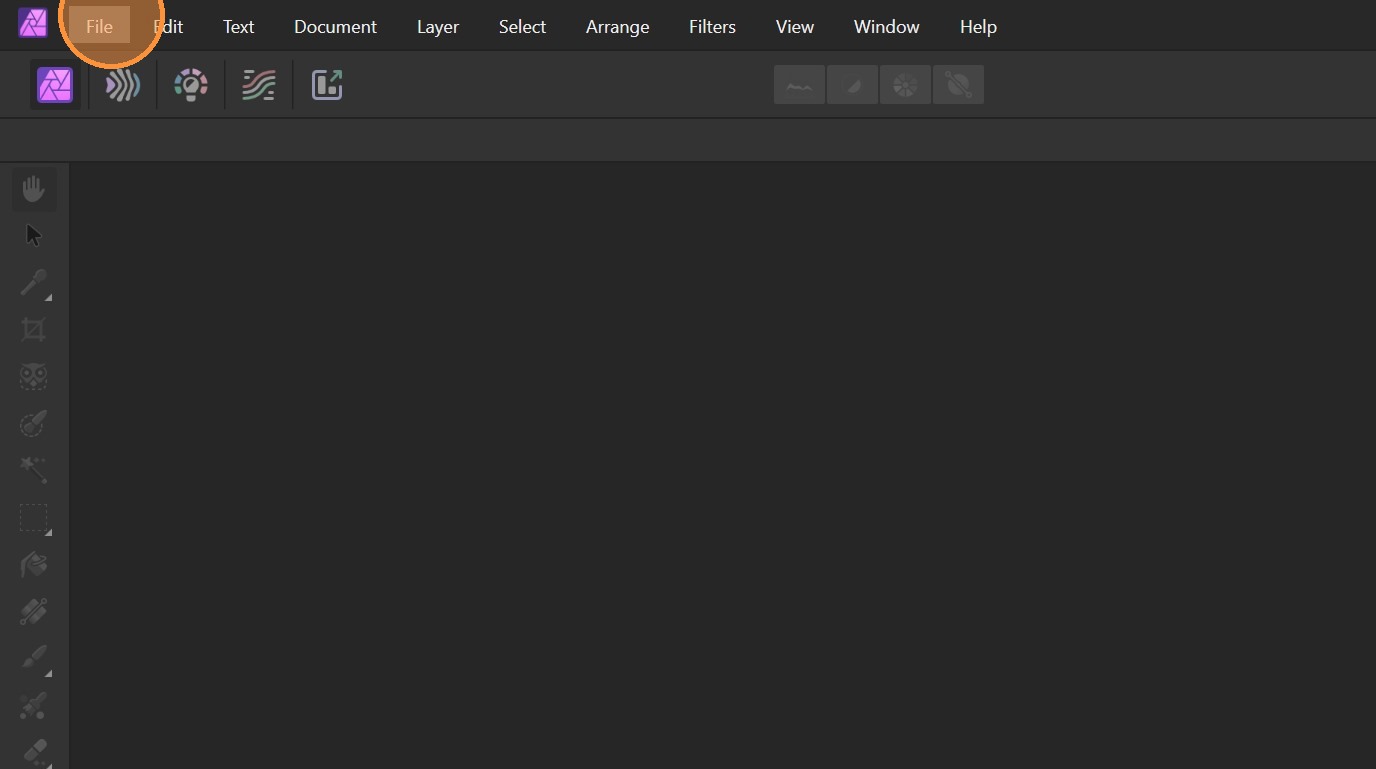
Click "_File"
-
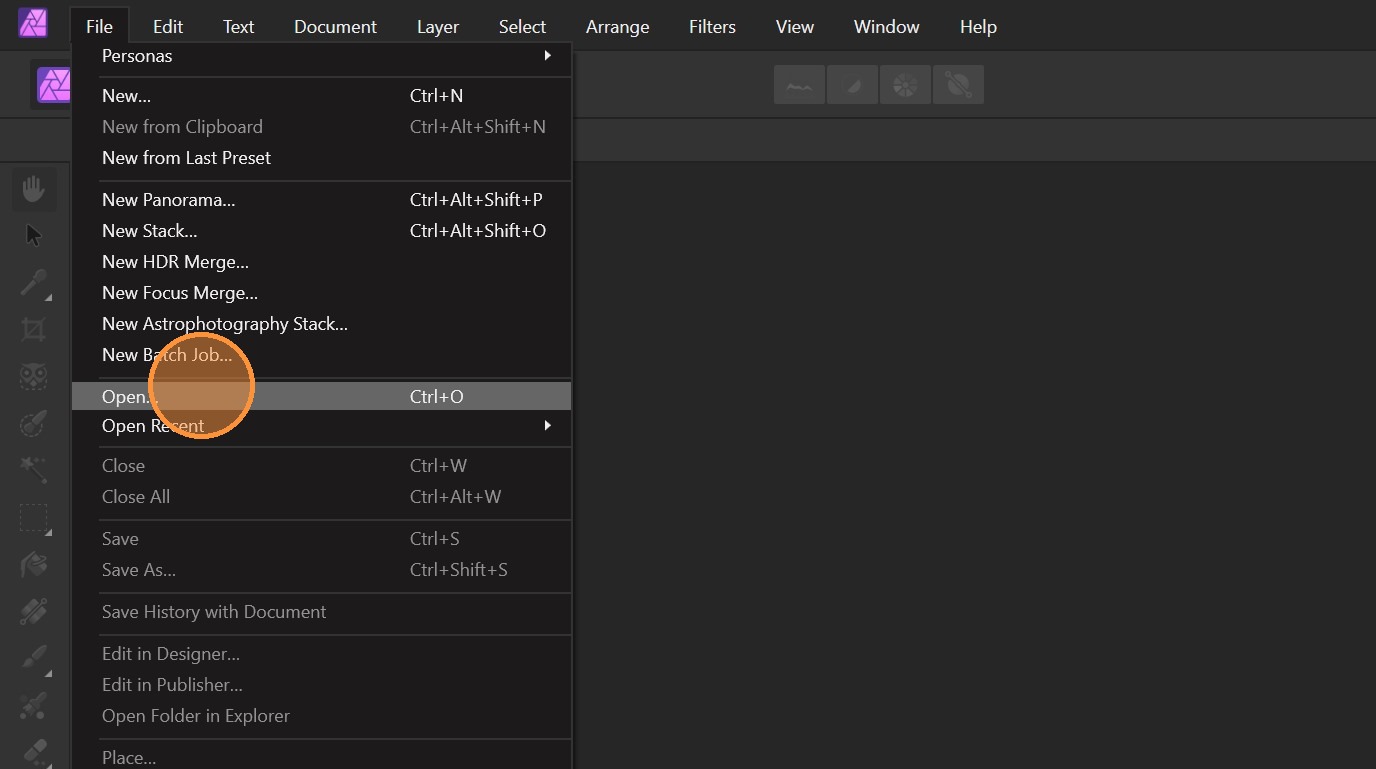
Click "Open…"
-
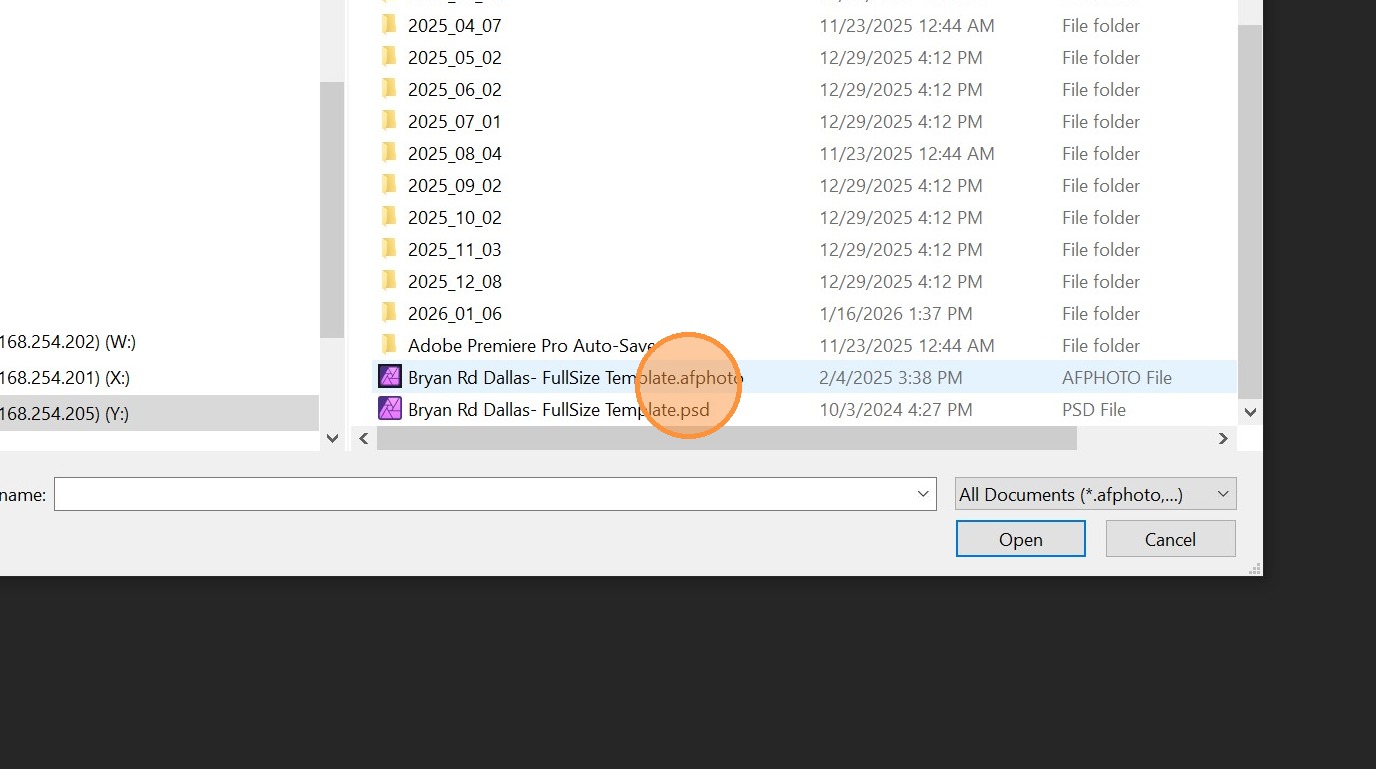
Navigate to the picture frame project file.
-
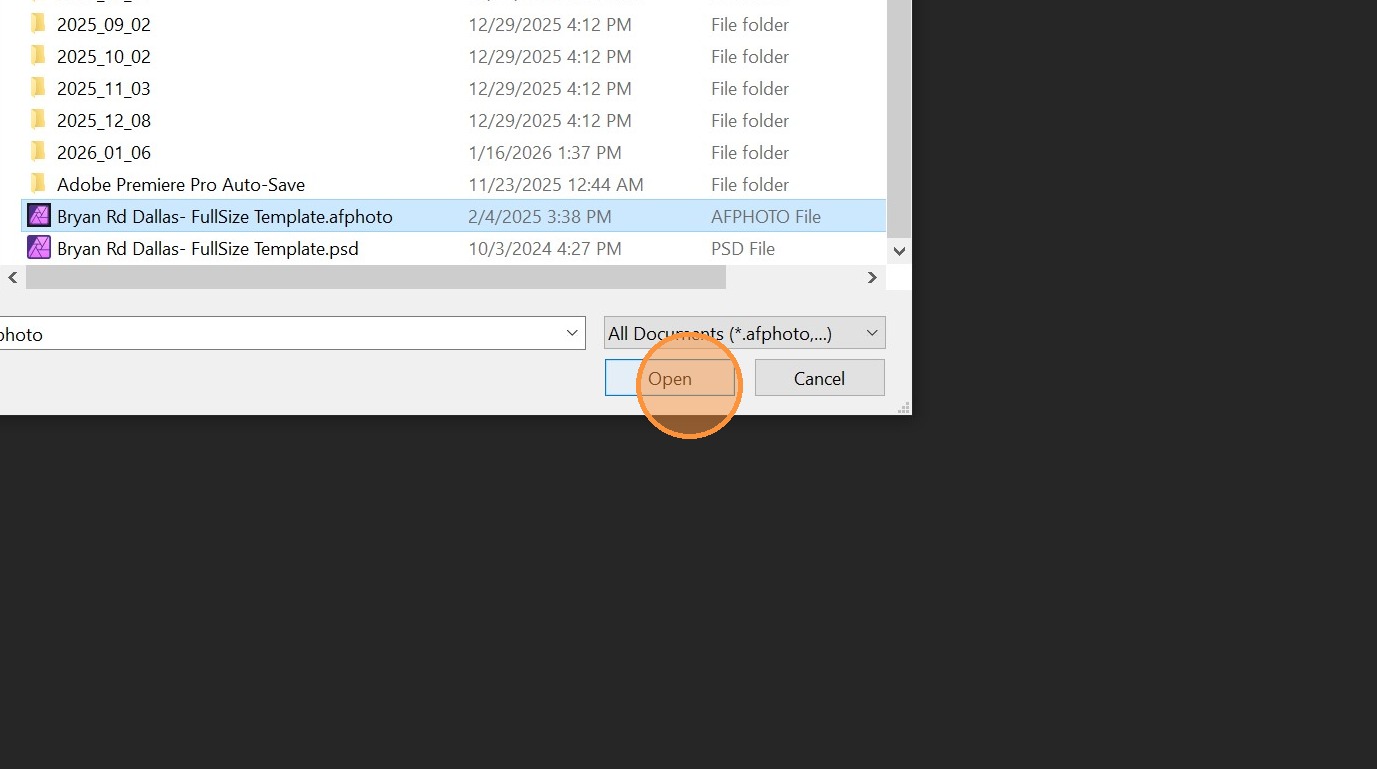
Click "Open"
-
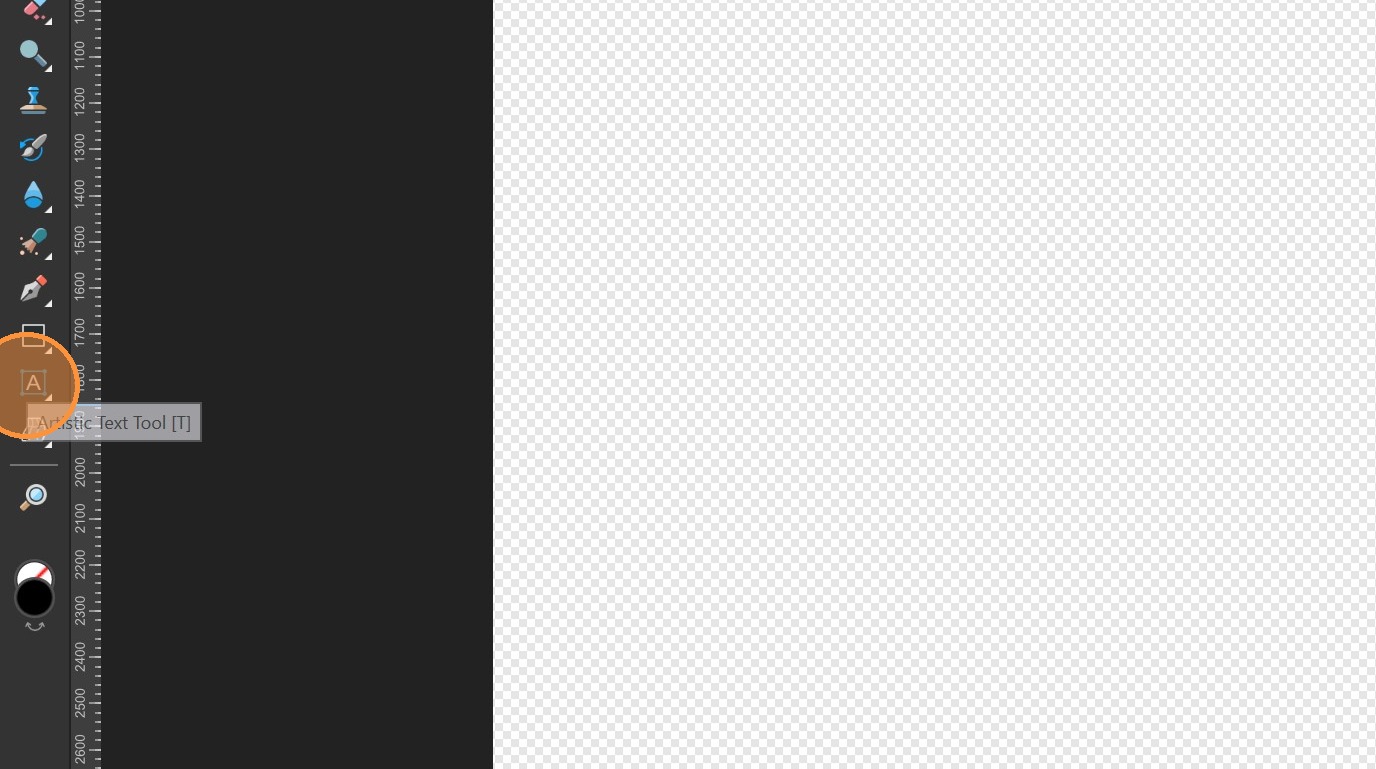
Select the text tool
-
Change the project date to the current capture date,

-
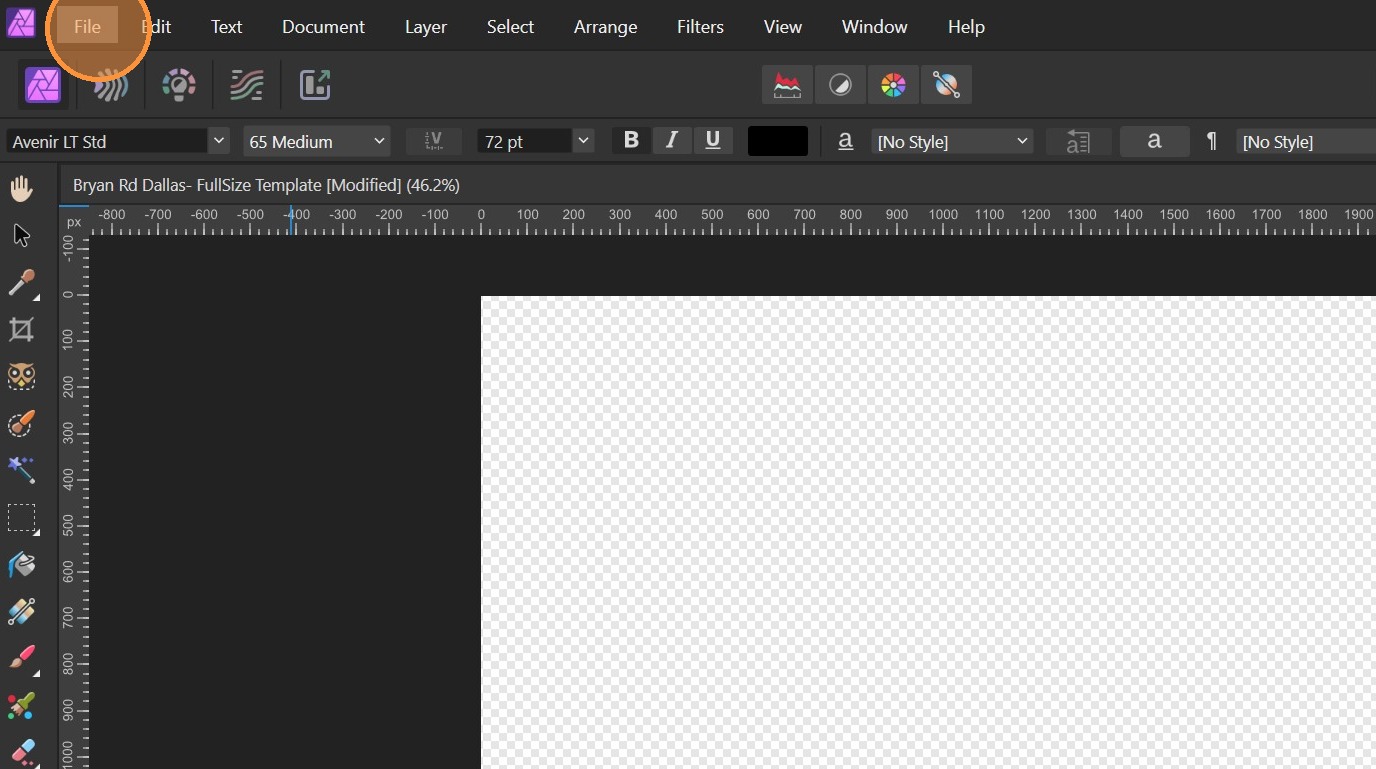
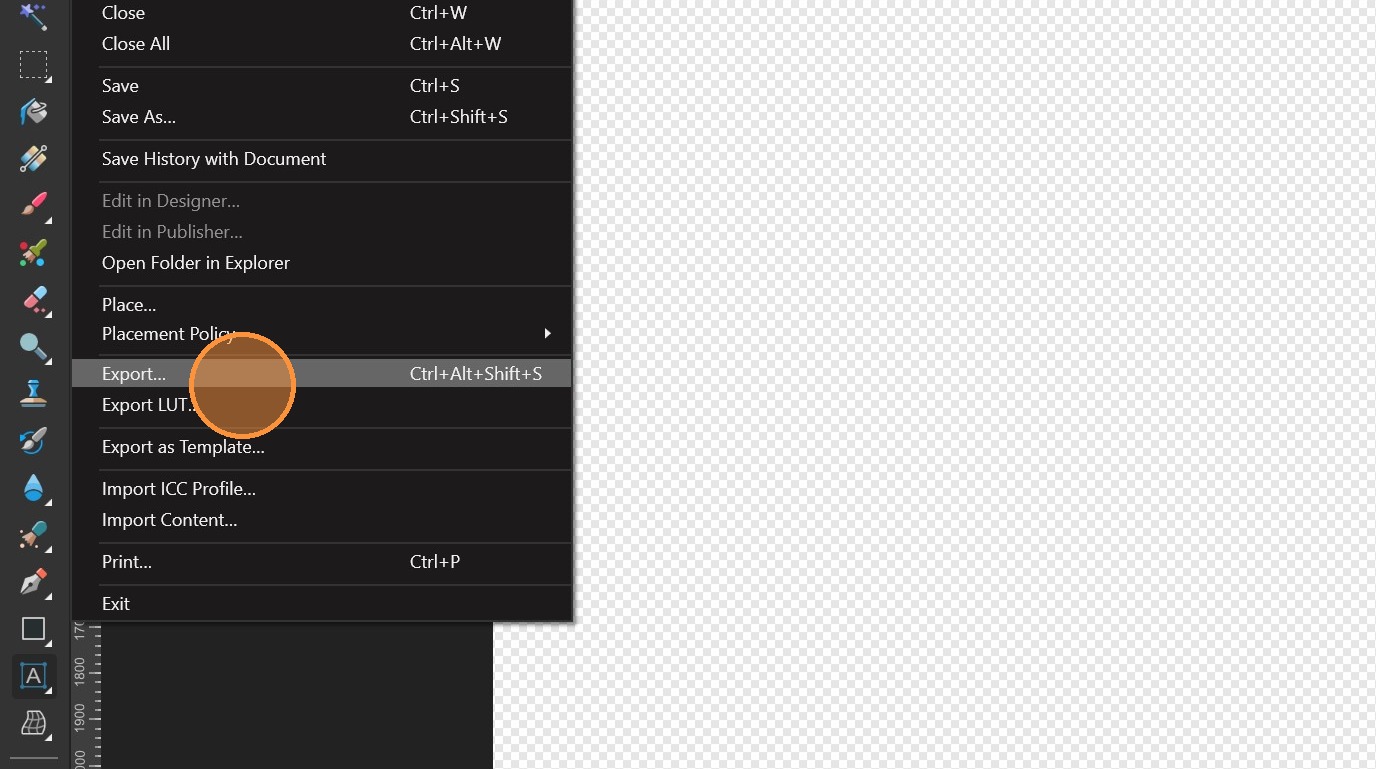
Click "File"
-
Click "Export…"
-
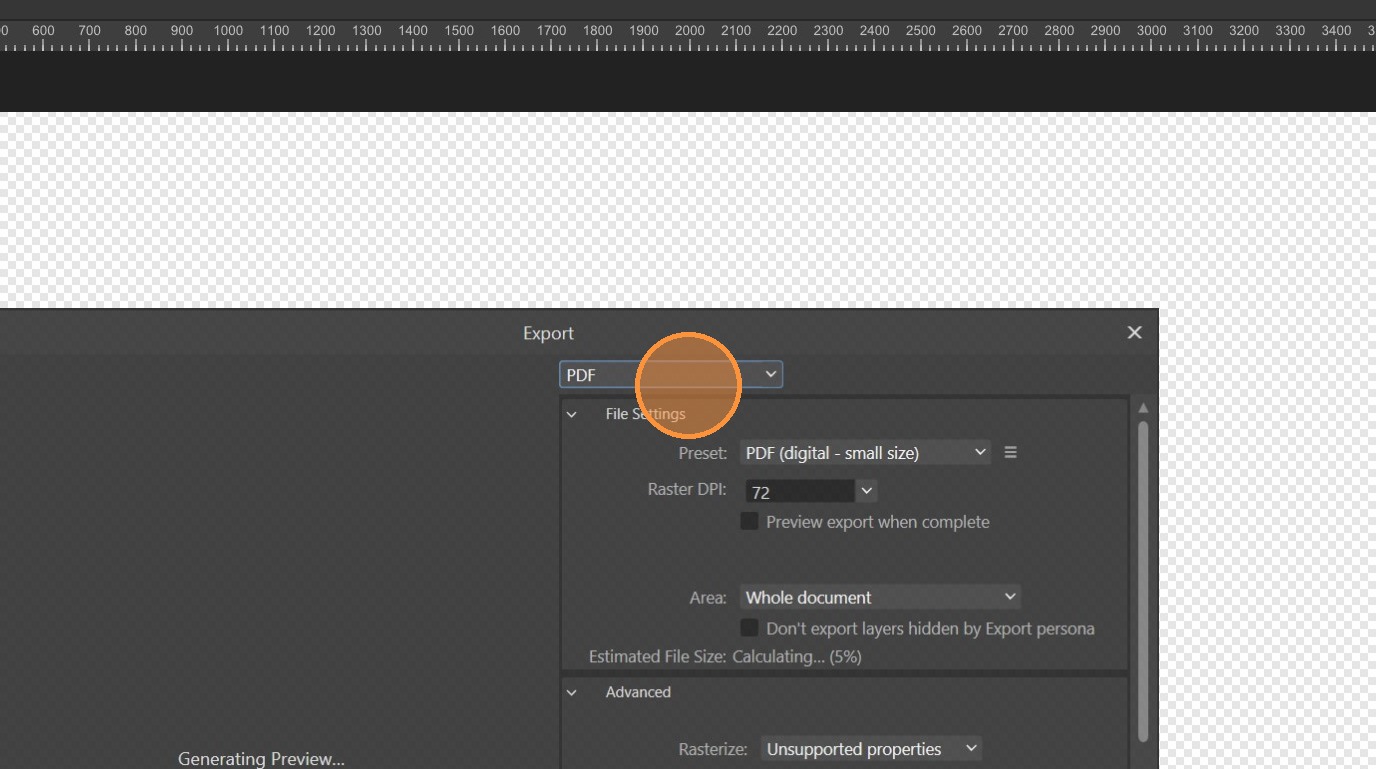
Click on the export format dropdown
-
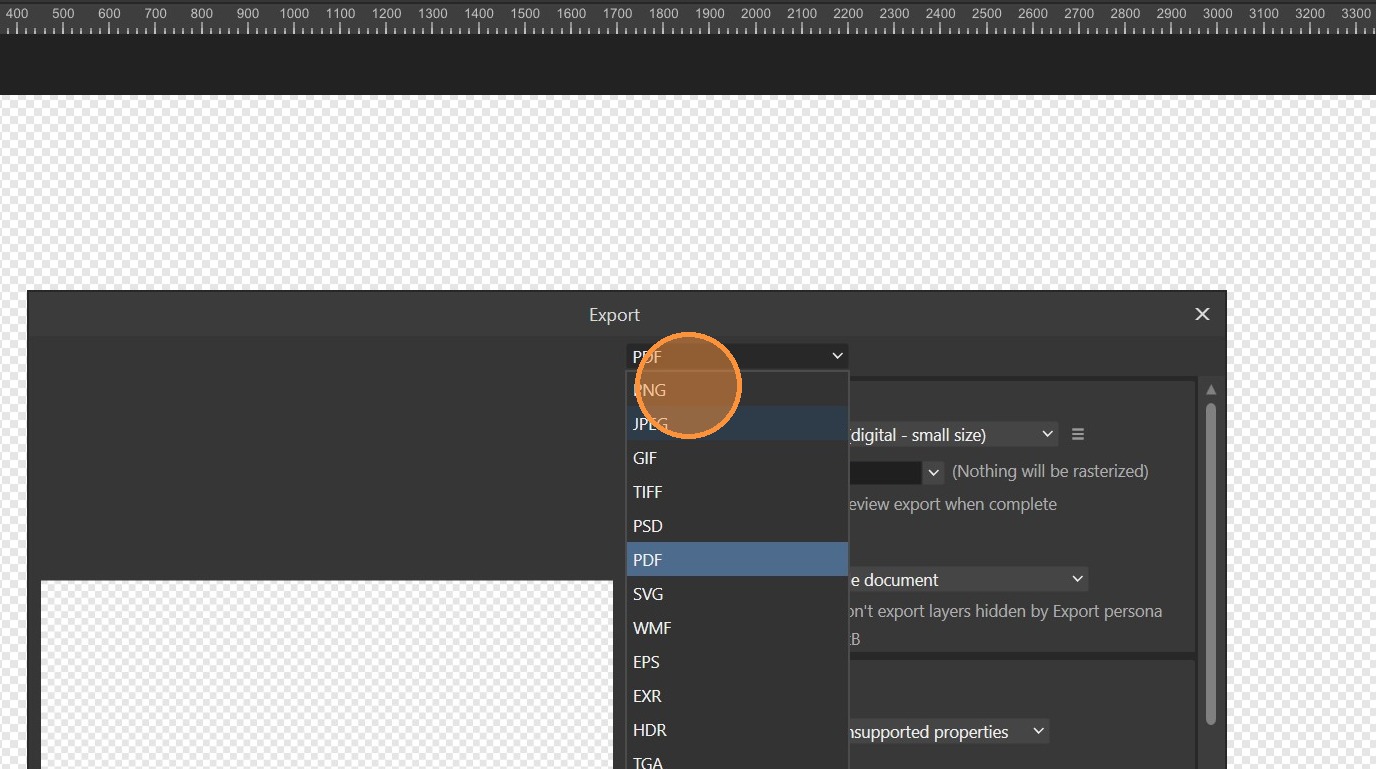
Select "PNG"
-
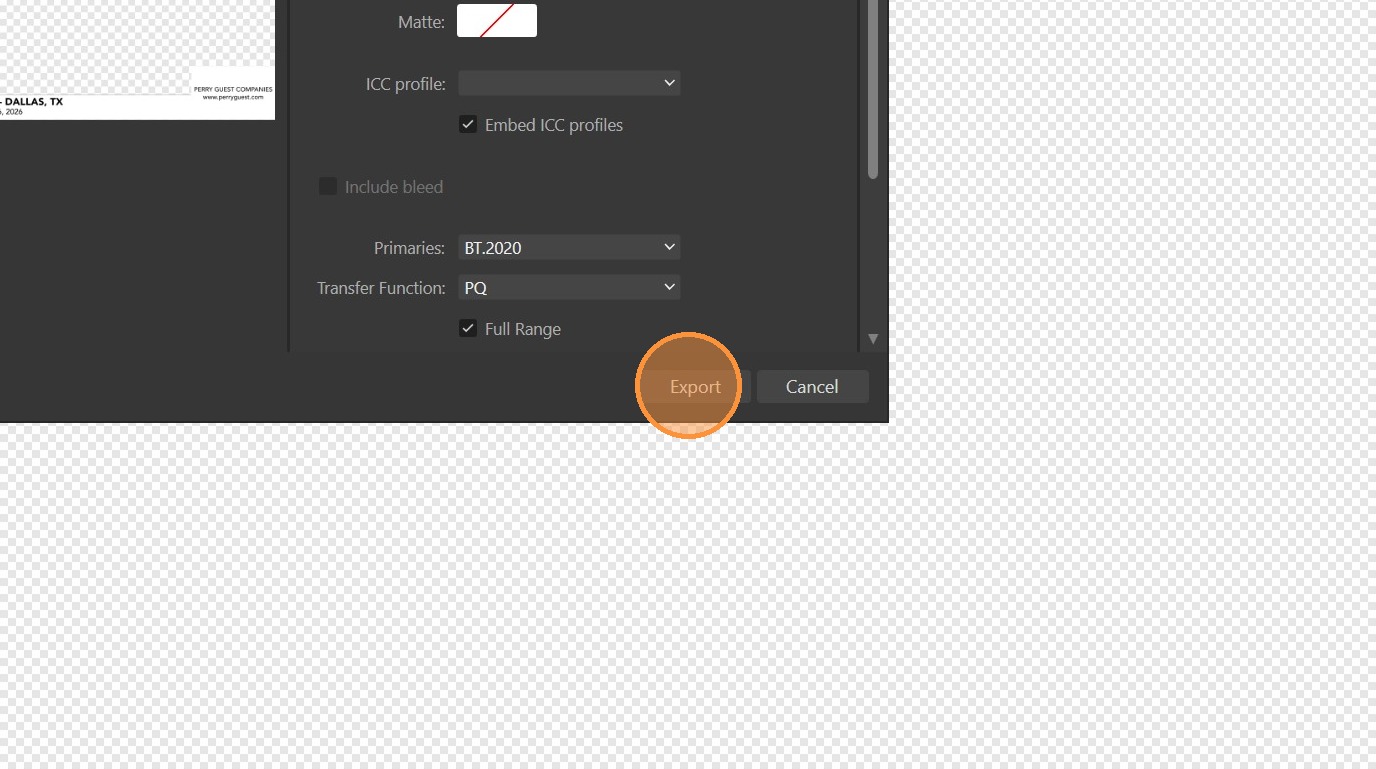
Click "Export"
-
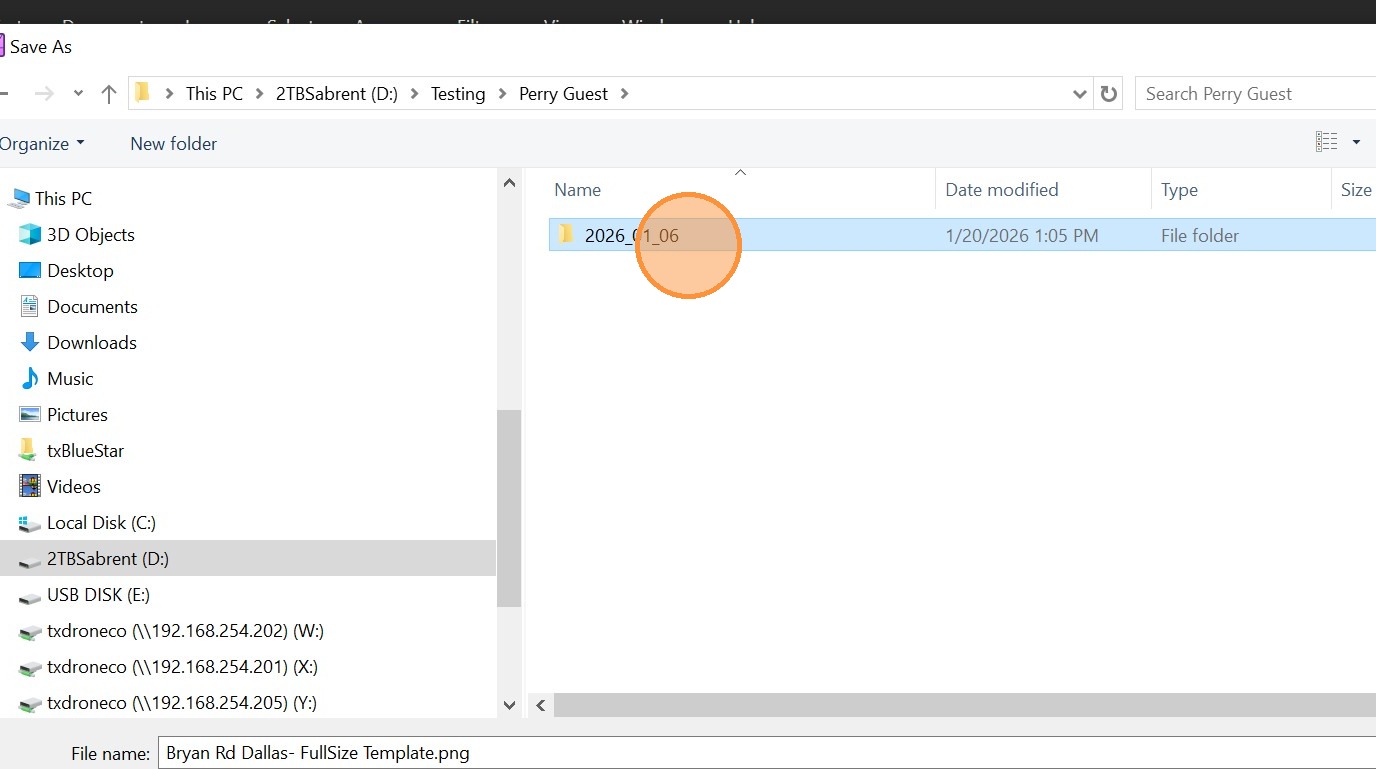
Navigate to the export folder.
-
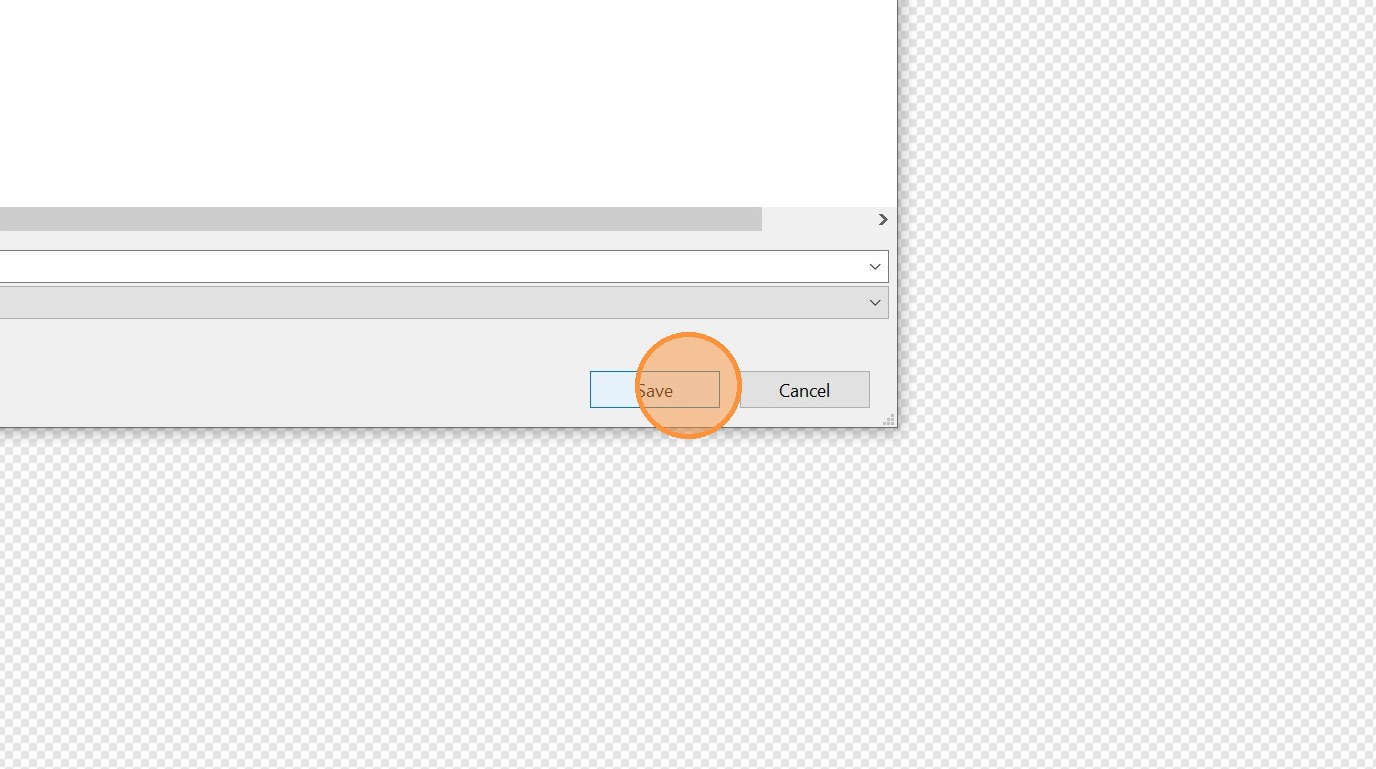
Click "Save"
-
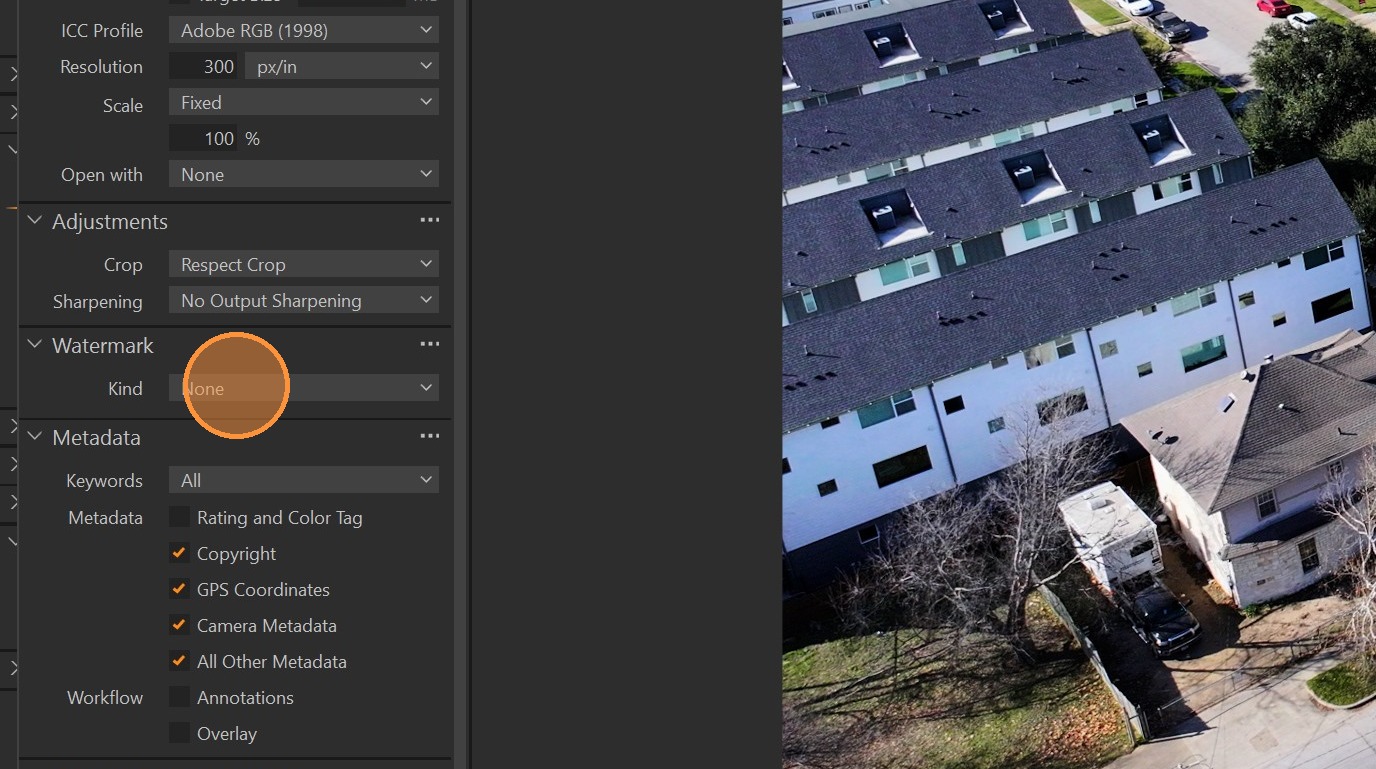
Click the "Kind" dropdown in the Watermark menu and change it to "Image".
-
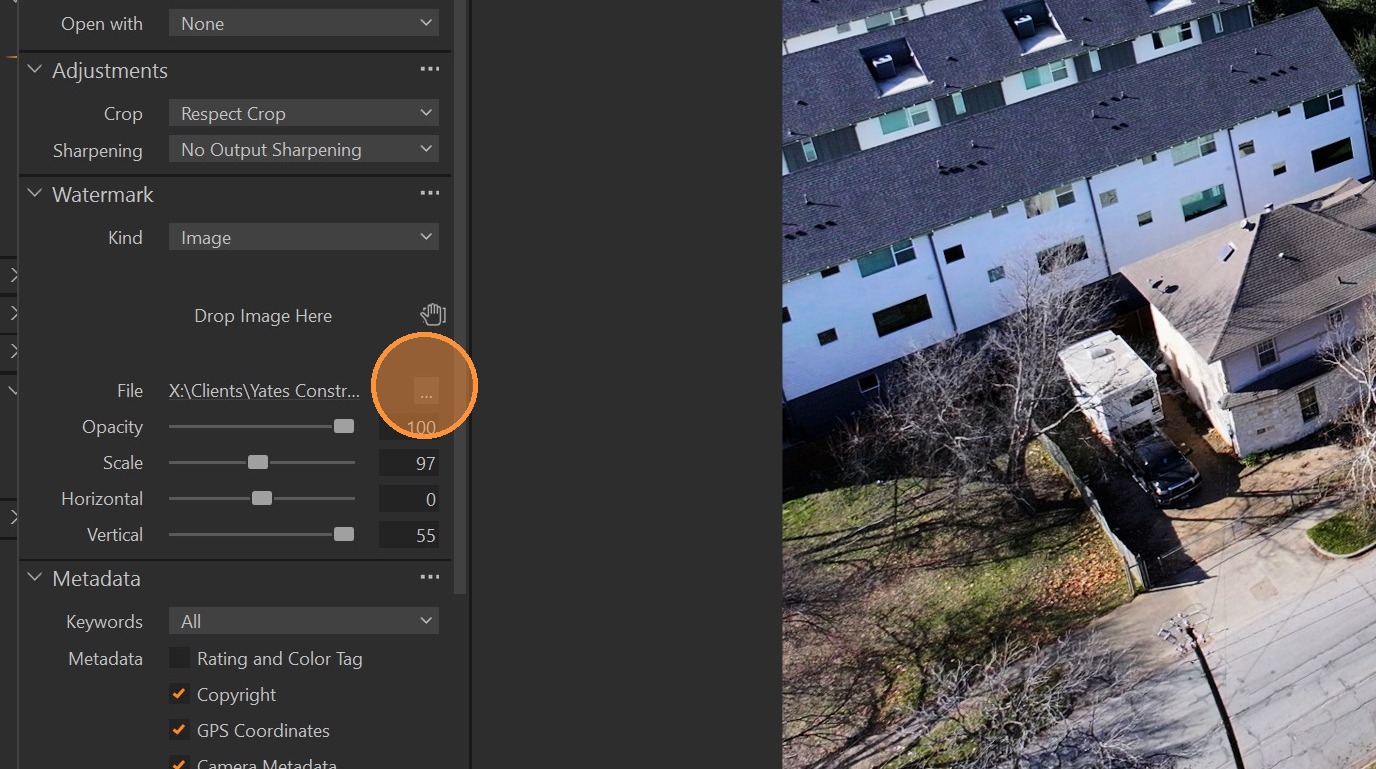
Click on the three dots for the file source
-
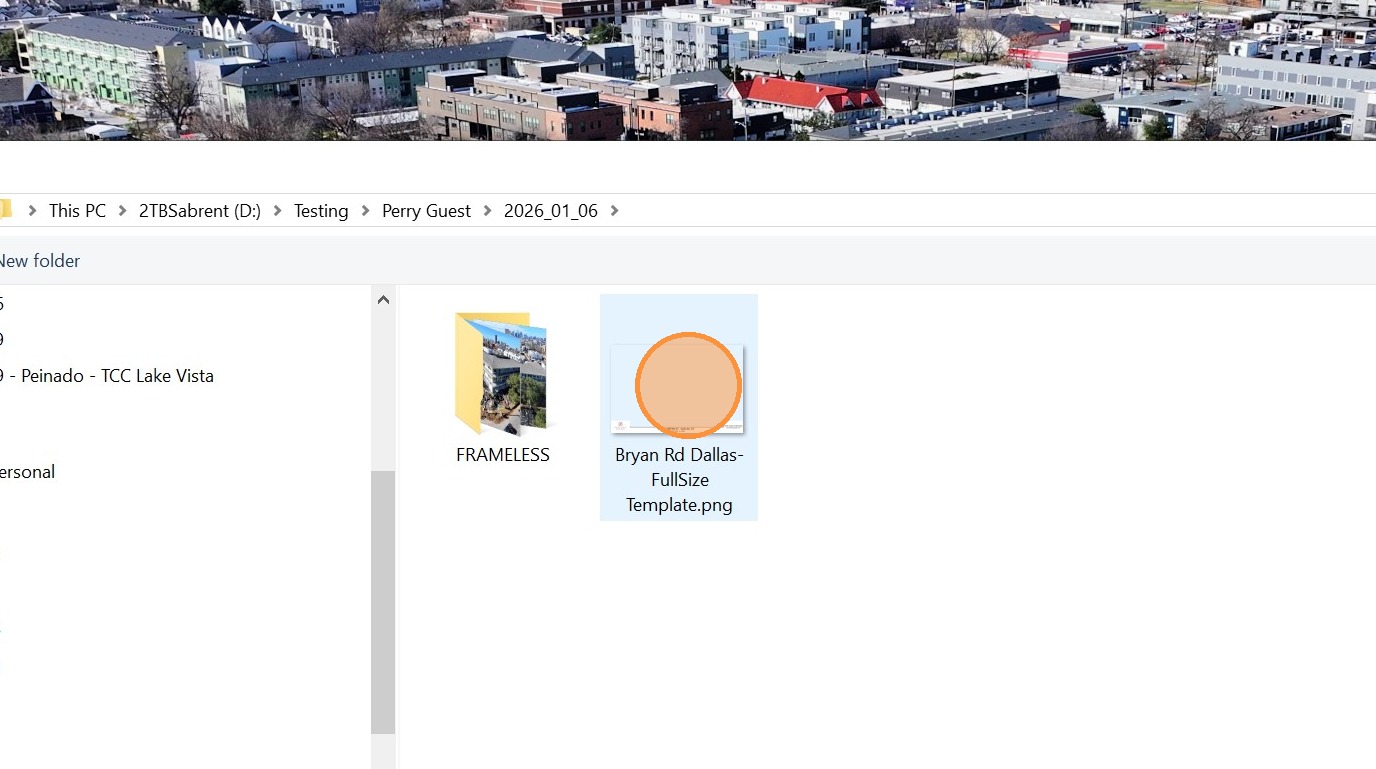
Find the frame file that was exported out of Affinity Photo.
-
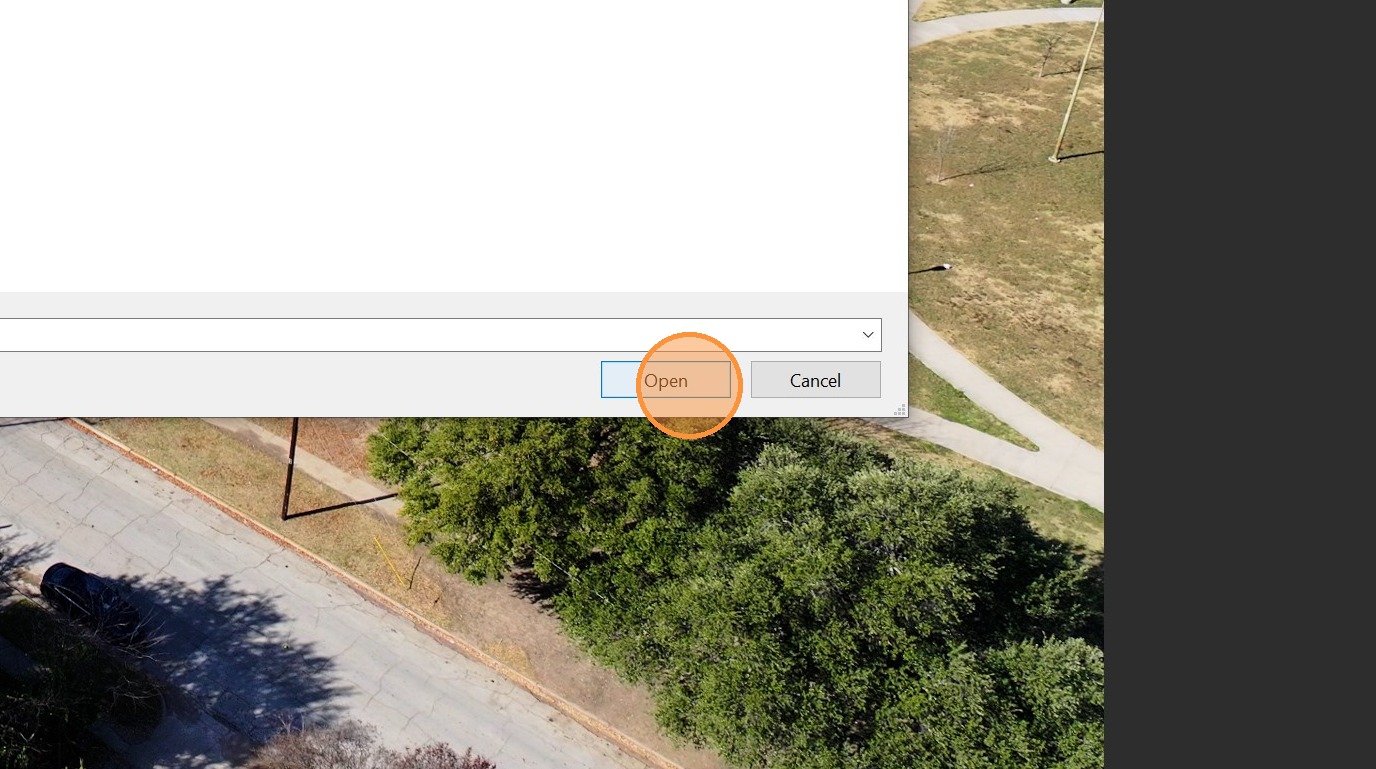
Click "Open"
-
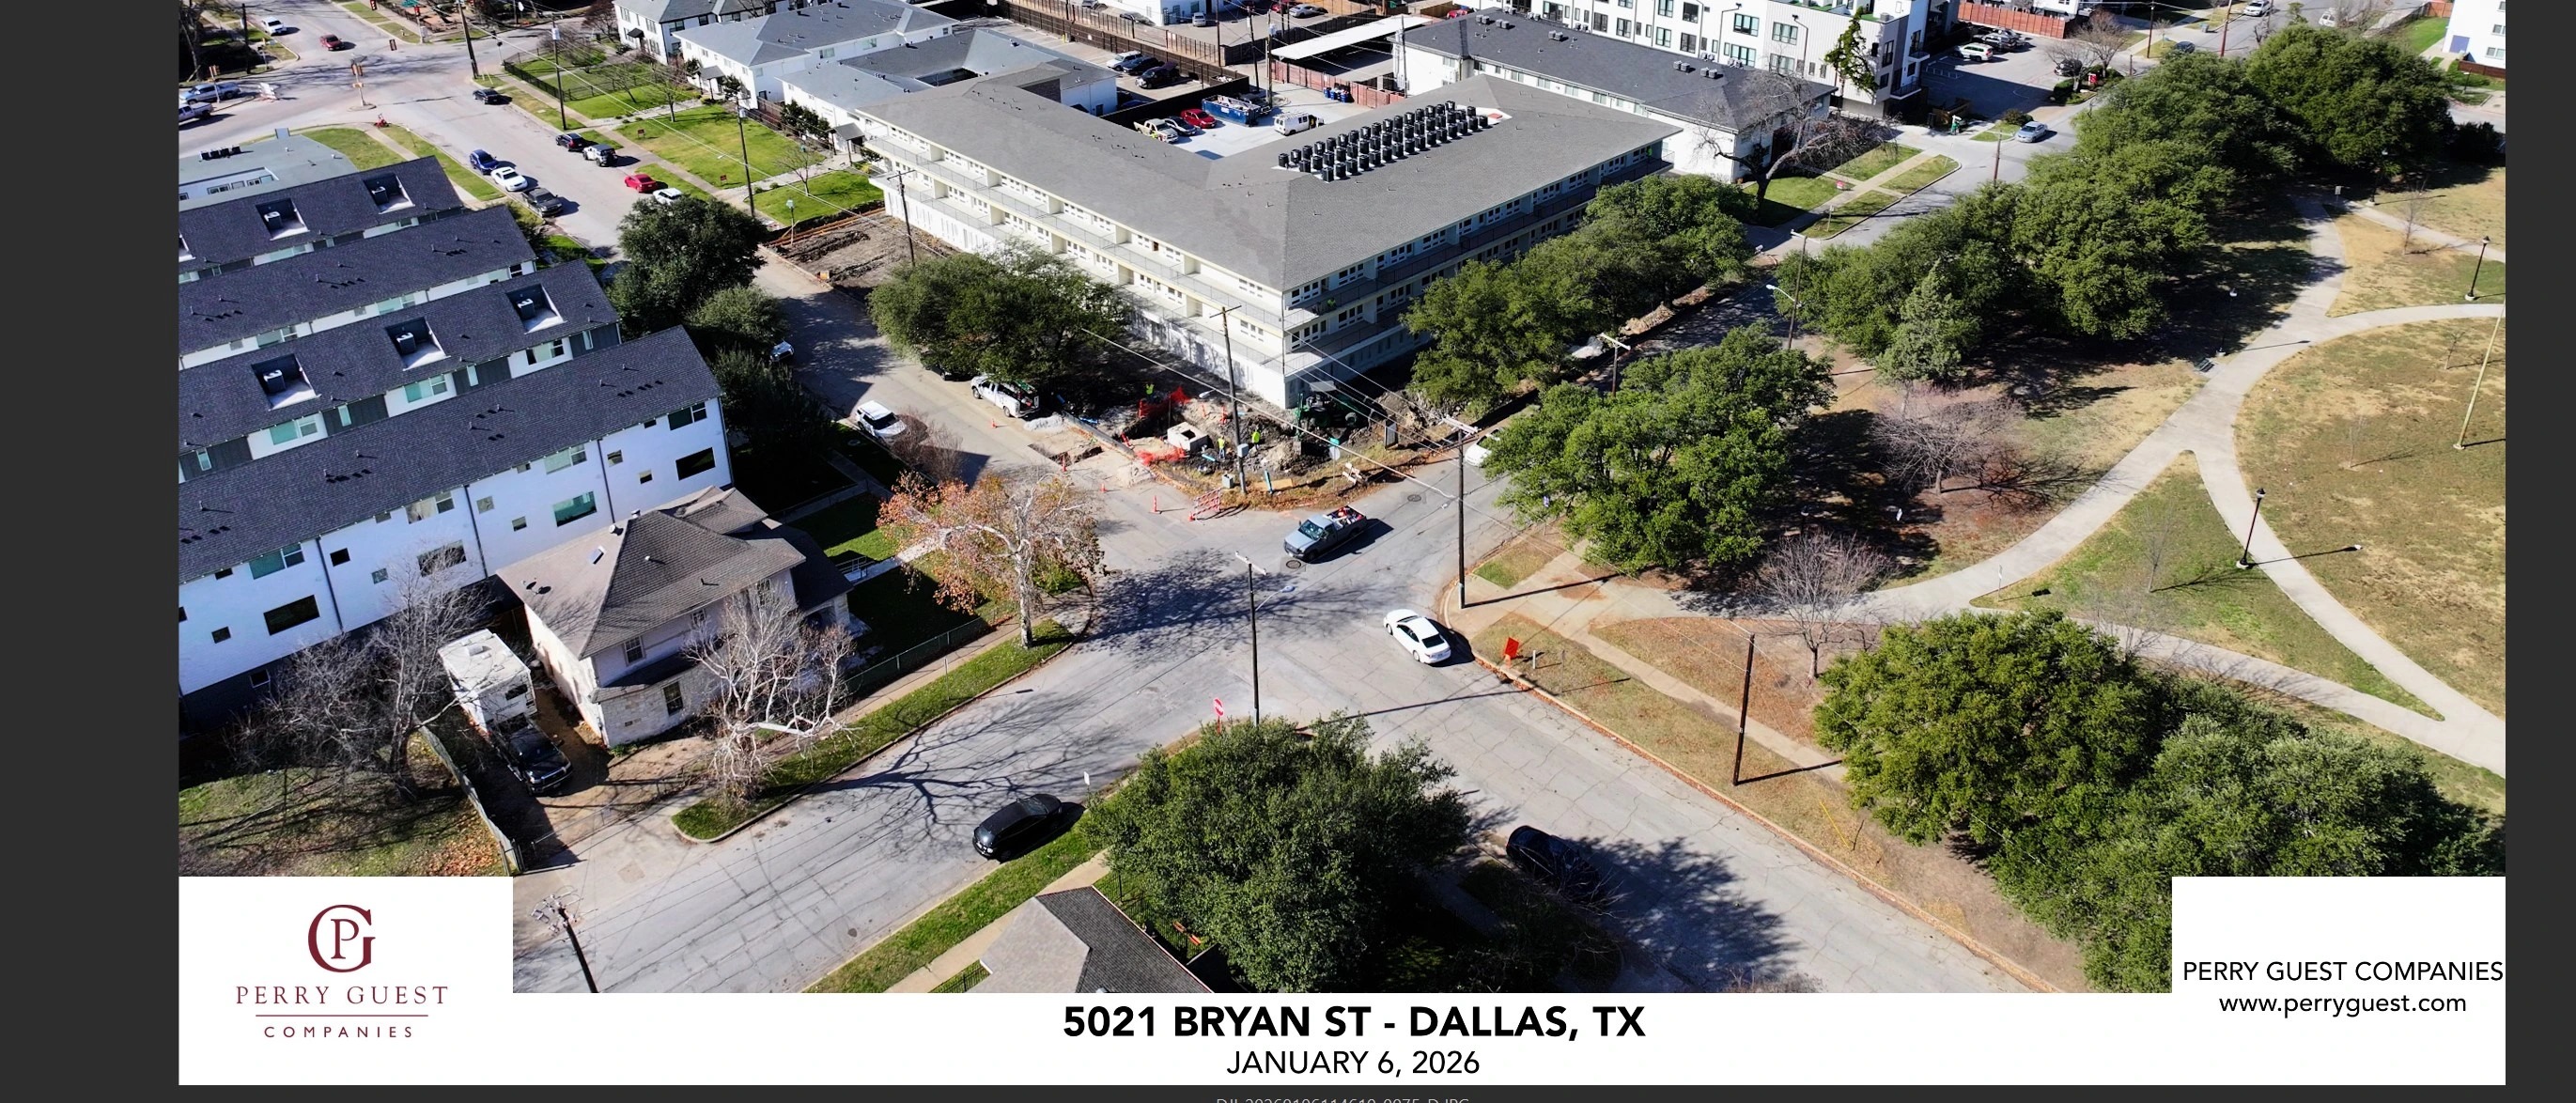
Confirm that the frame leaves no gap on the edges.
-
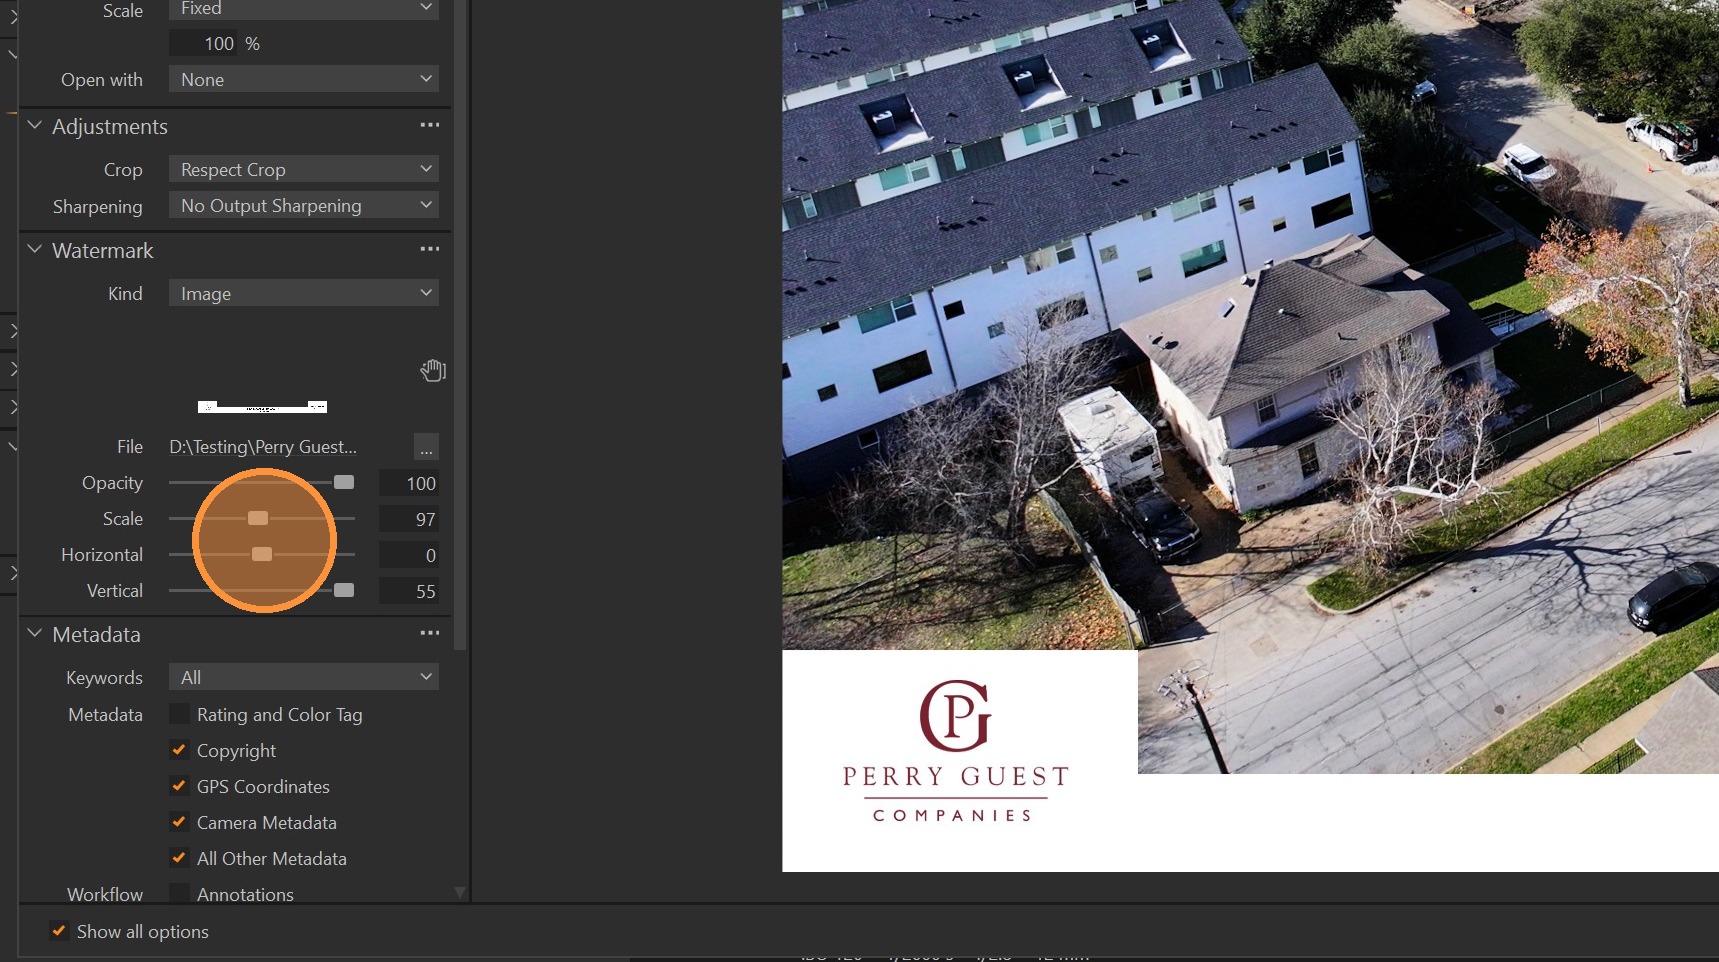
If there are gaps, change the "Scale", "Horizontal", and "Vertical" values until this is fixed.
-
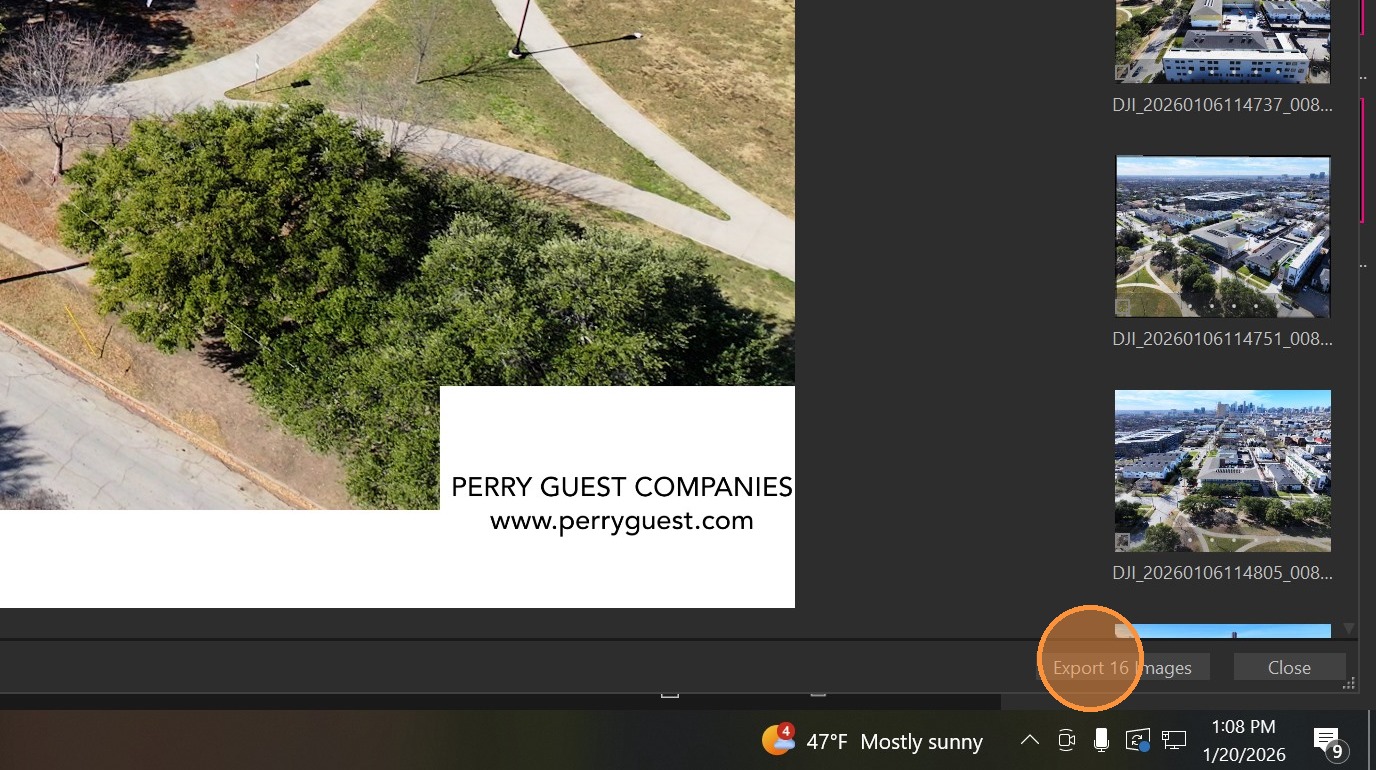
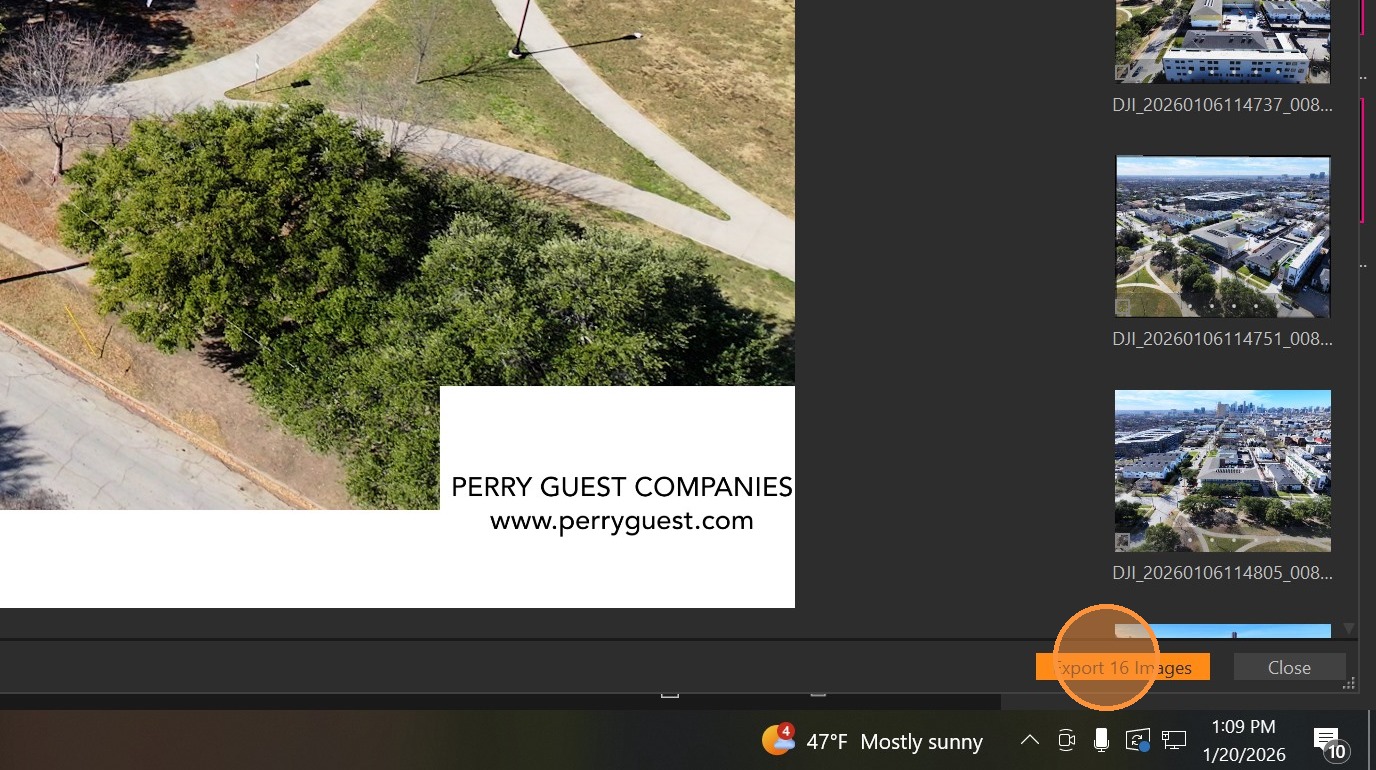
Click "Export 16 Images"
-
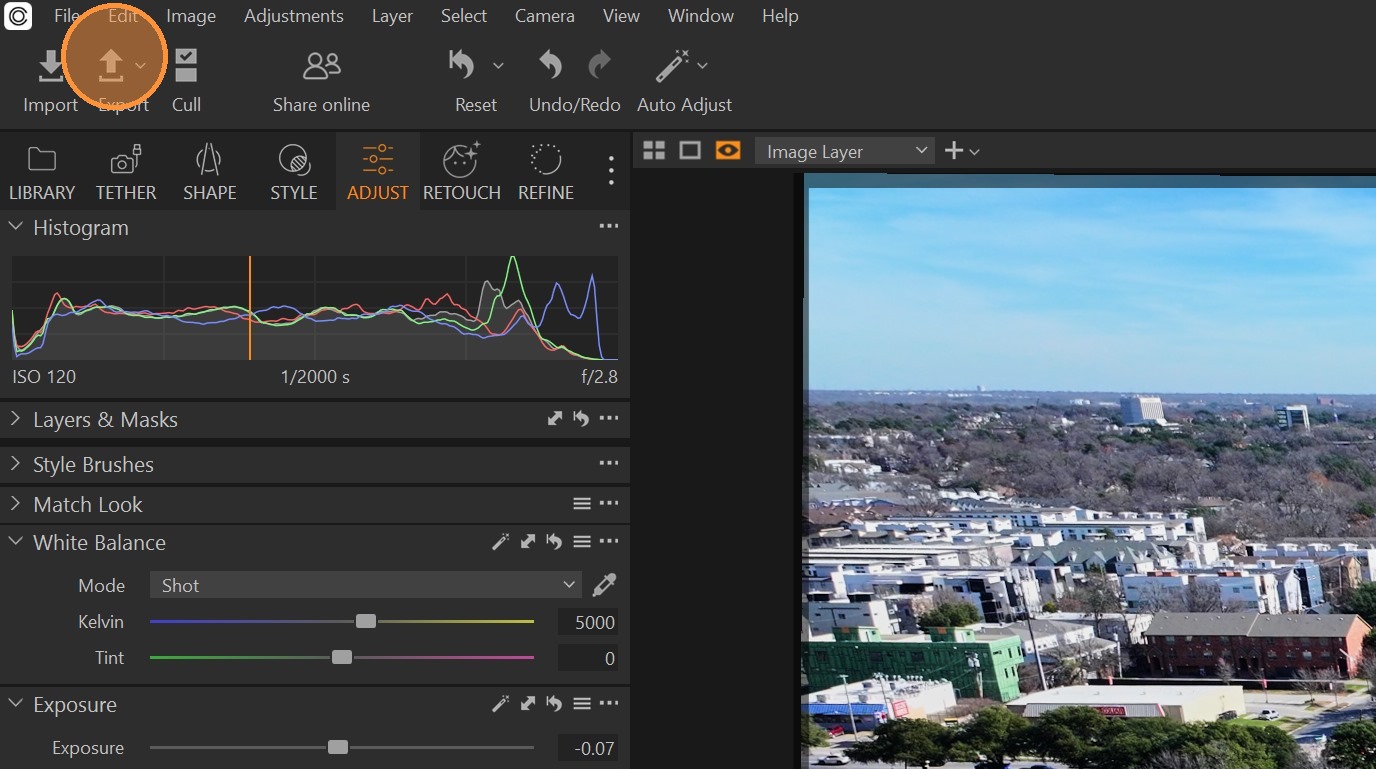
Click "Export"
-
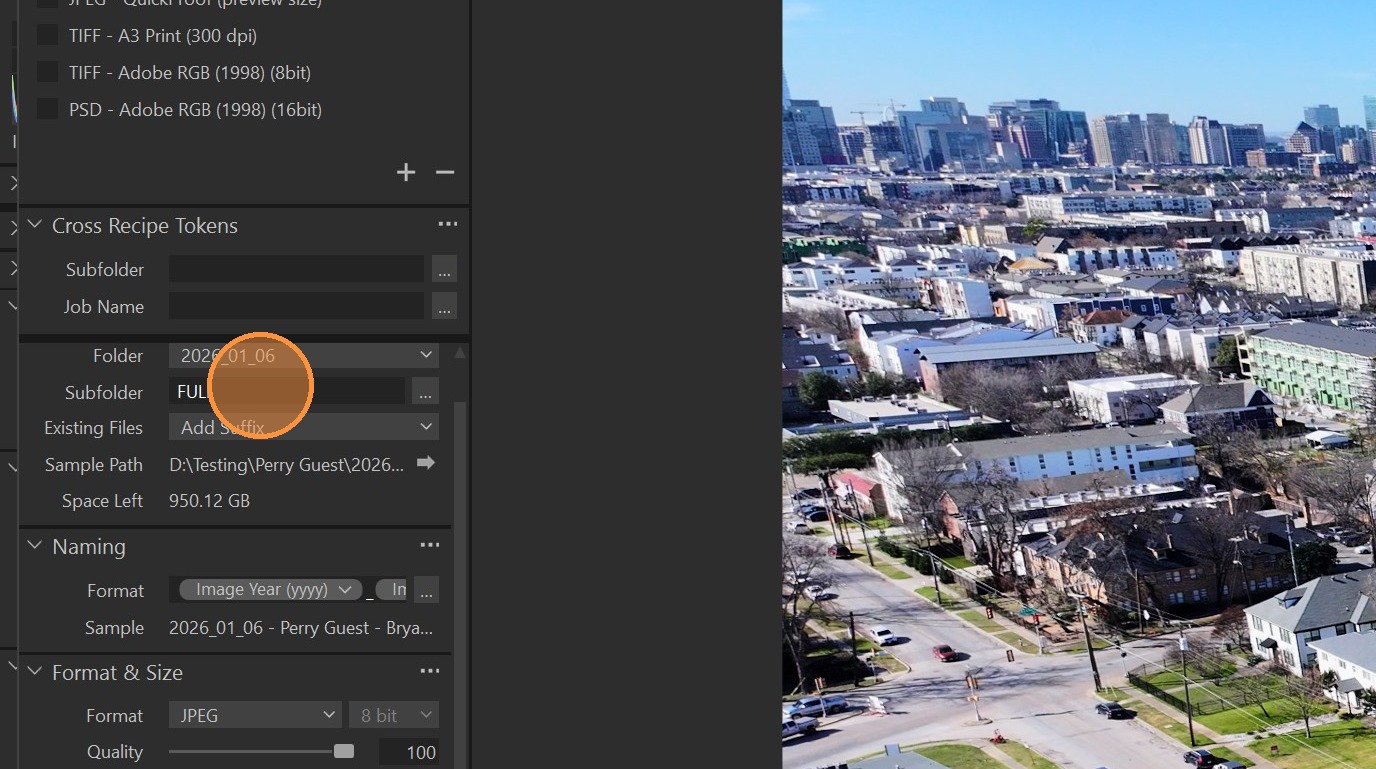
Change the Subfolder Name to "WEB"
-
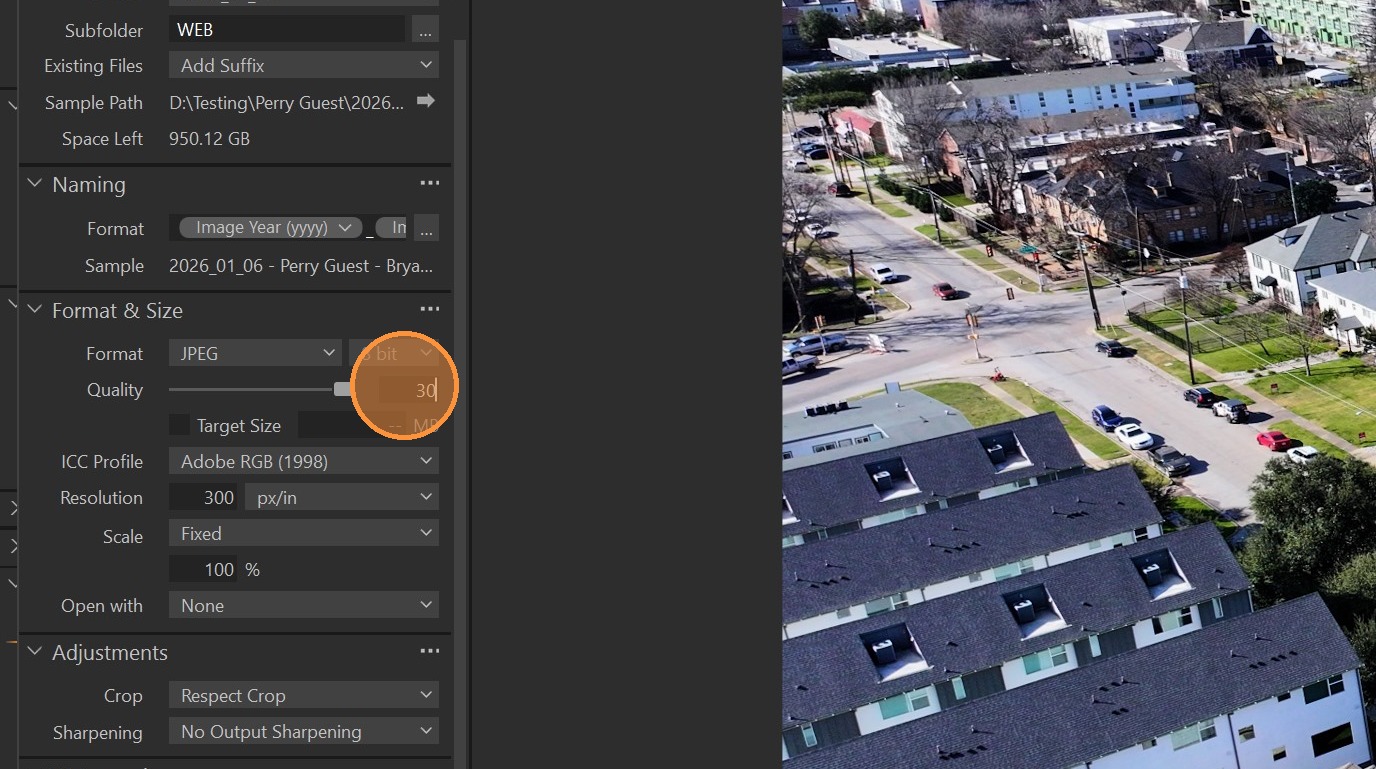
Change the Quality Value to 30
-
Click "Export 16 Images"
 https://wiki.txdroneco.com/link/215#bkmrk-%23%23%23%23-%5Bmade-with-scri