
CaptureOne Construction Progression Photo Editing
Click Customer Folder in Capture One
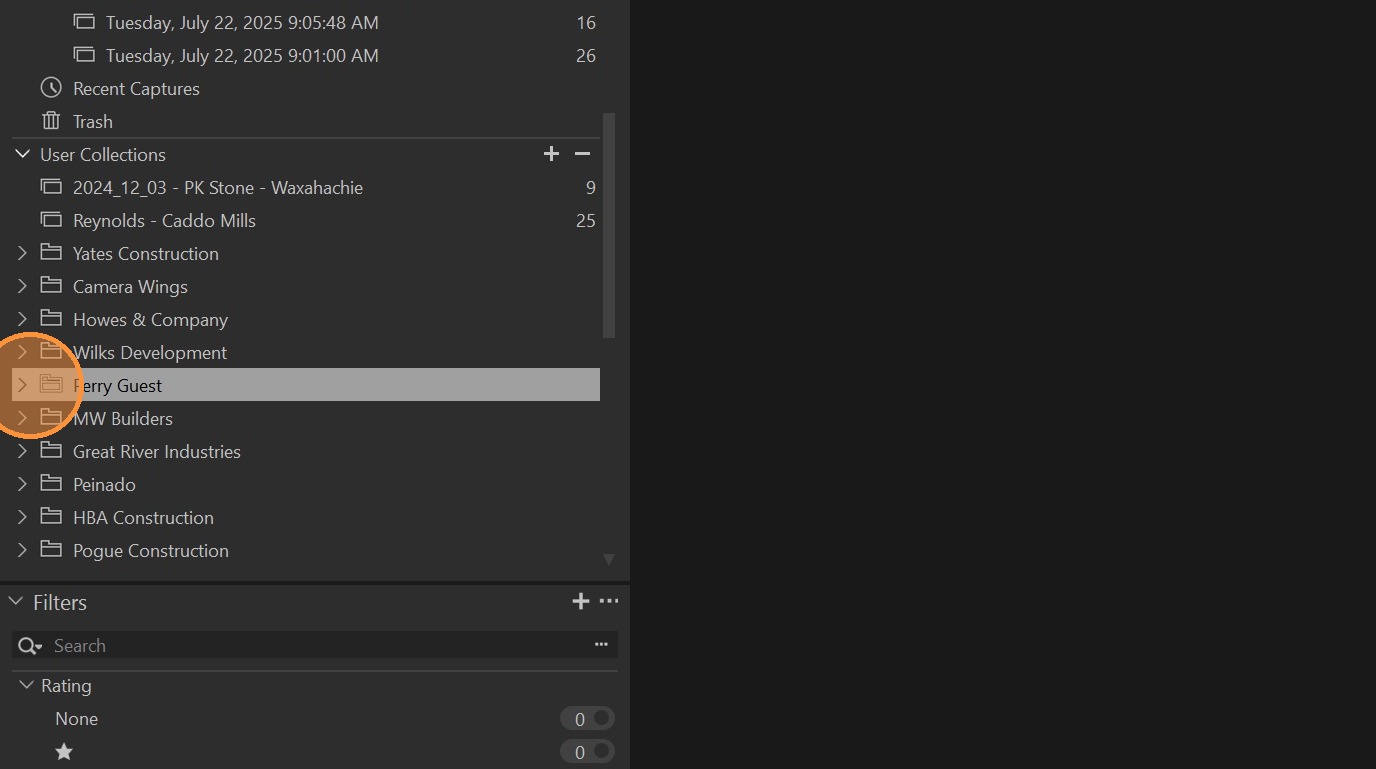
Click on the project you are working on
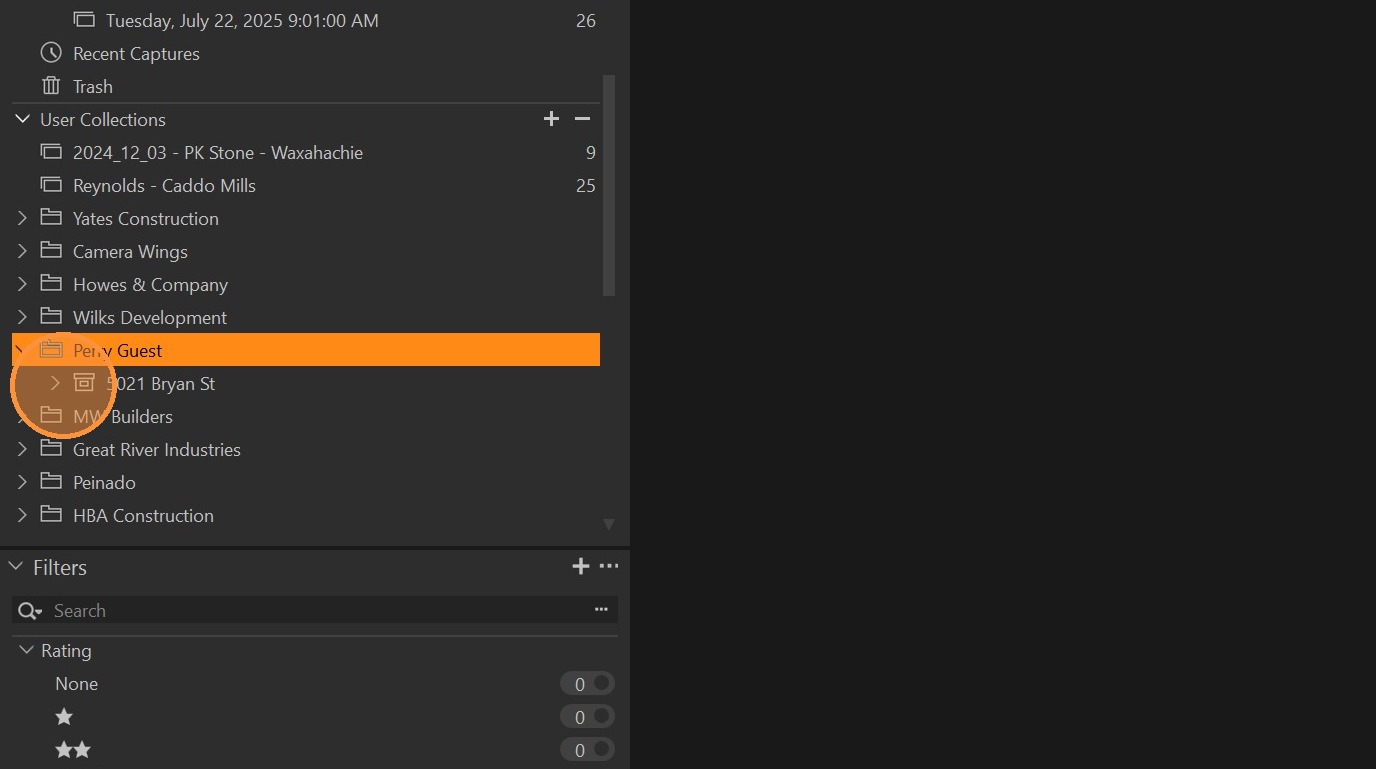
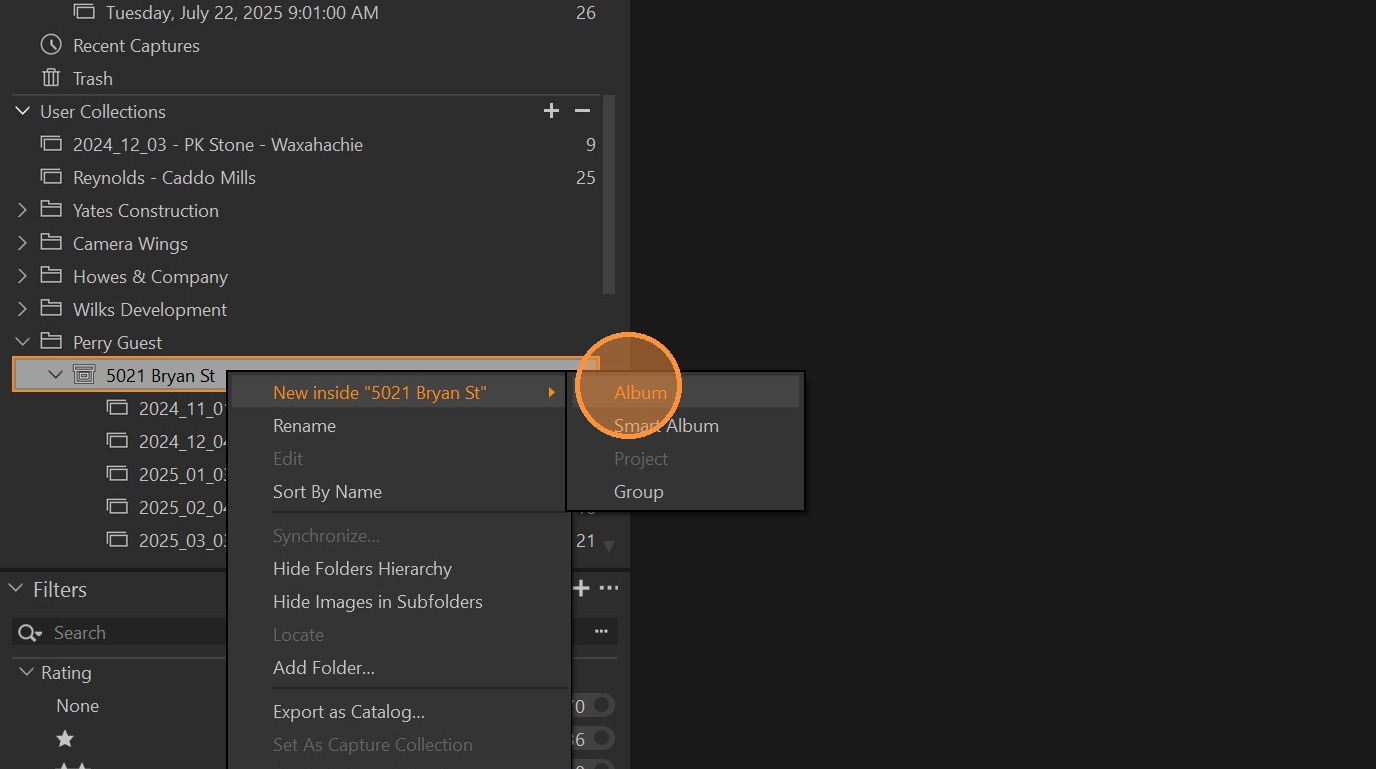
Right click on the project name
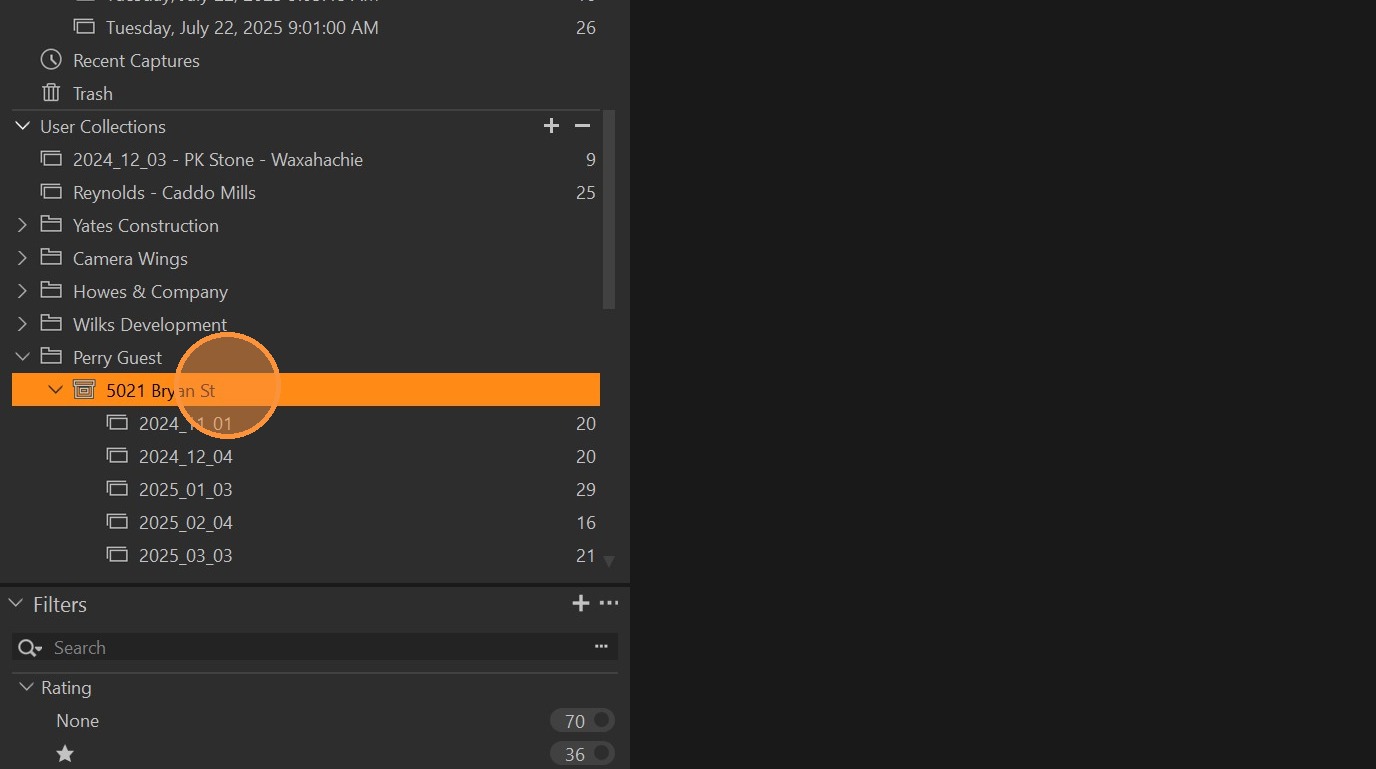
Click "New inside "5021 Bryan St""
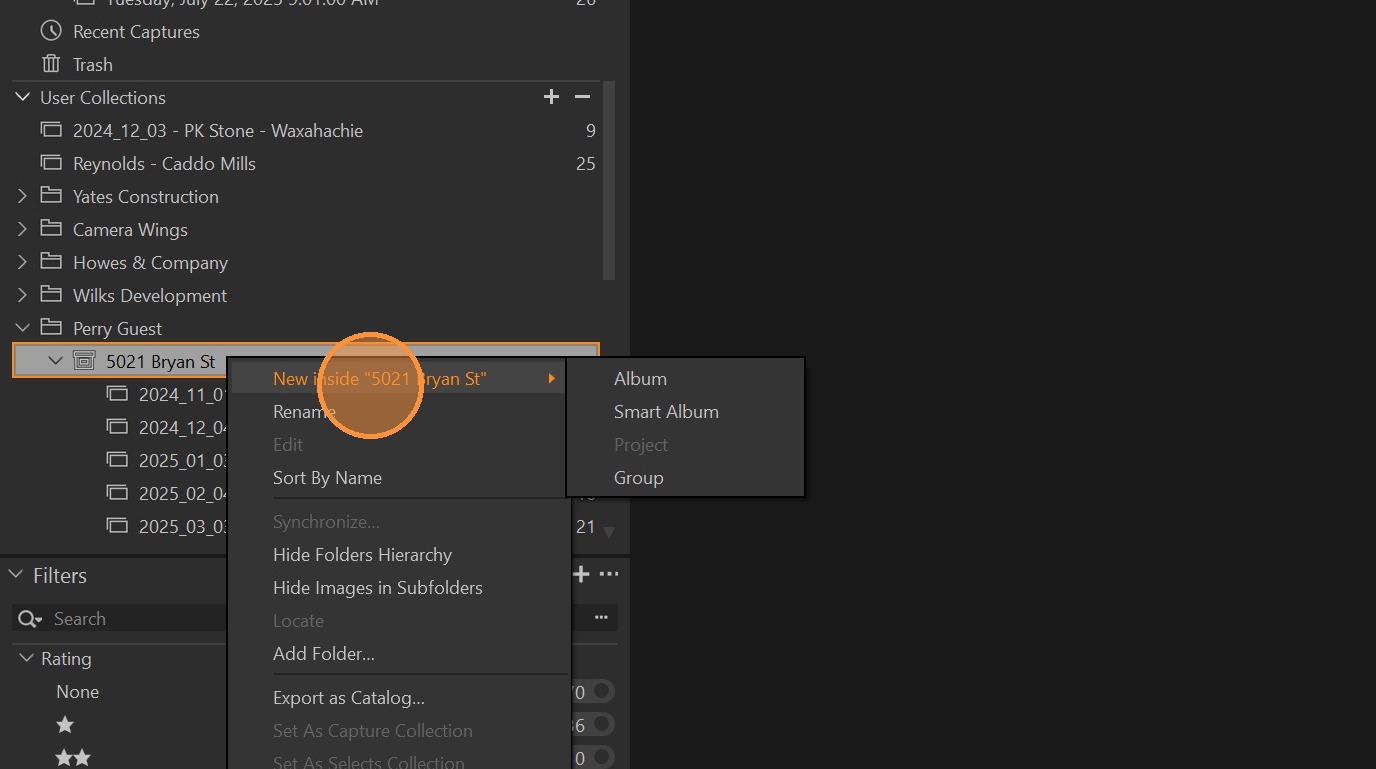
Click "Album"
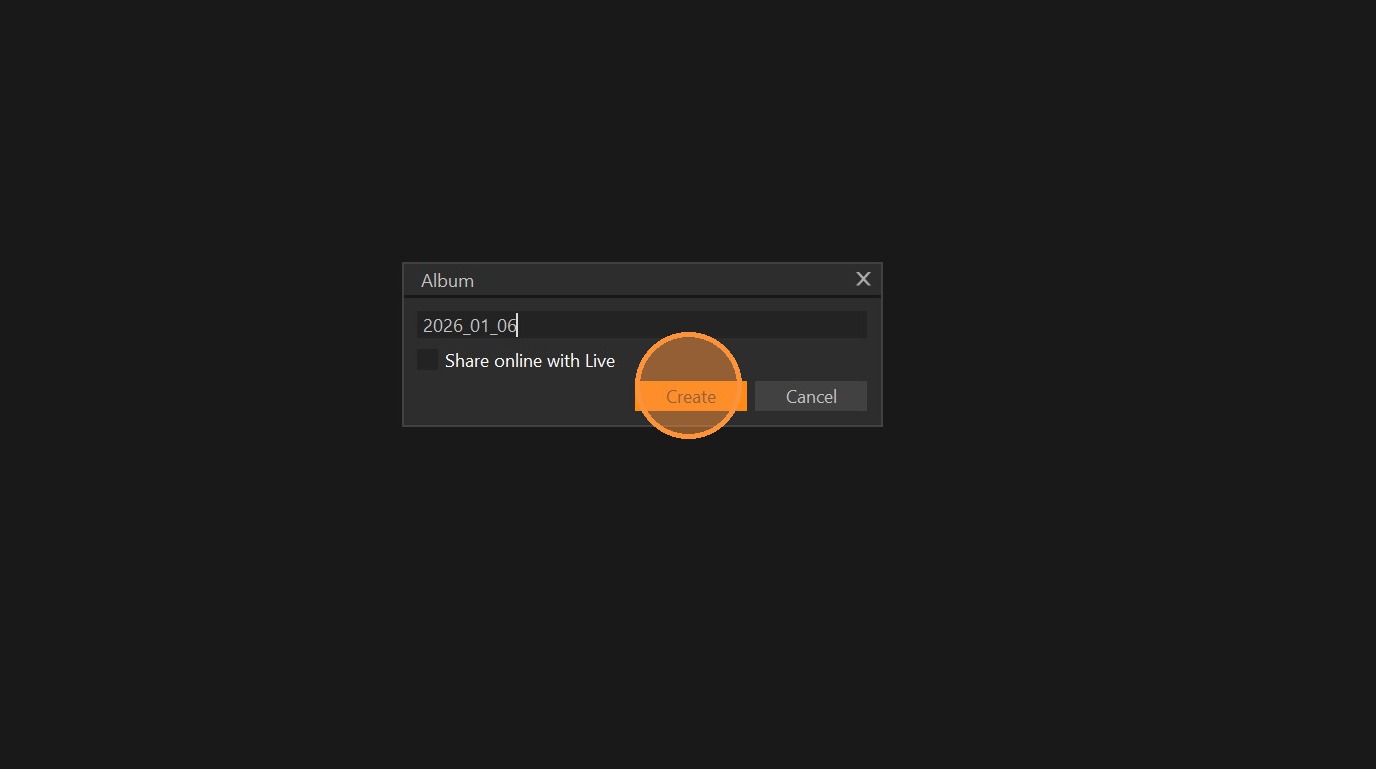
Enter the current capture date and click "Create"
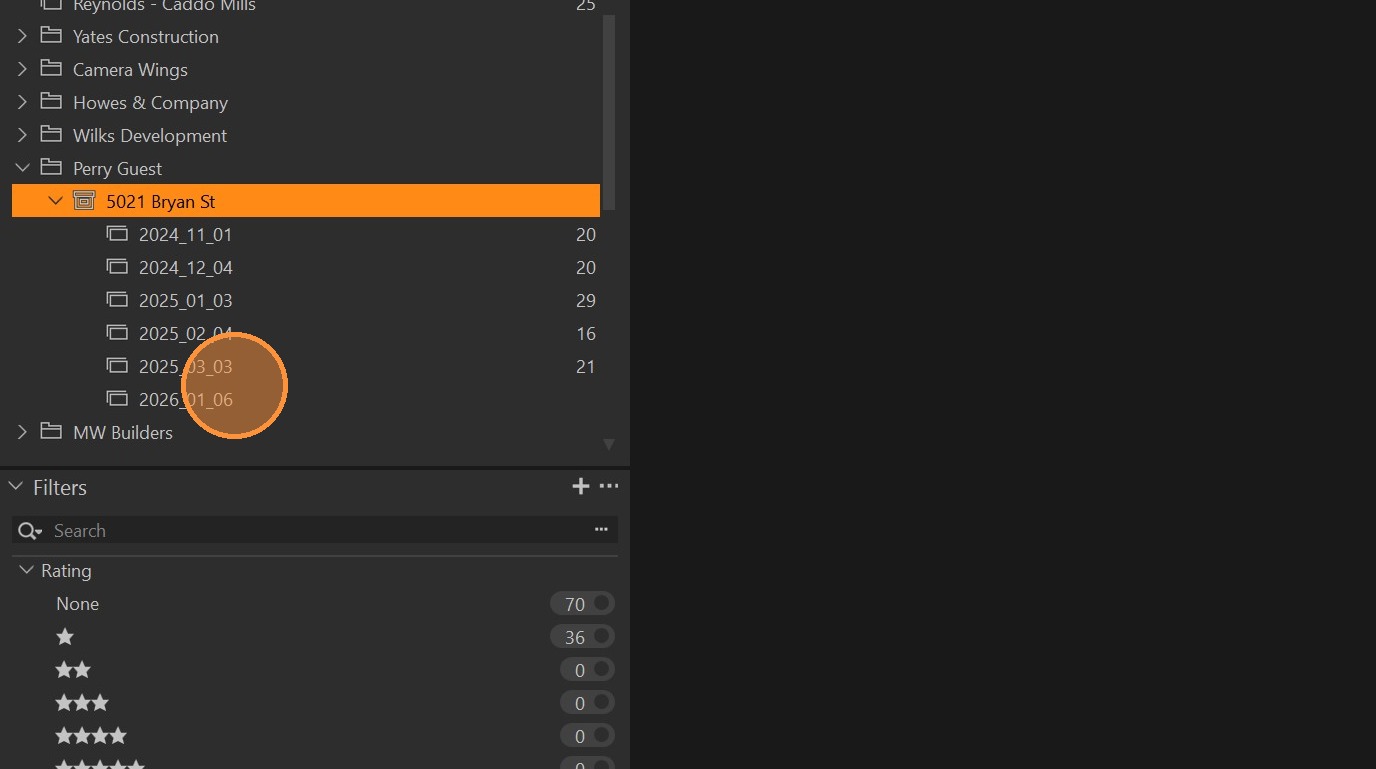
Click on the current album
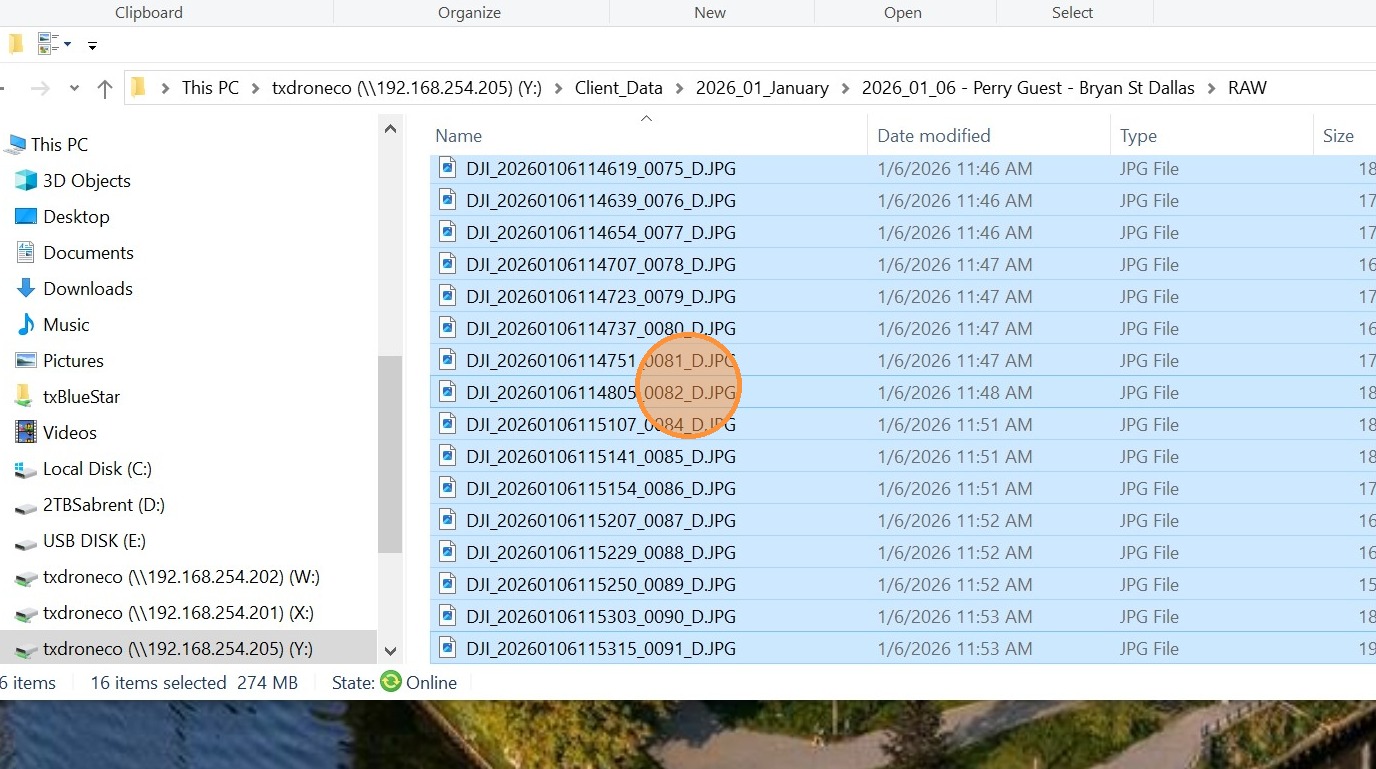
Locate the current capture images
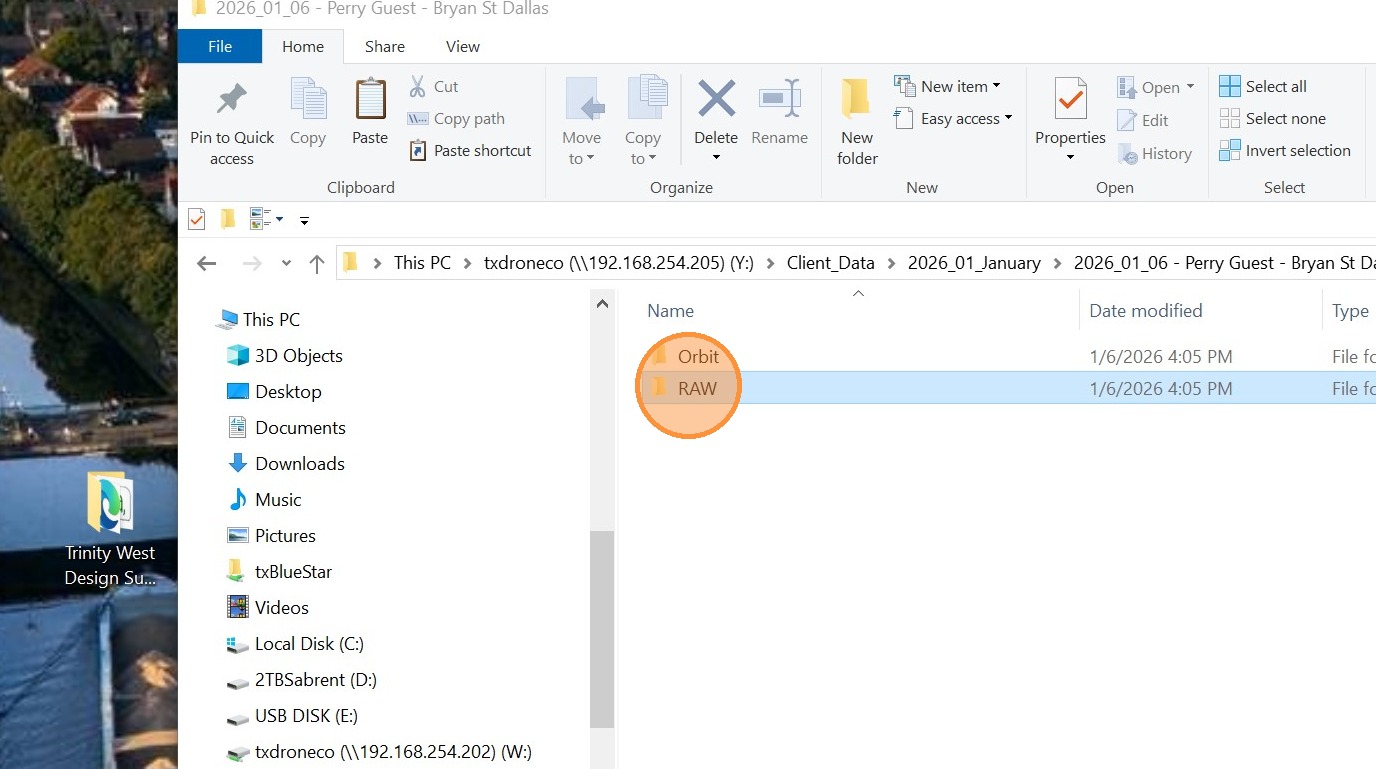
Select all pictures and drag them into the dark grey empty space inside CaptureOne
Click "Pick all" to select all Images
Click "Import All"
Click on the first image
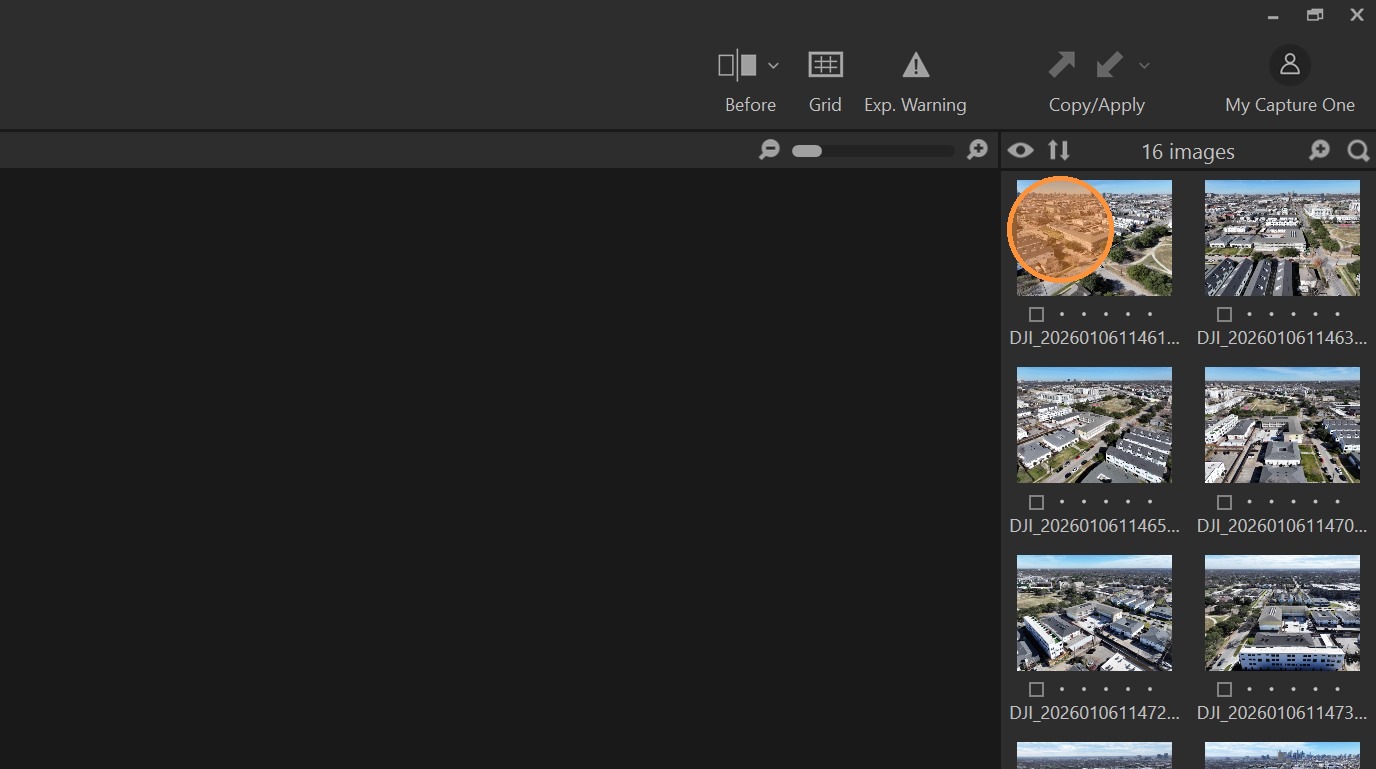
Hold the "Shift" button and click on the last image to select all images
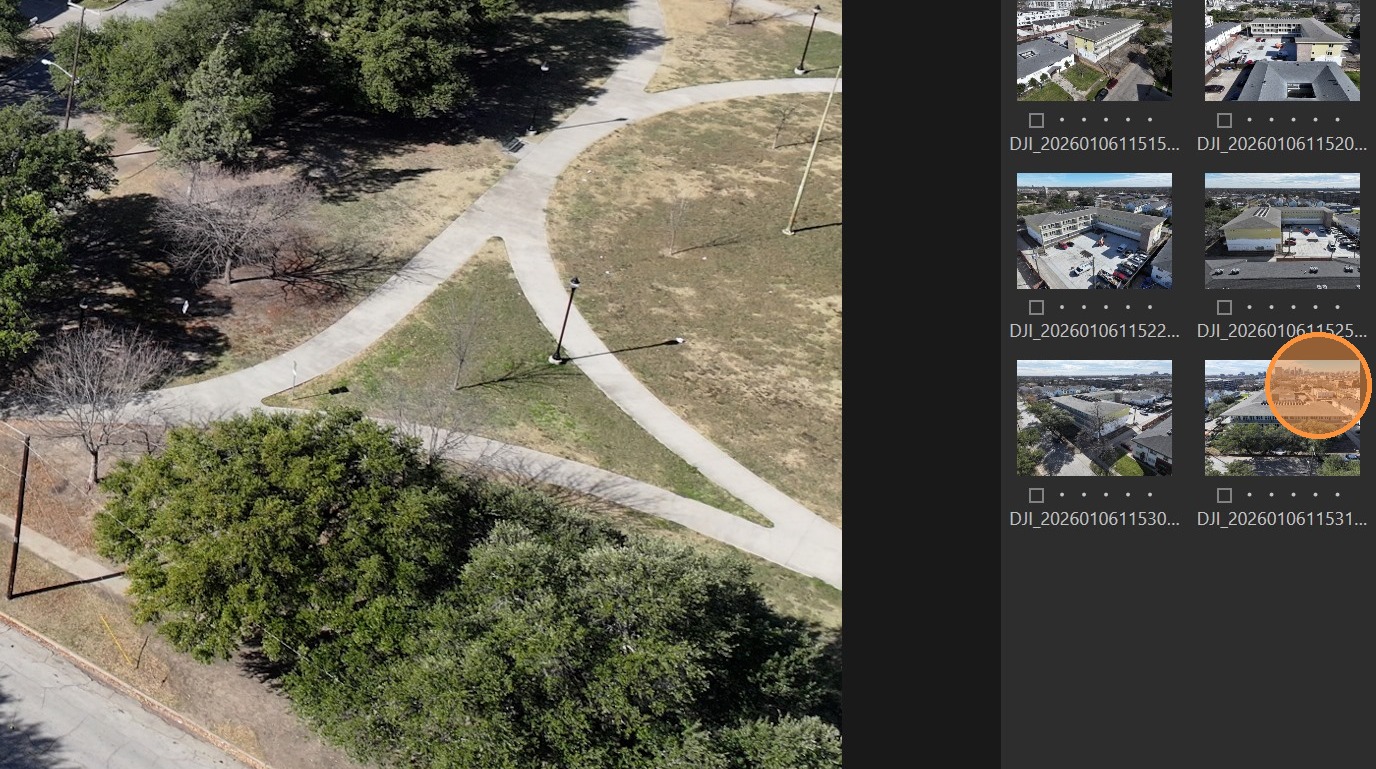
Click on the symbol for the leveling tool
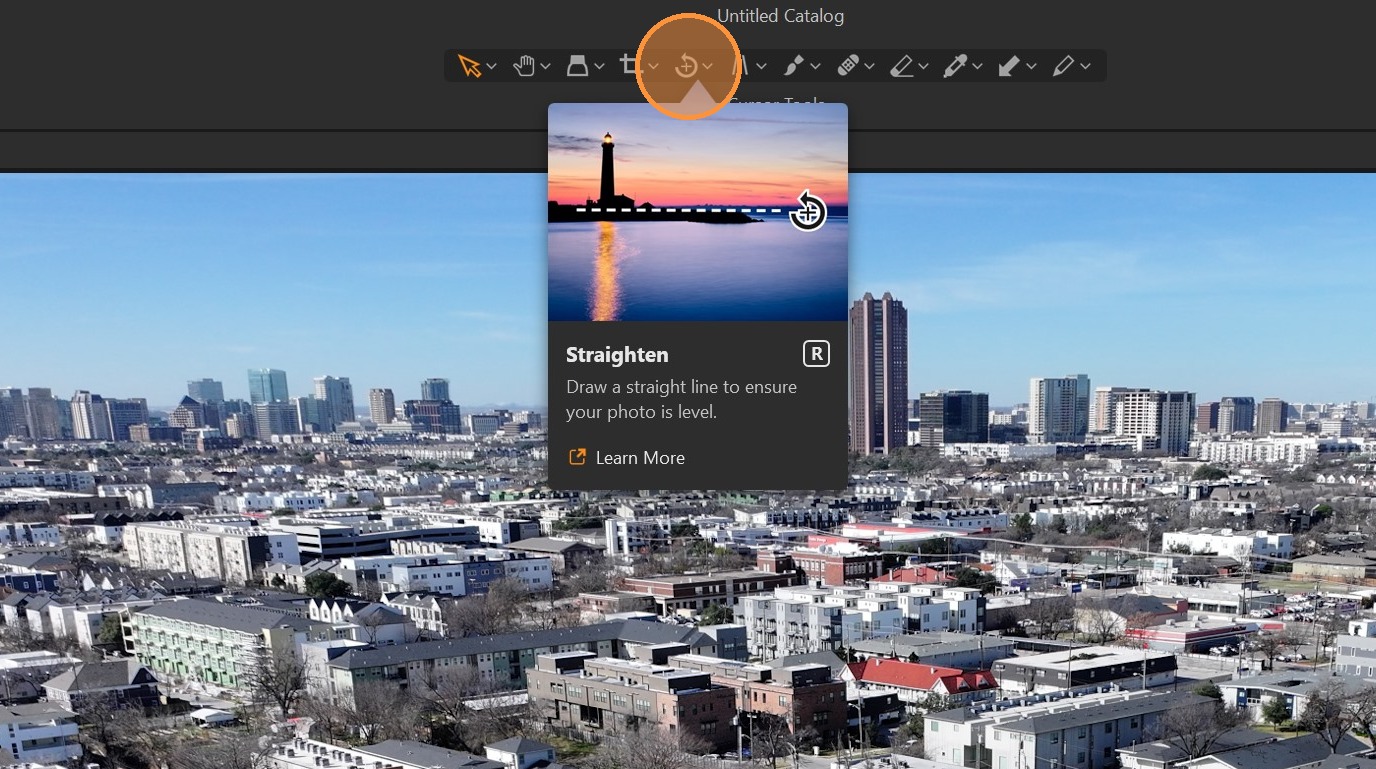
Select a well visible part of the horizon on the left side of the image
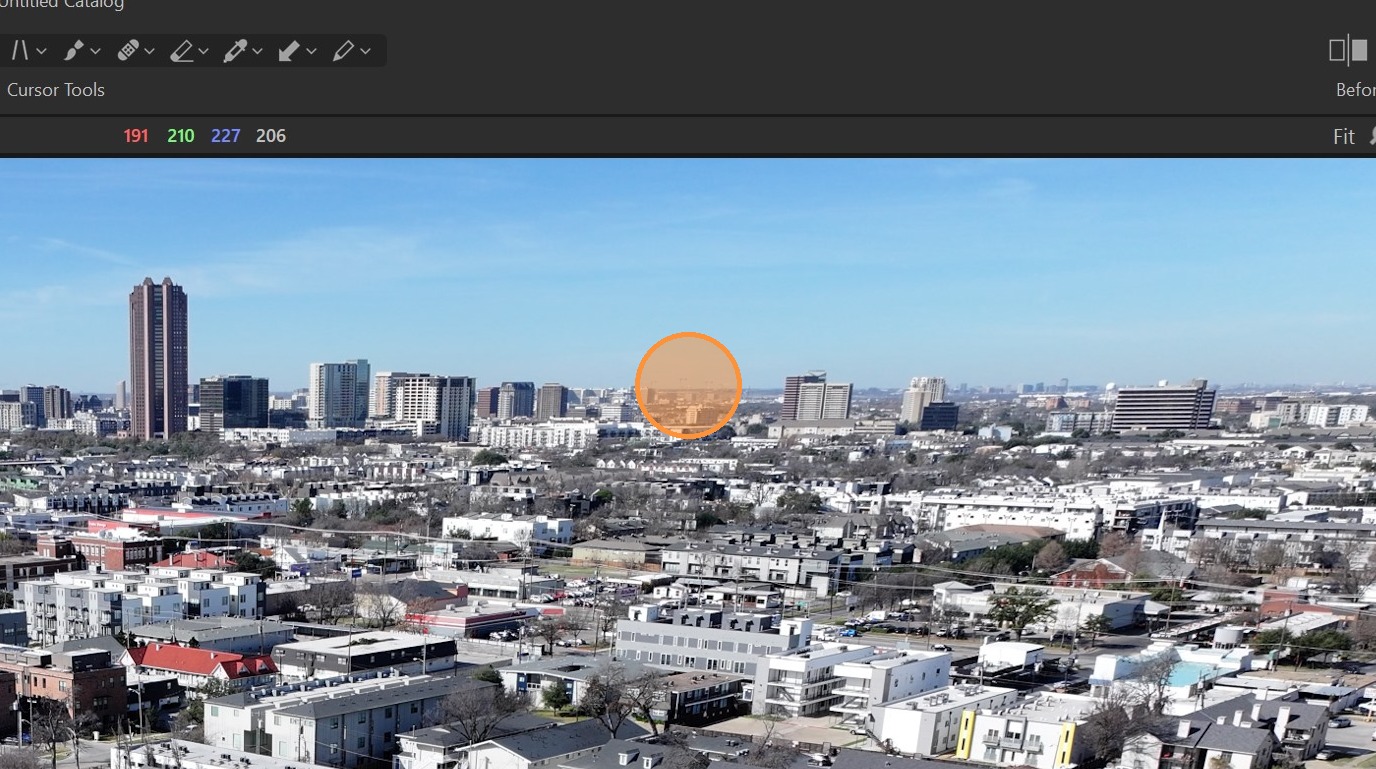
Click on a part of the horizon on the right, the image will level.
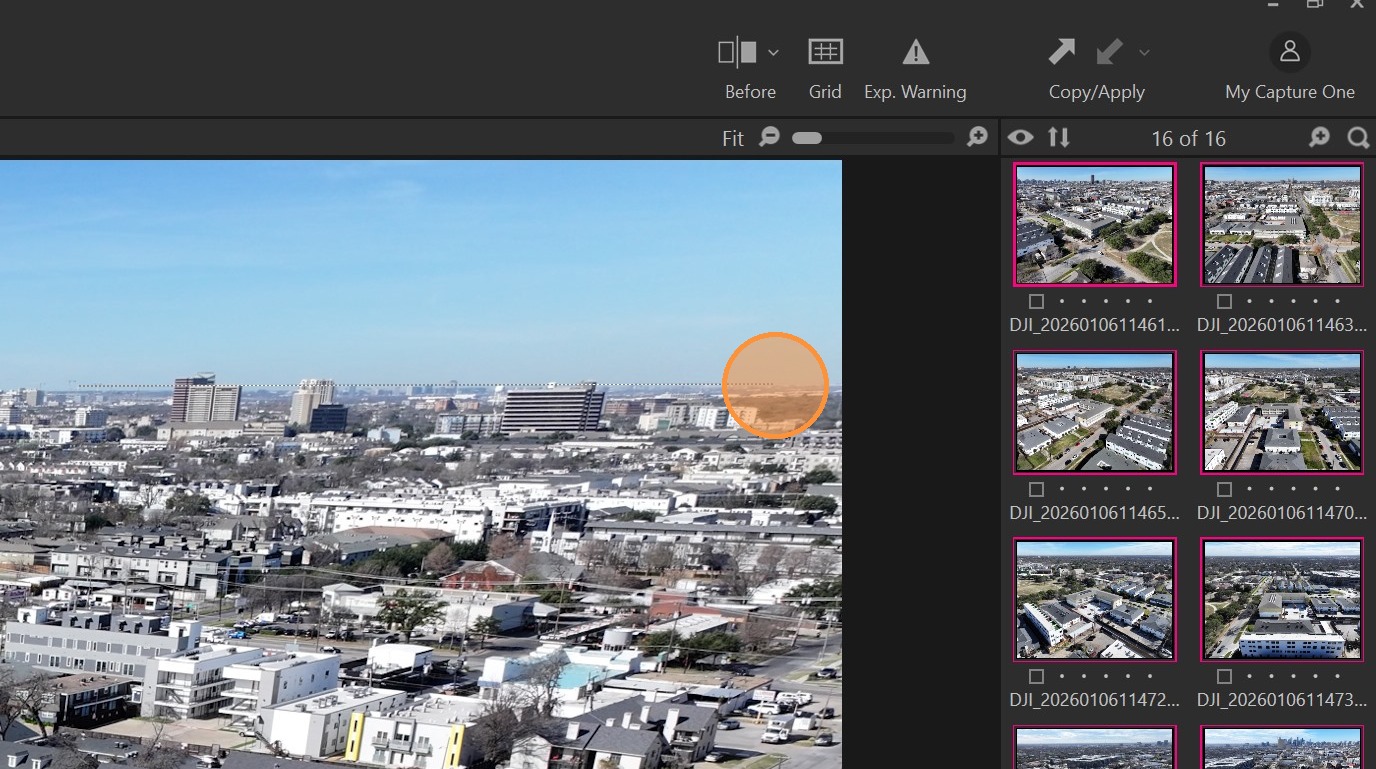
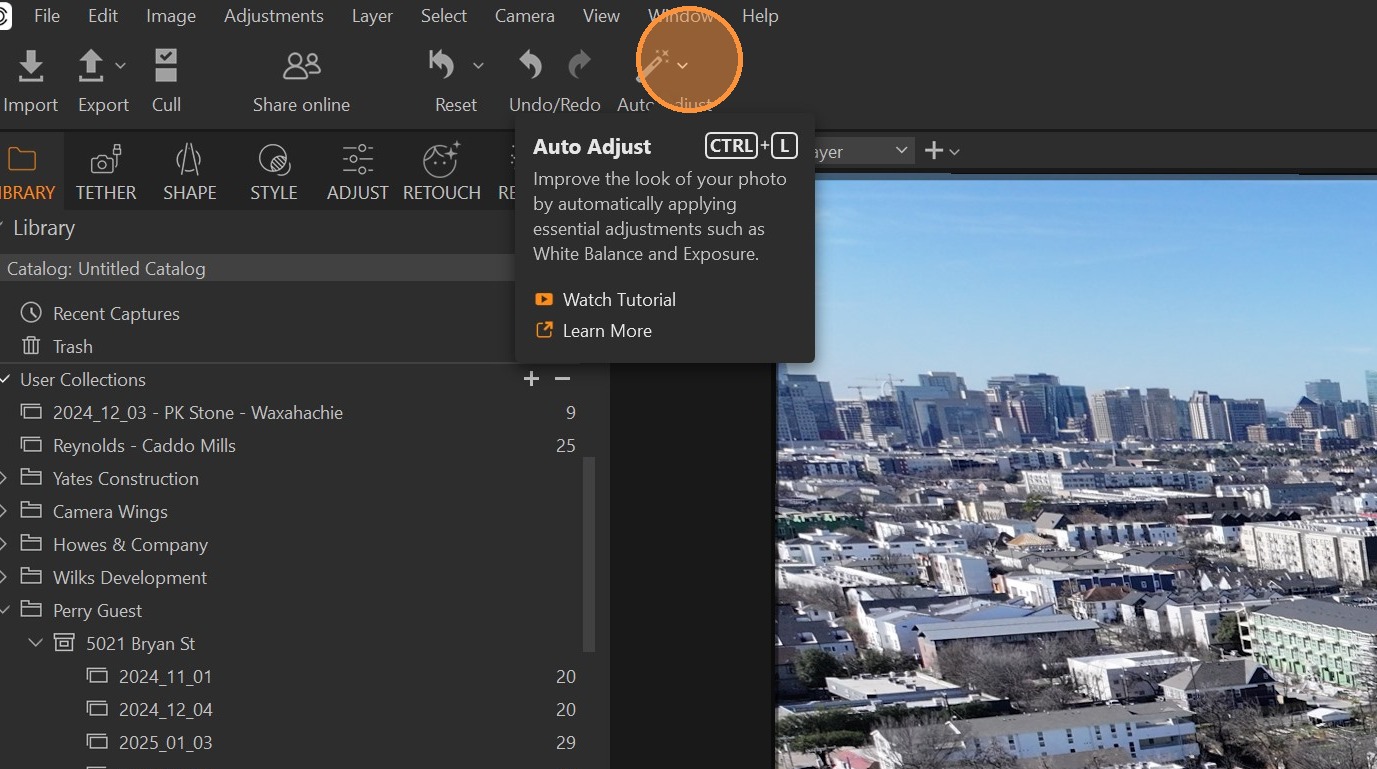
Click on the dropdown menu symbol for the "Auto Adjust" tool.
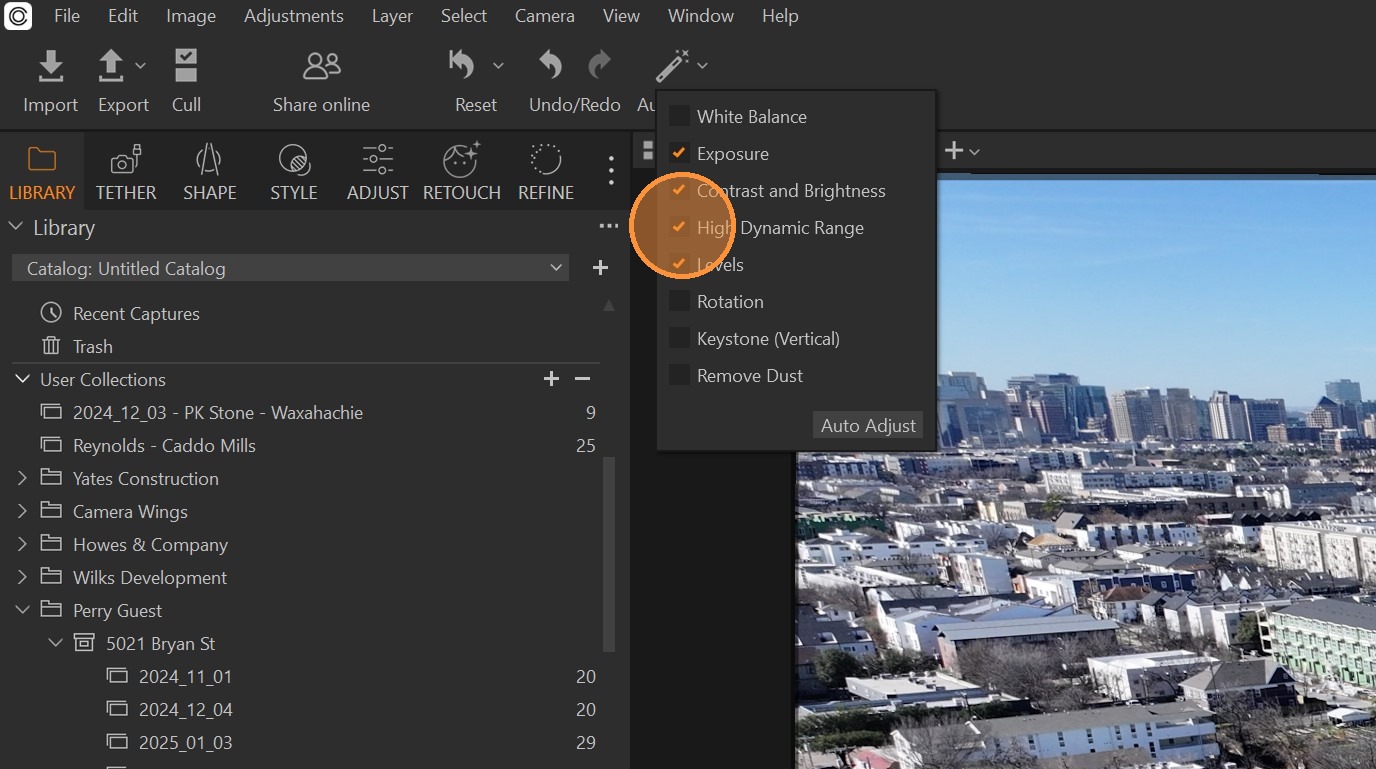
Deselect all options except for "Exposure" and "Contrast and Brightness".
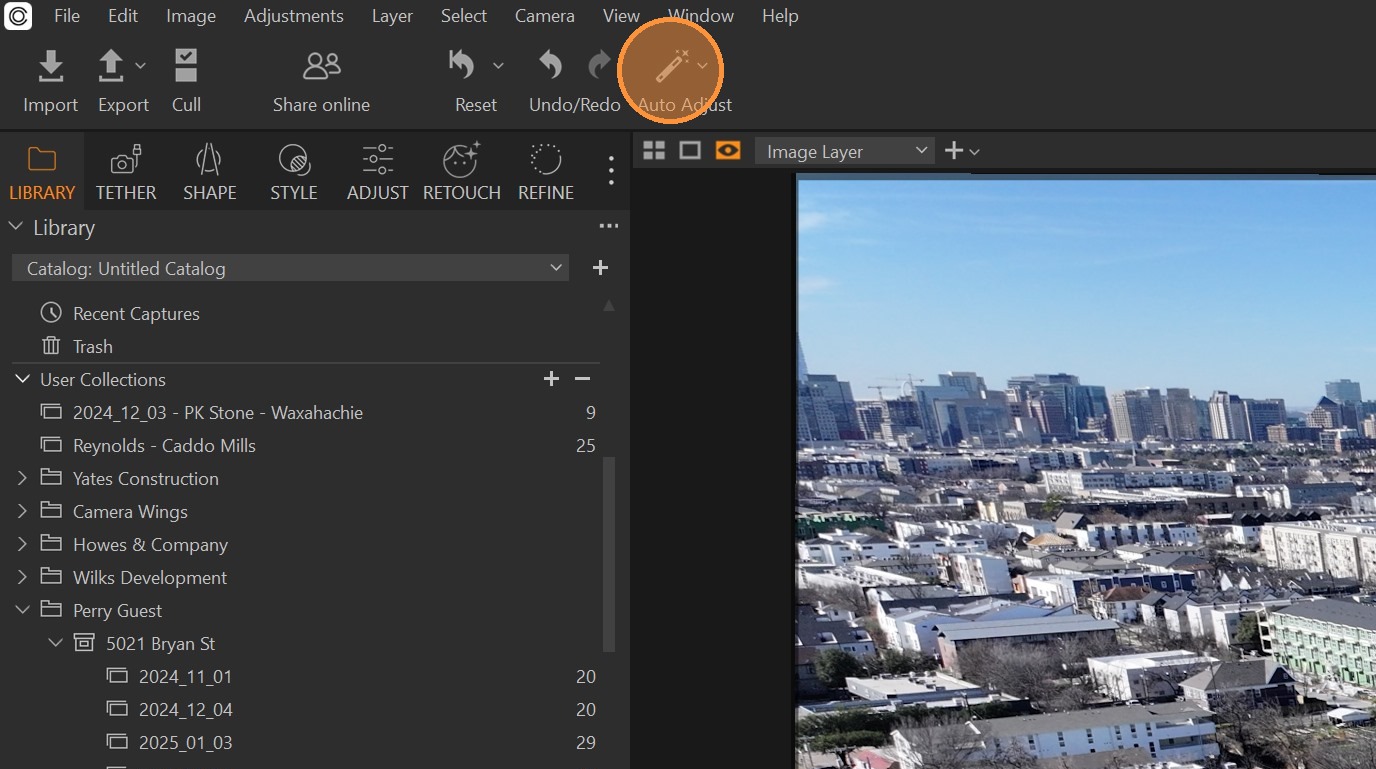
Click "Auto Adjust"
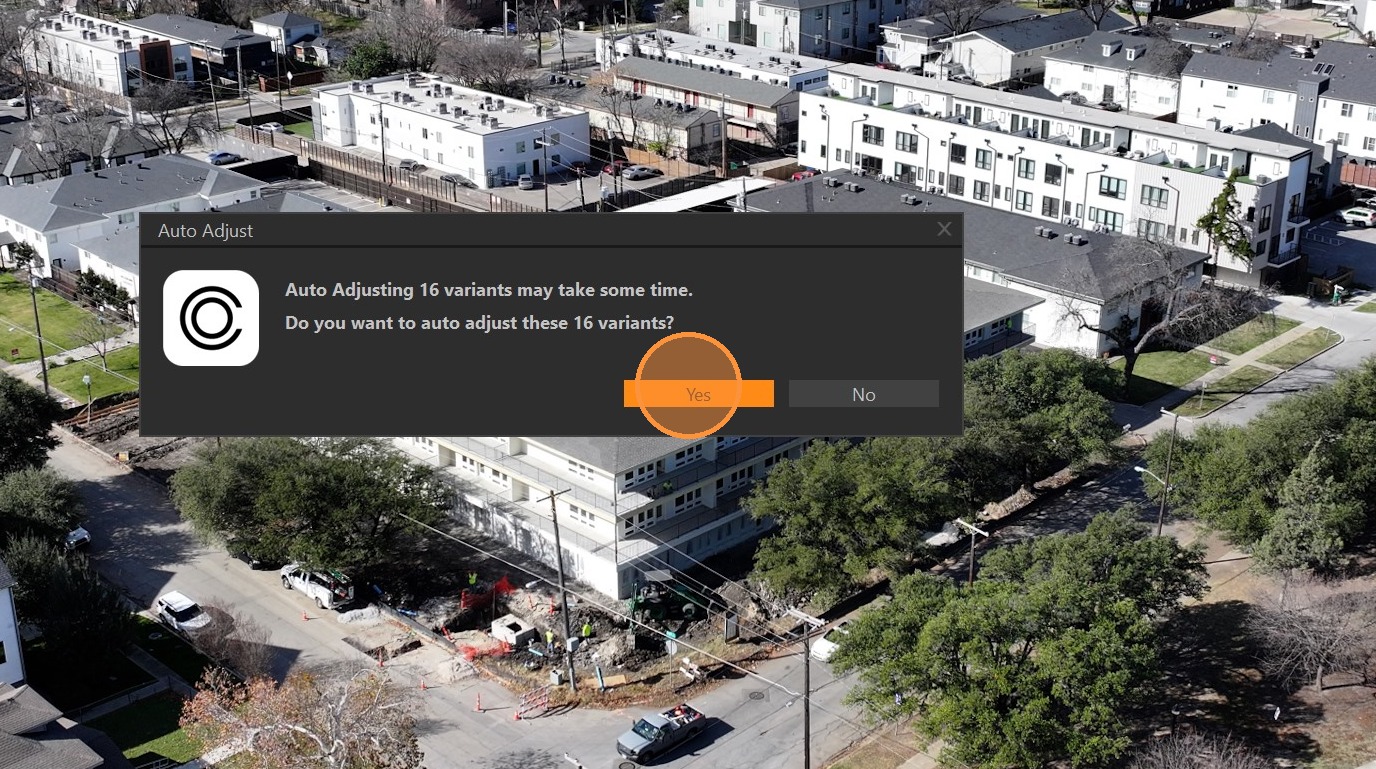
Confirm after checking that all images are selected for Auto Adjust.
Click "Adjust" to manually adjust the pictures.
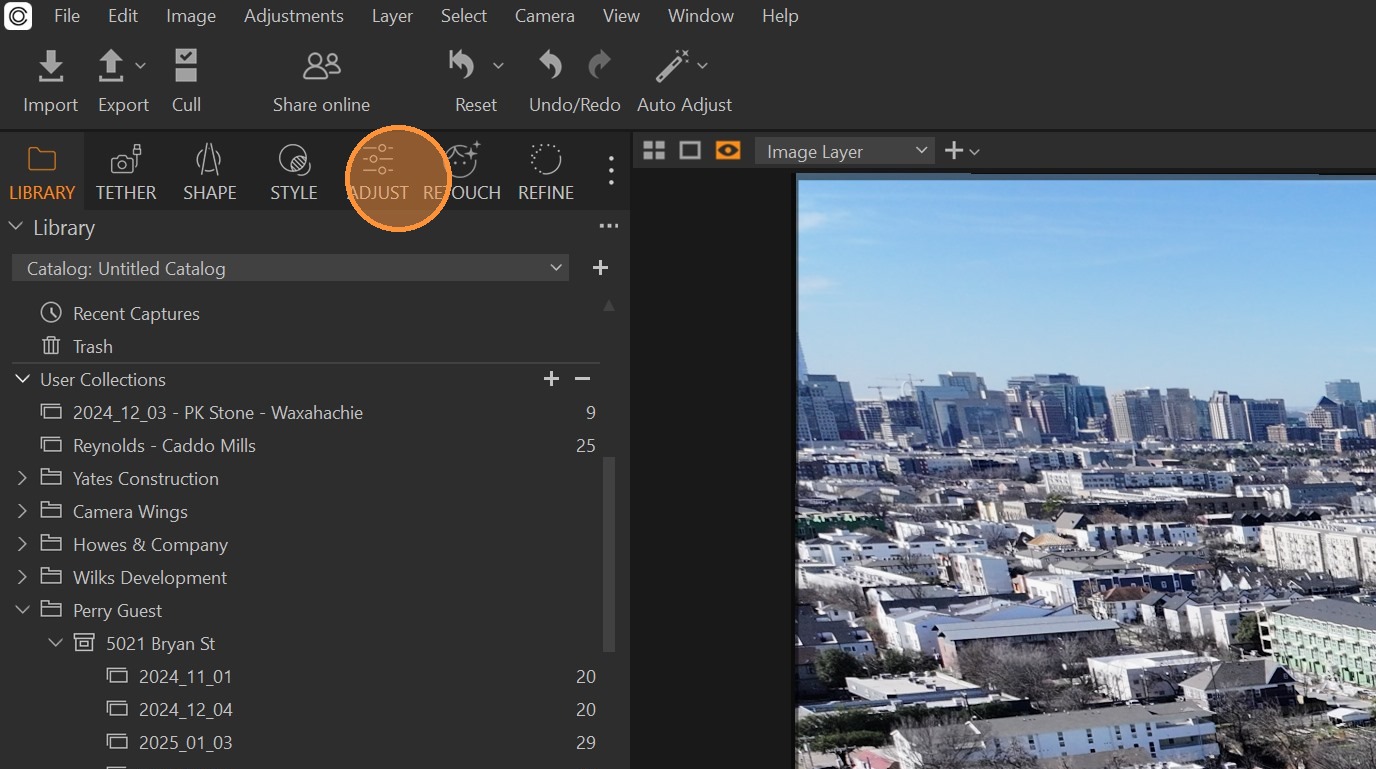
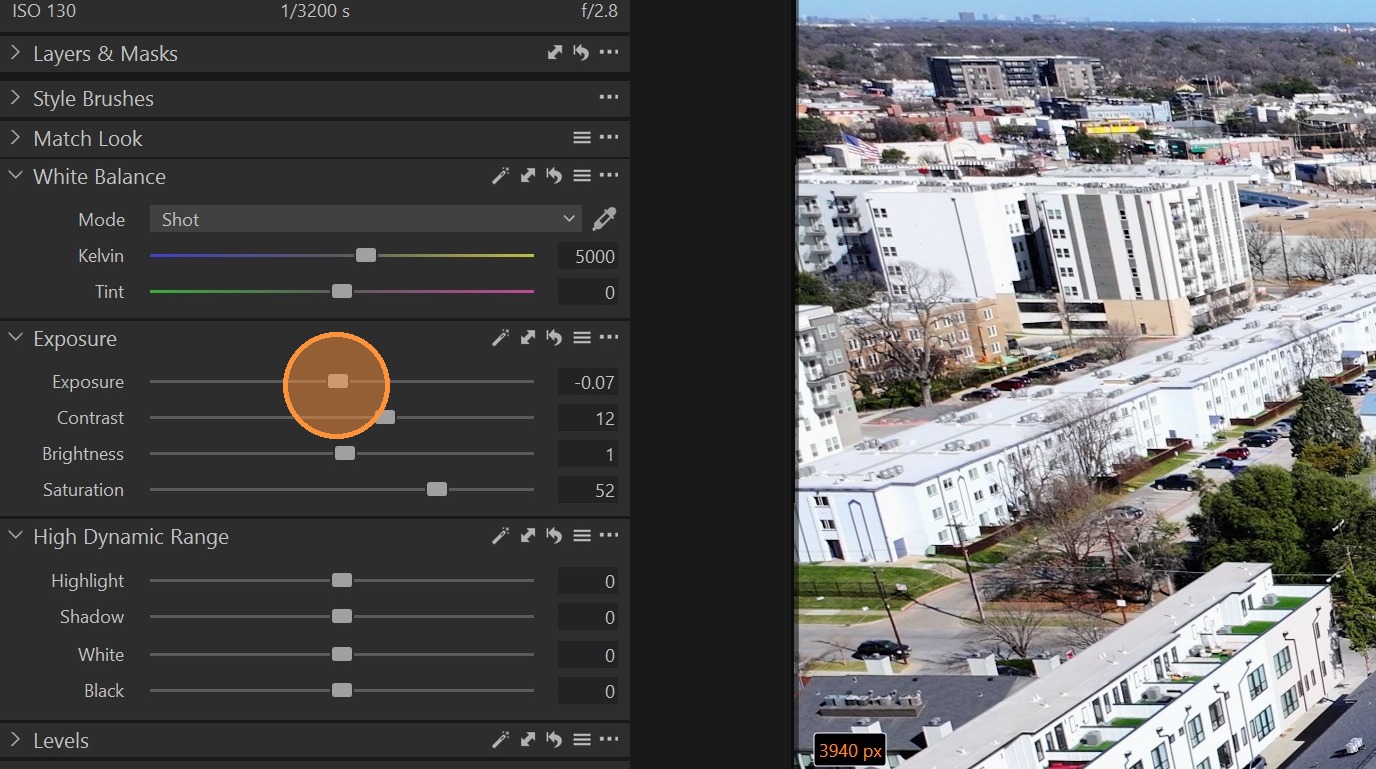
Use the sliders or change the values in the respective fields to color correct the images.
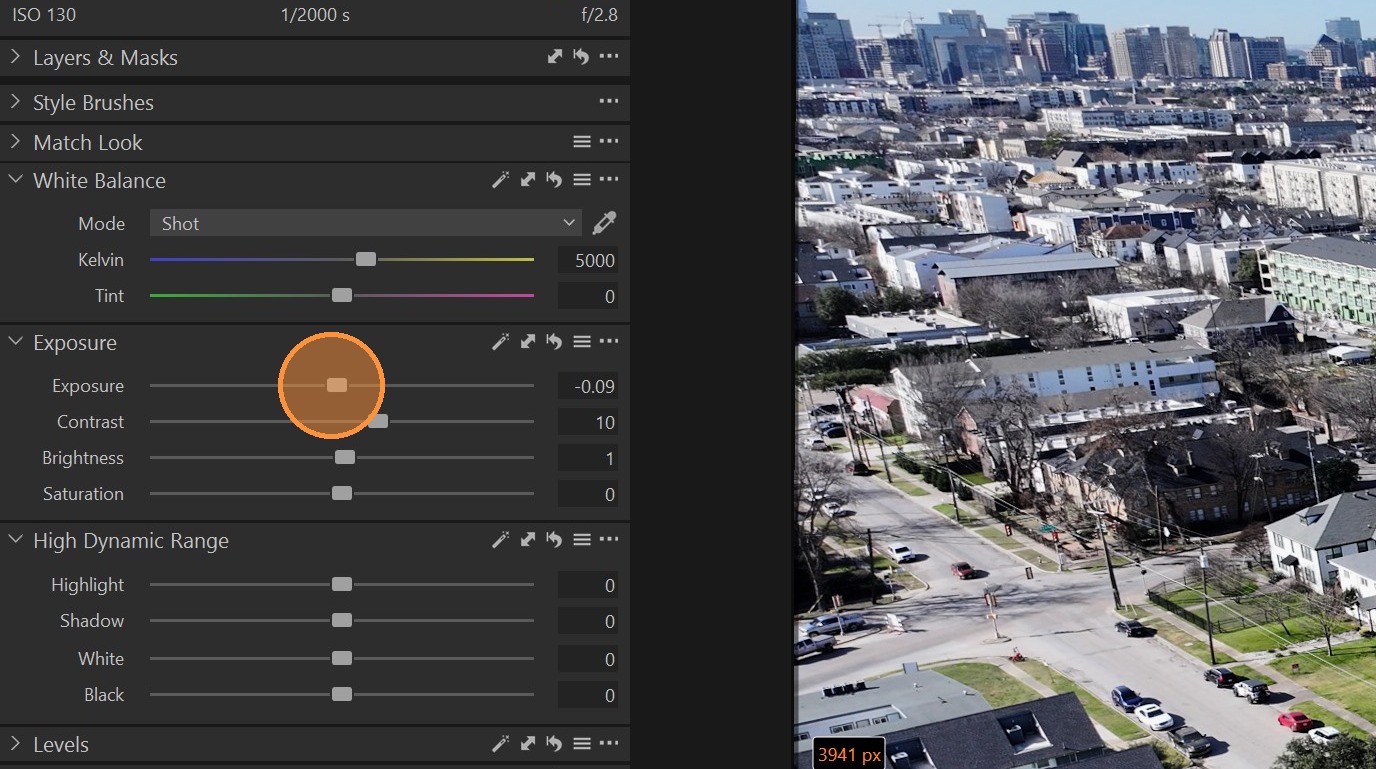
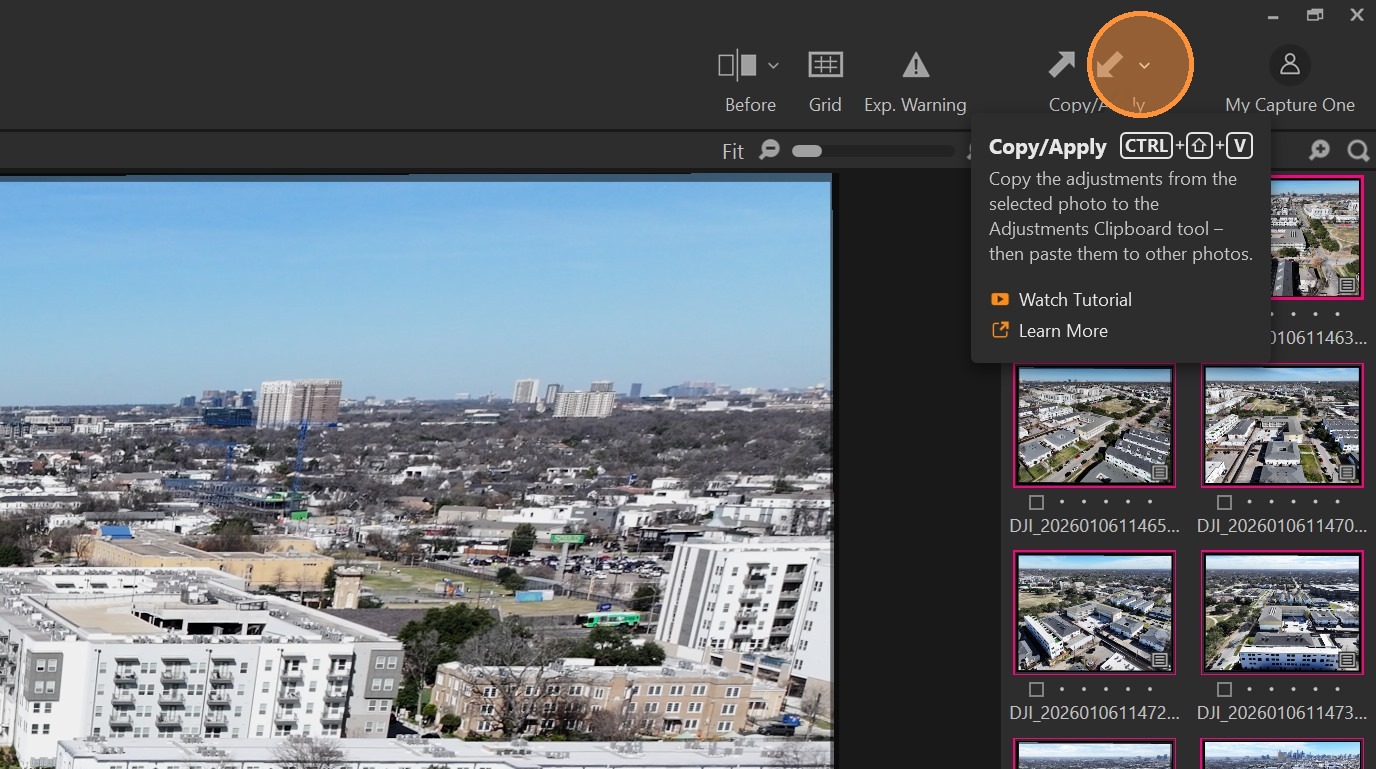
Click the left arrow to copy the values of the currently selected image.
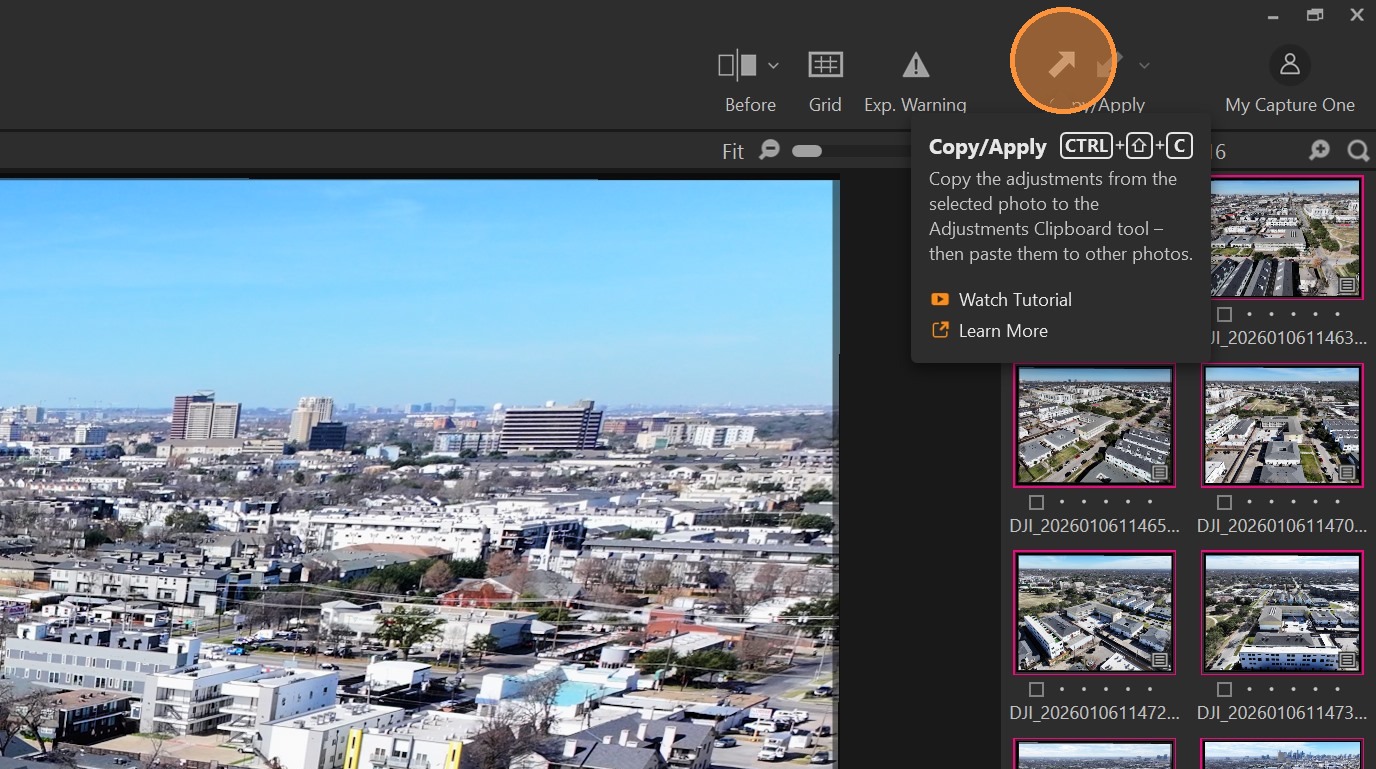
Select the other images while holding "Shift".
Click on the dropdown menu symbol.
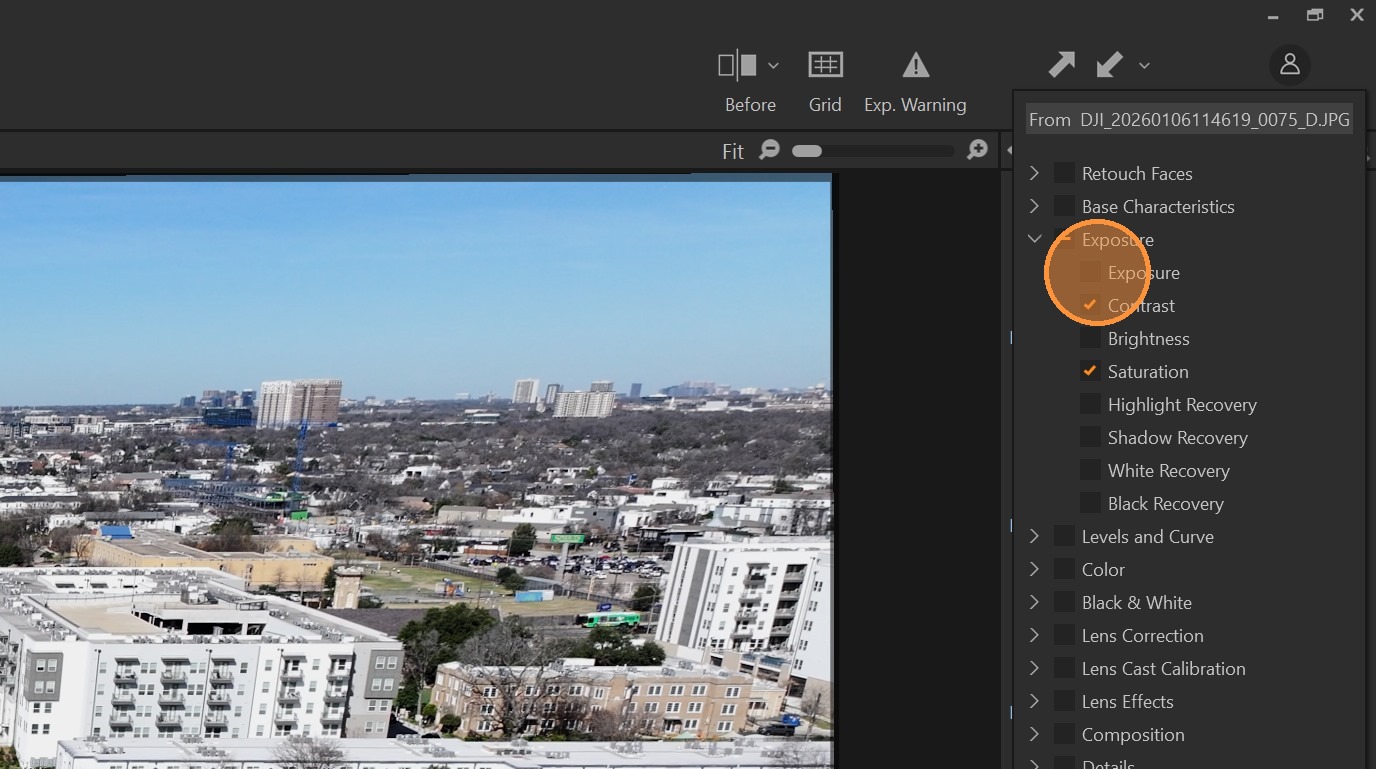
Make sure that only Contrast and Saturation are selected.
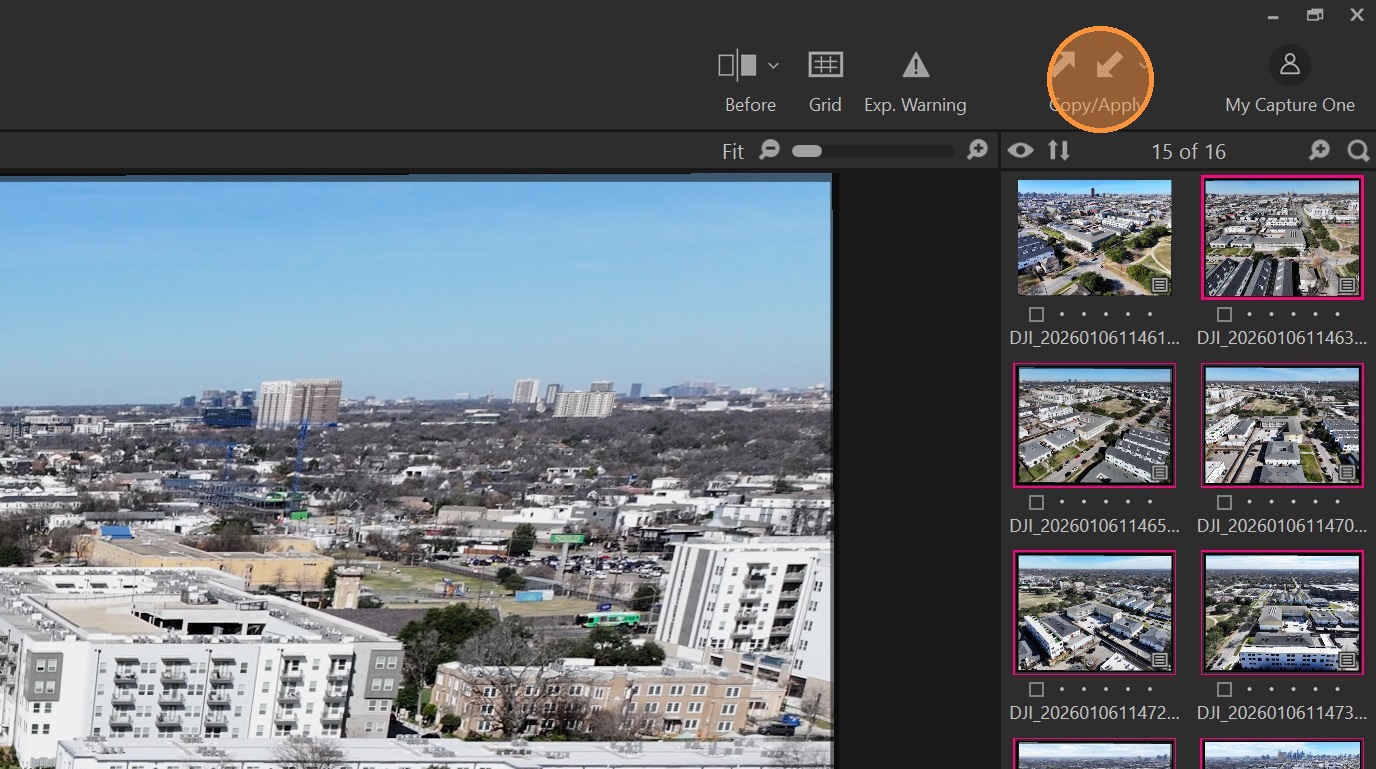
Click the right arrow to apply the changes to the images.
Select all images again.
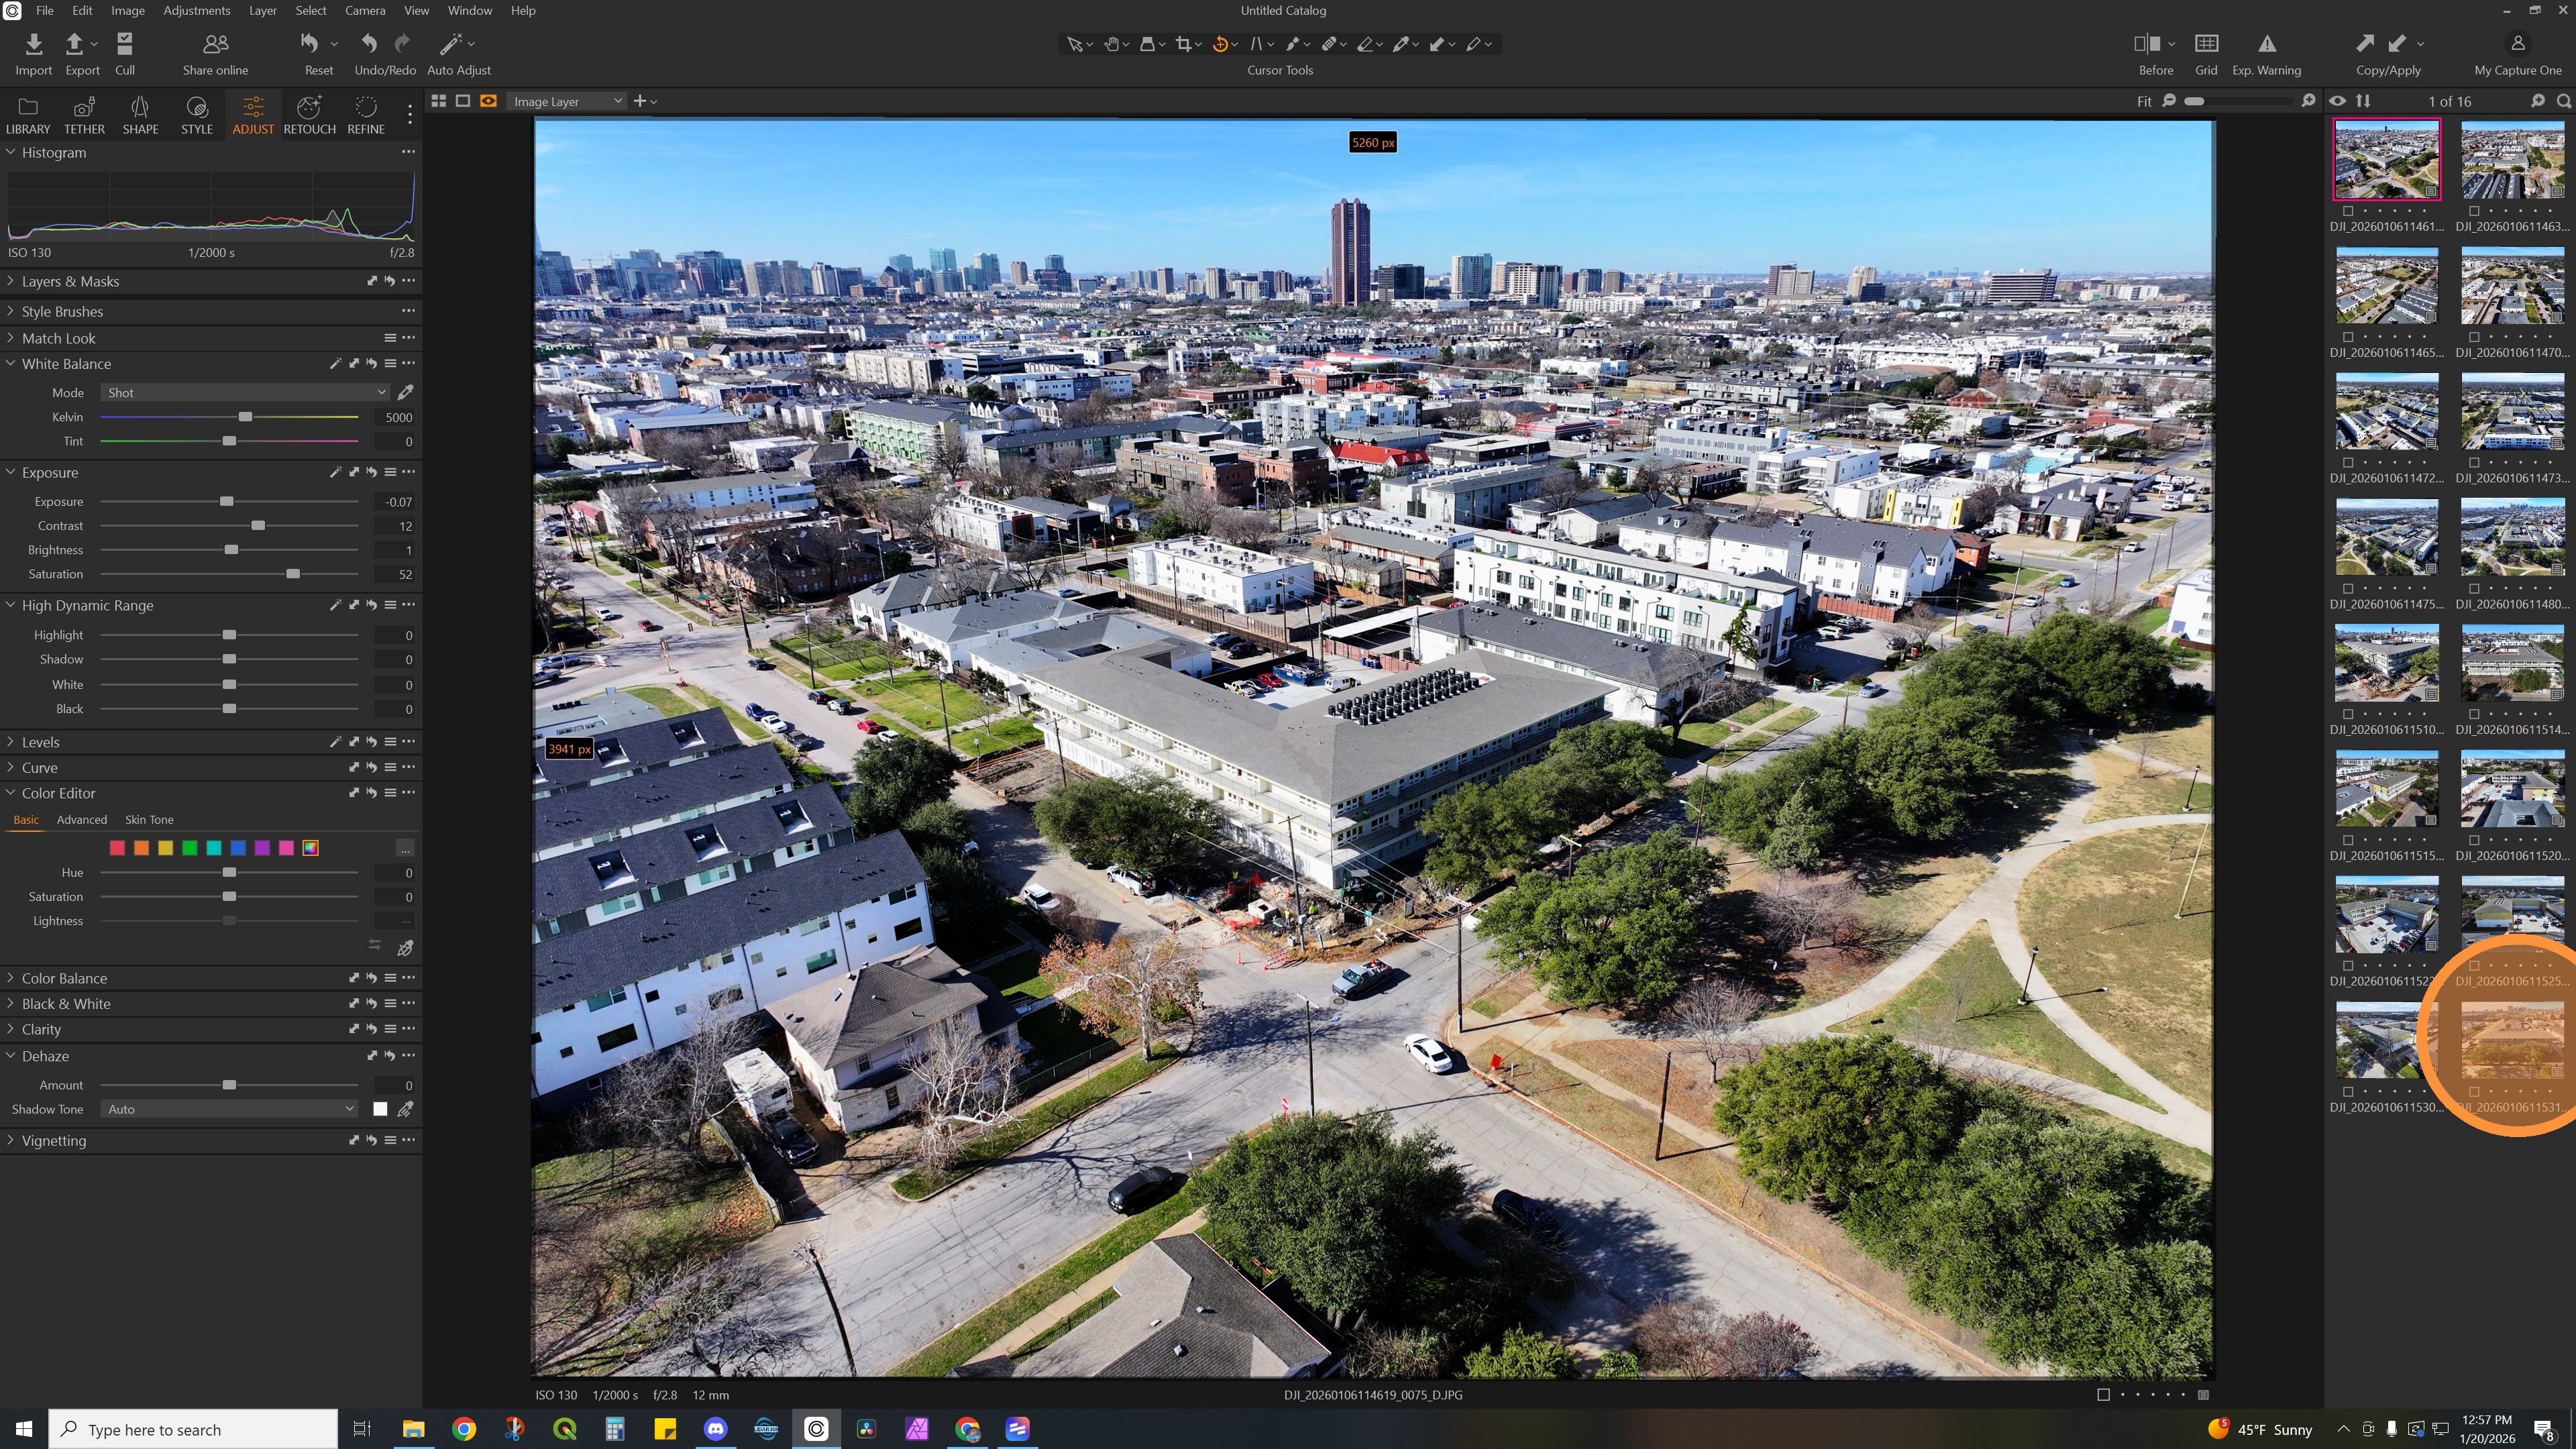
Finish Manual adjustments for remaining images.
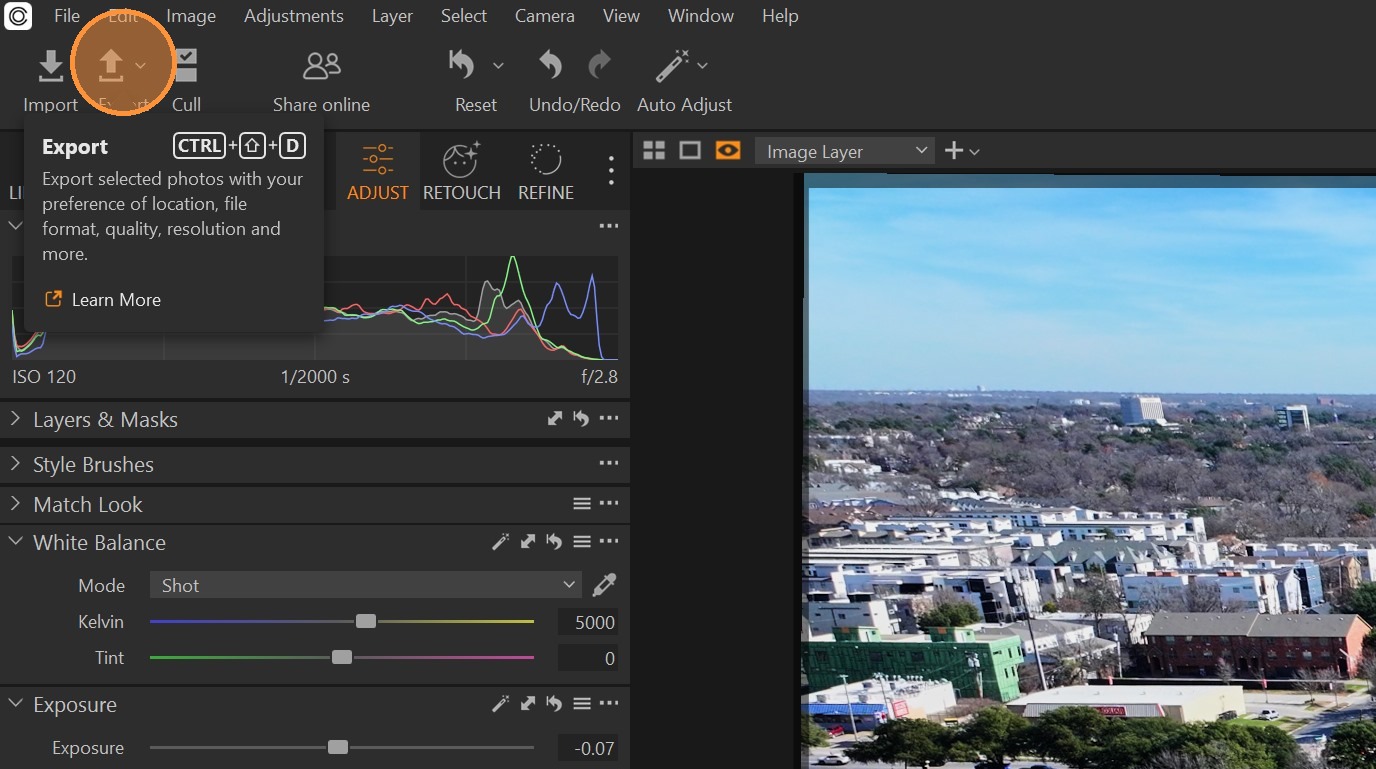
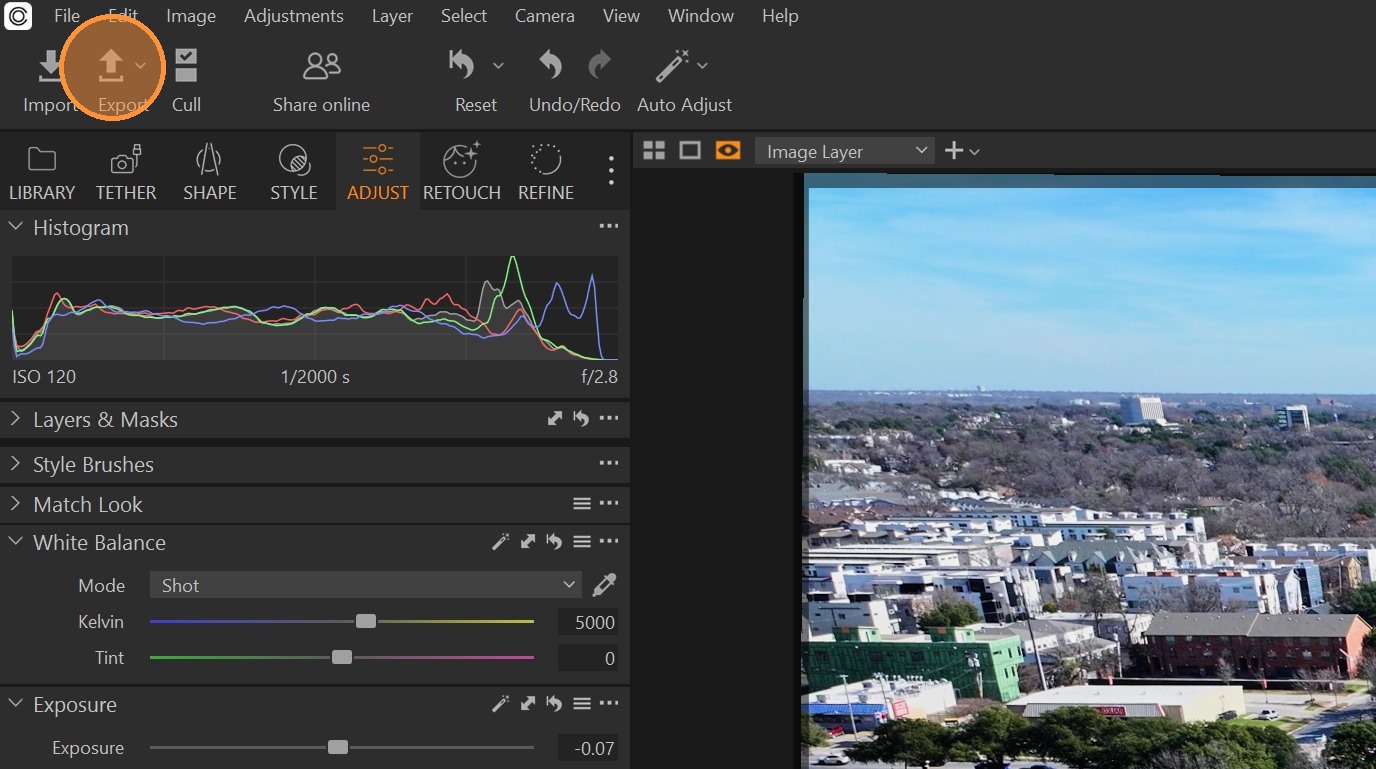
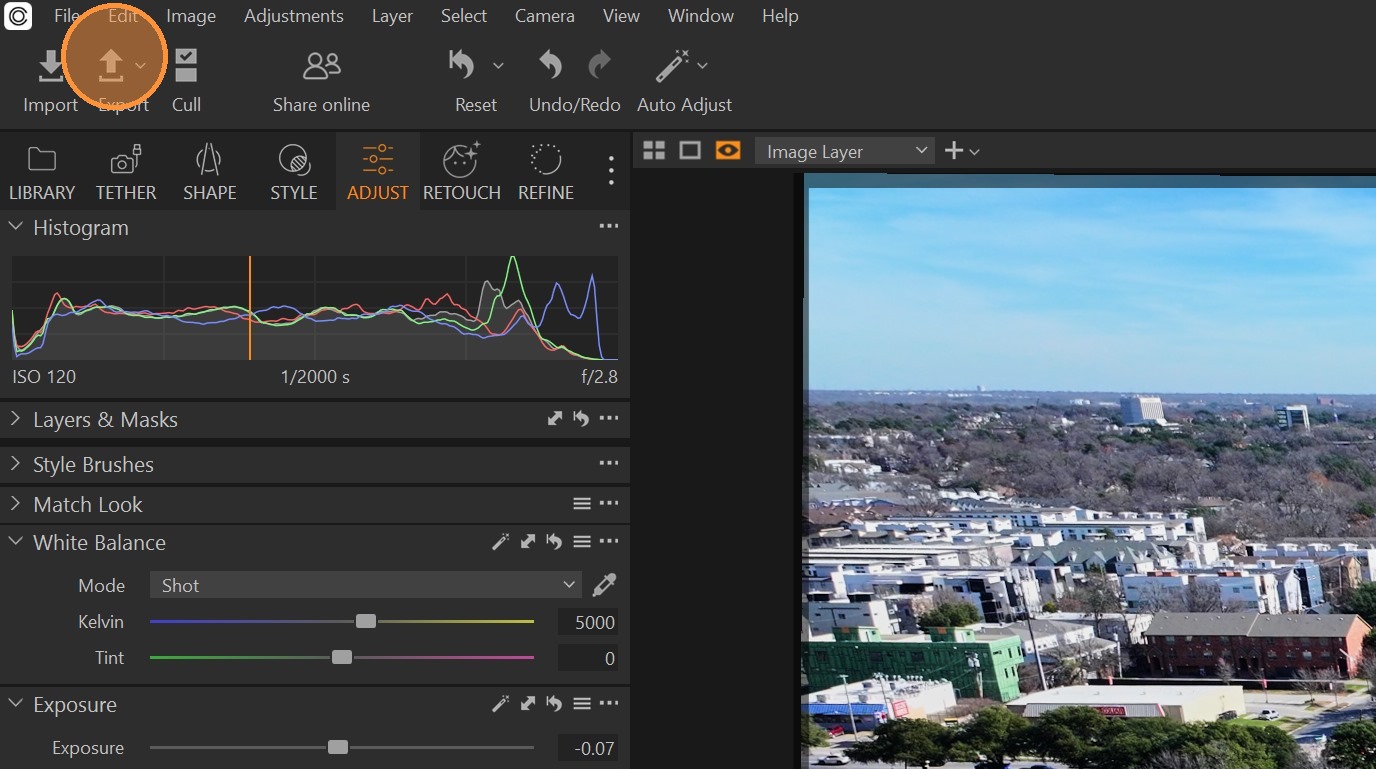
Click"Export"
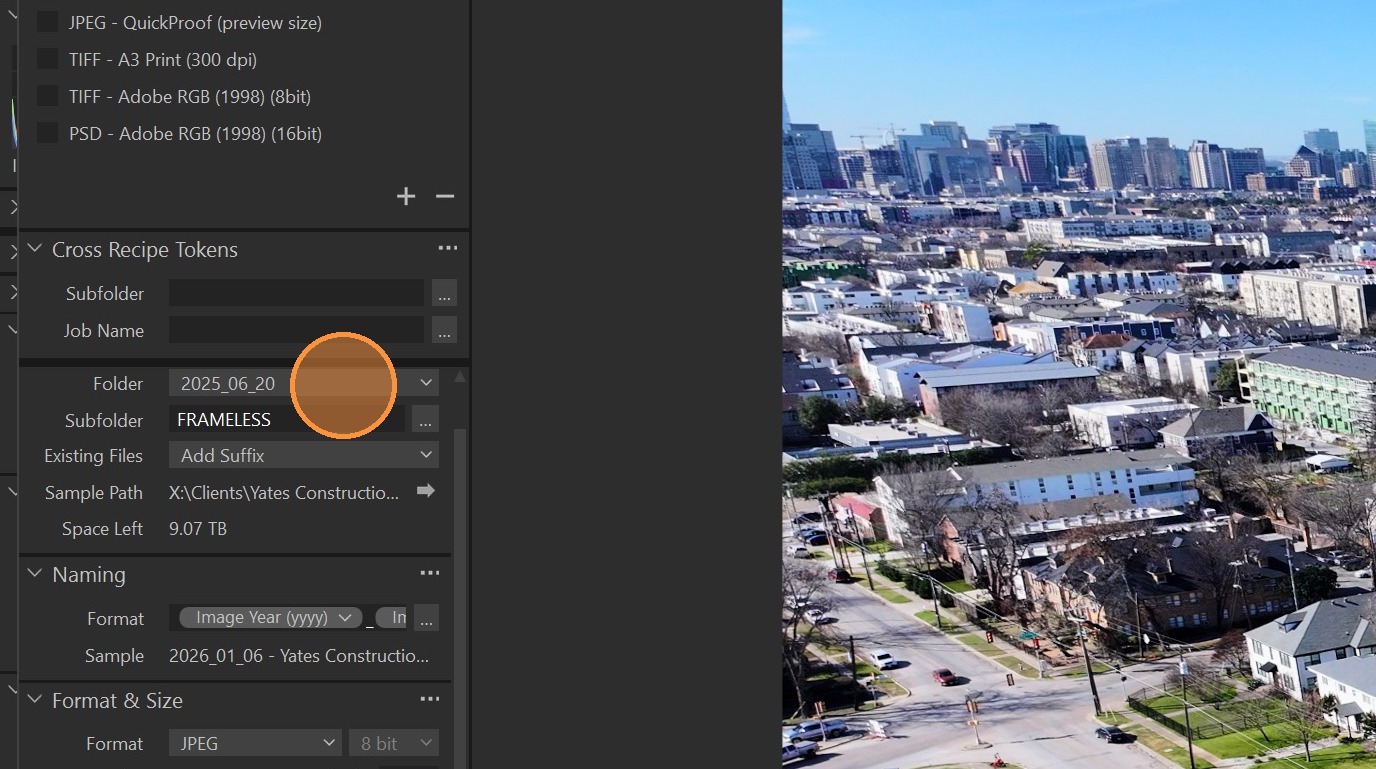
Click on the target folder dropdown
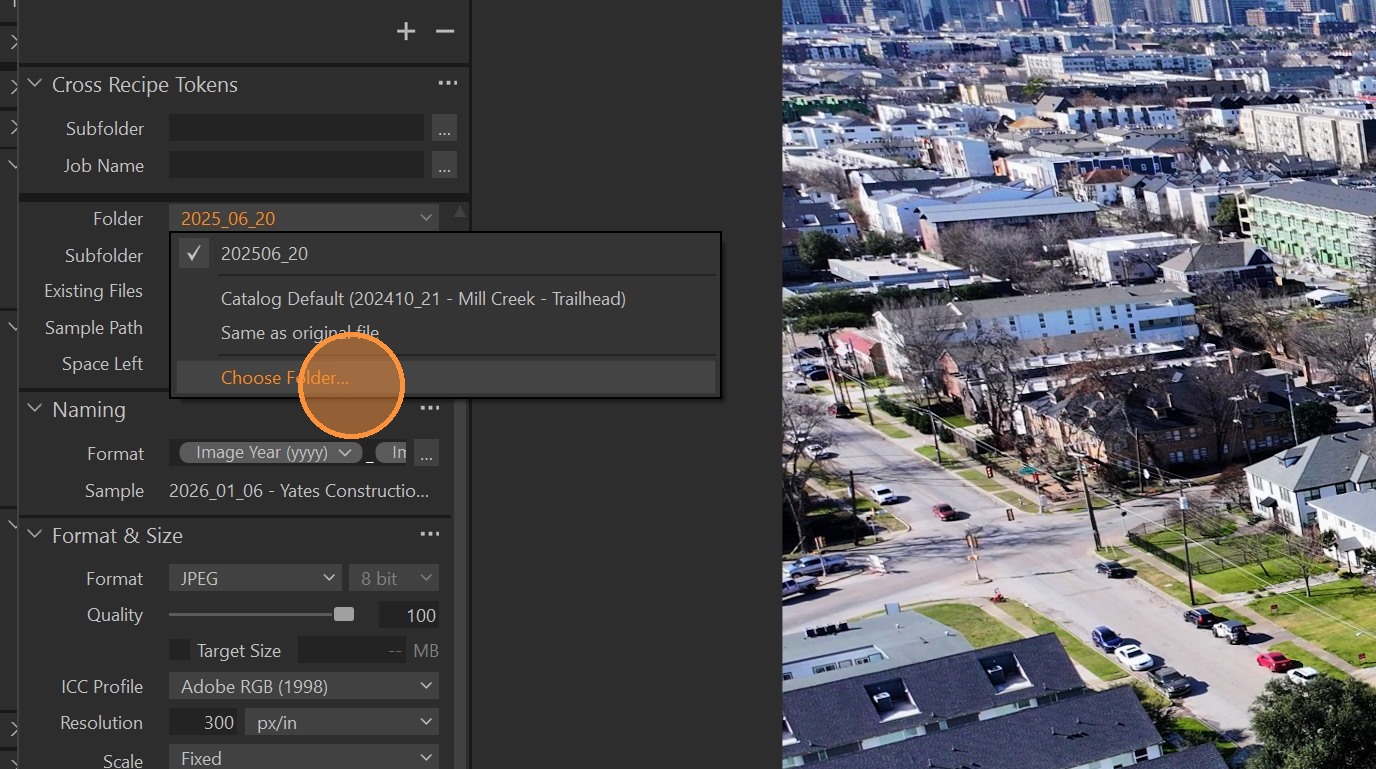
Click "Choose Folder…"
Navigate to the destination folder for the Export.
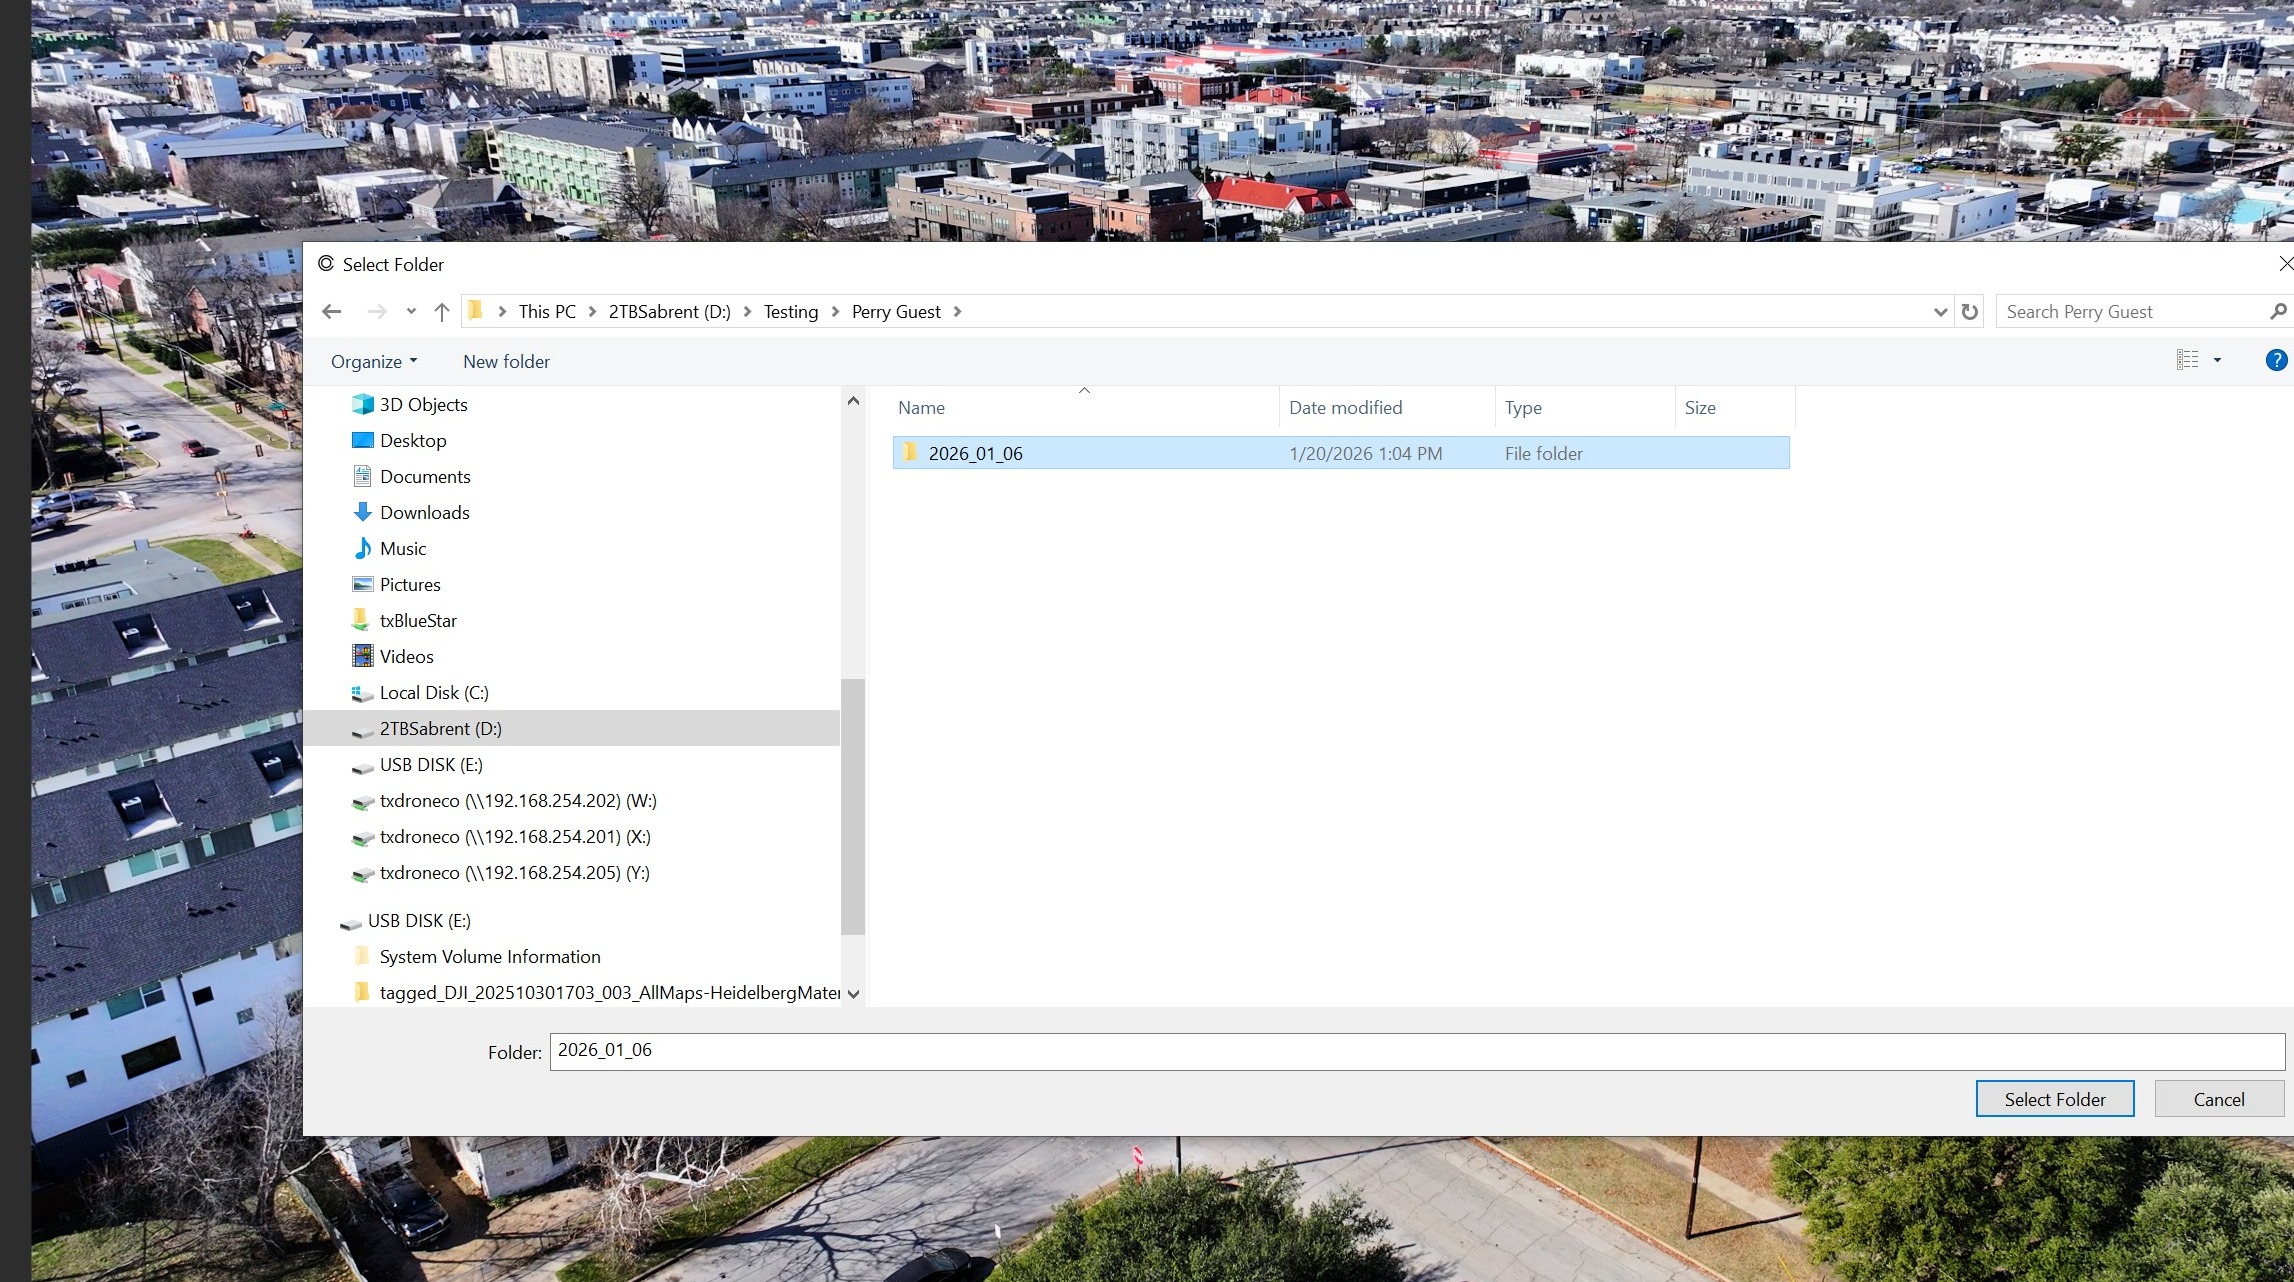
Click "Select Folder"
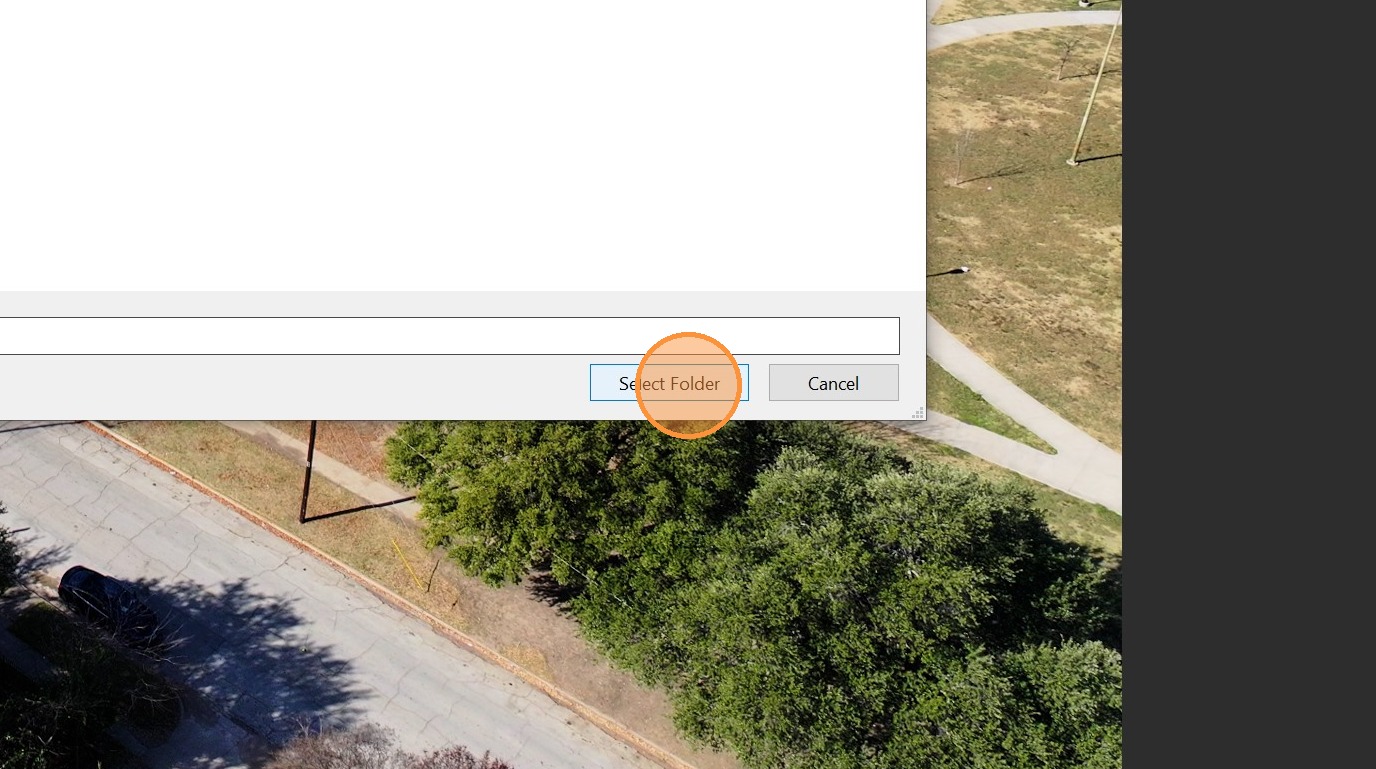
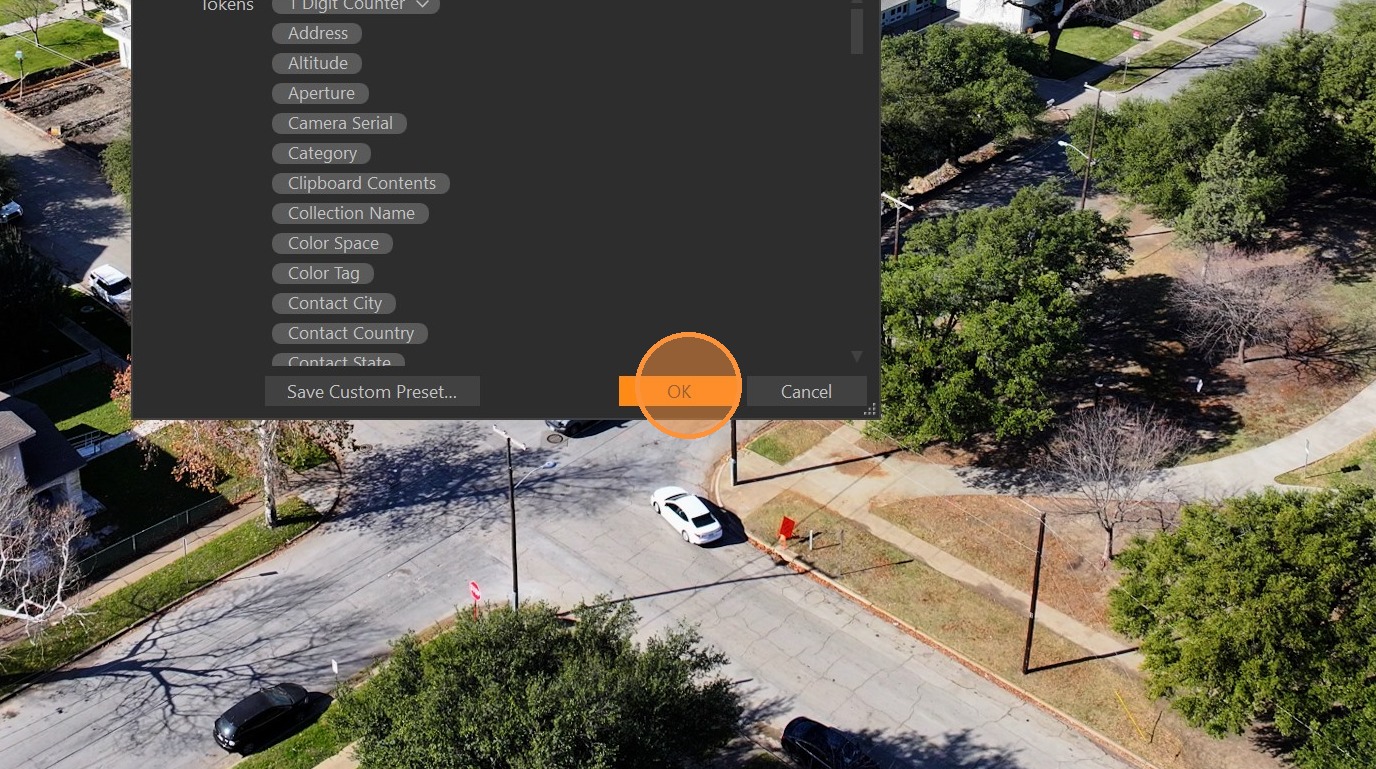
Click the three dots to change the naming format.
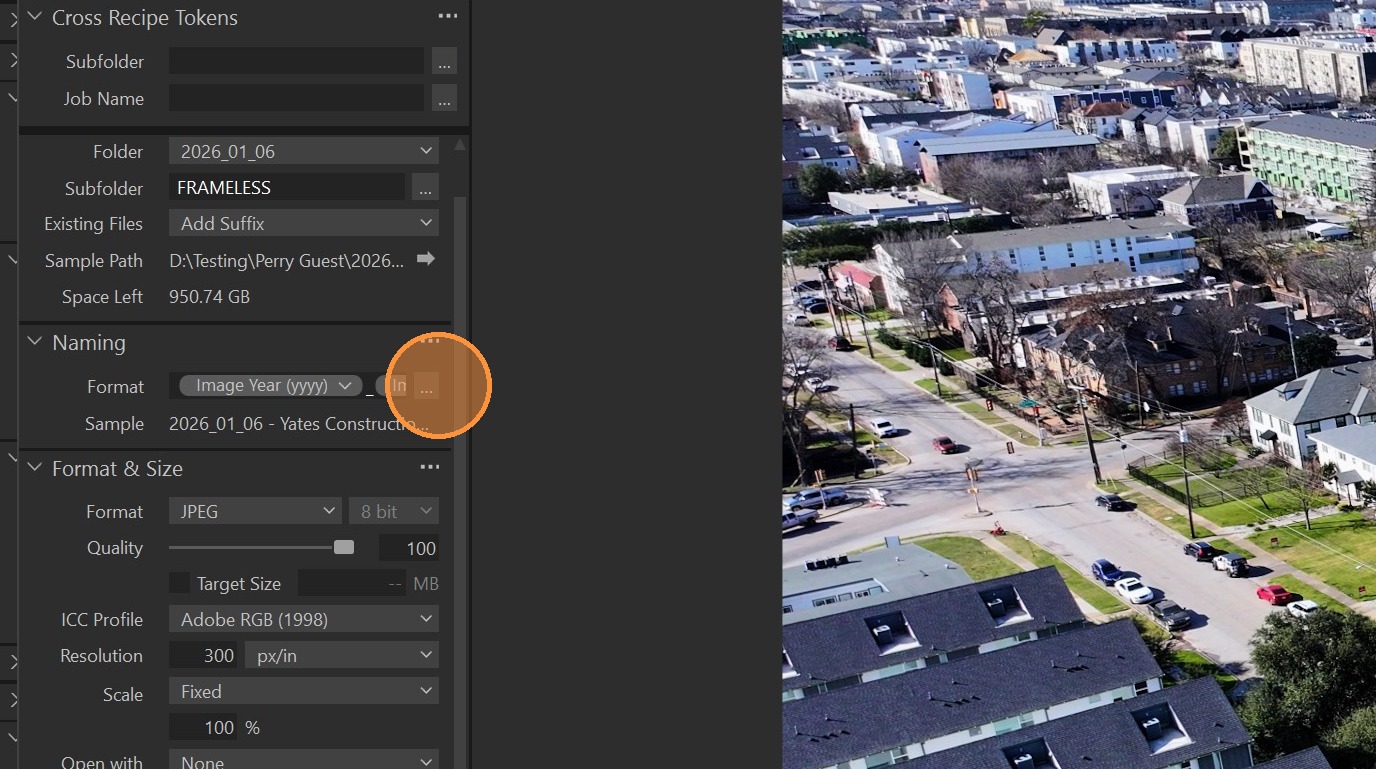
Confirm that the Naming Structure is set up in such a way that it creates "YYYY_MM_DD - Company - Project"
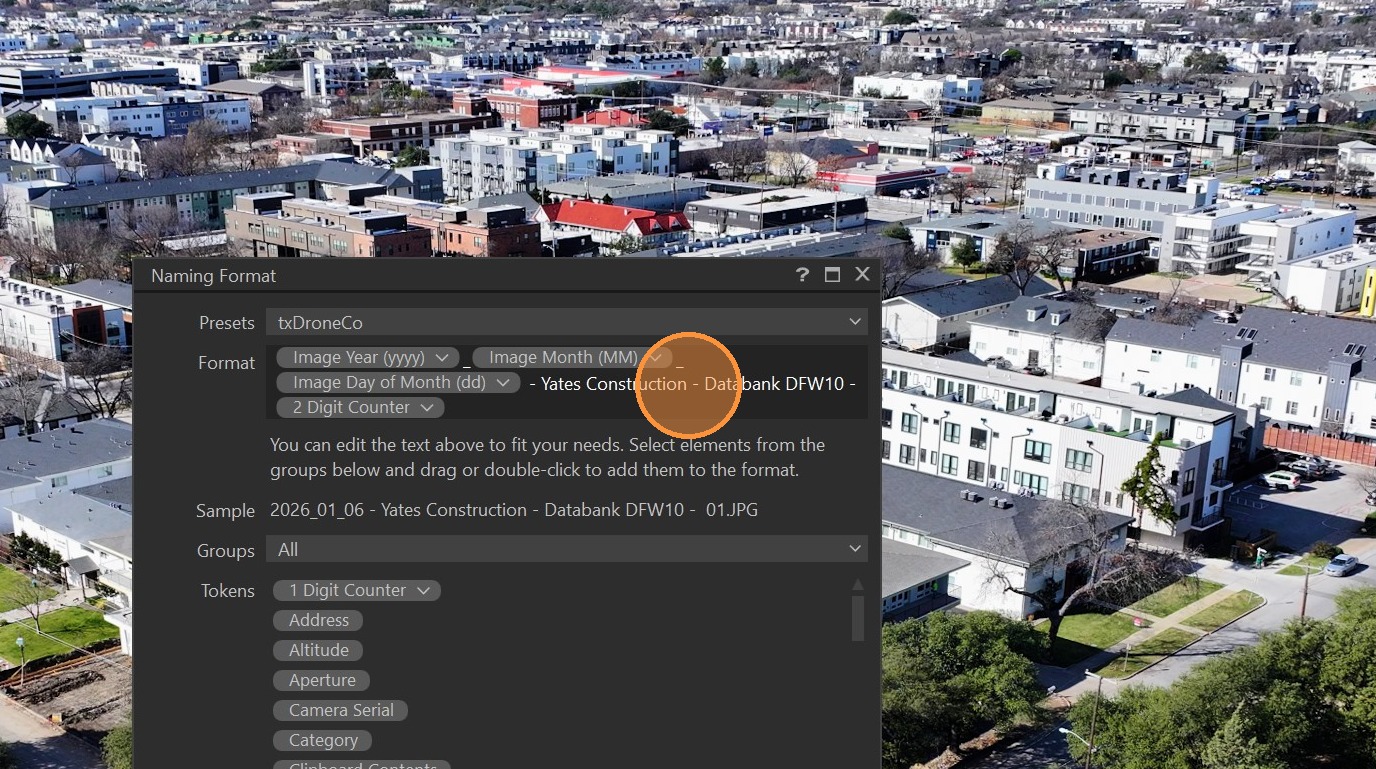
Click "OK"
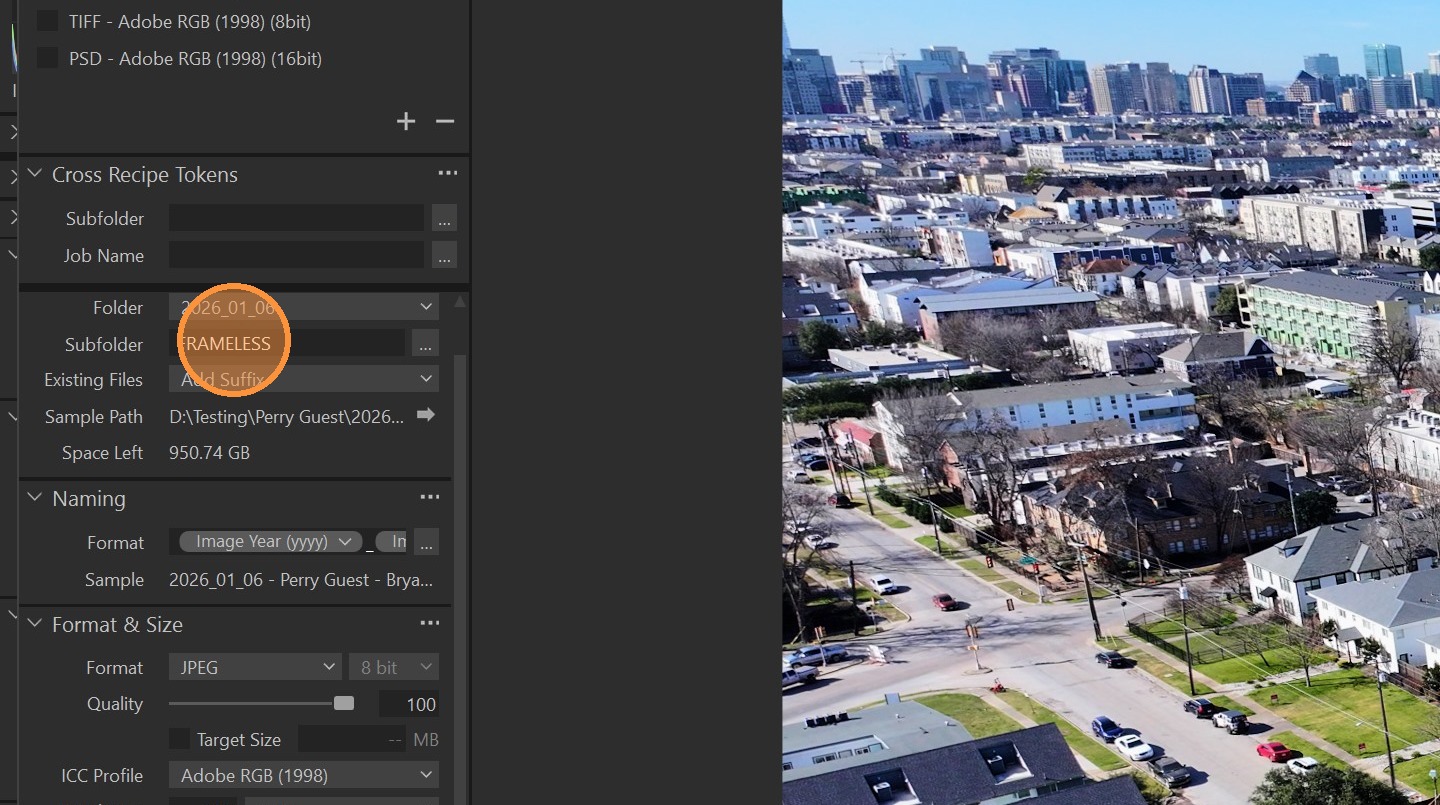
Make Sure that the Subfolder is named "FRAMELESS"
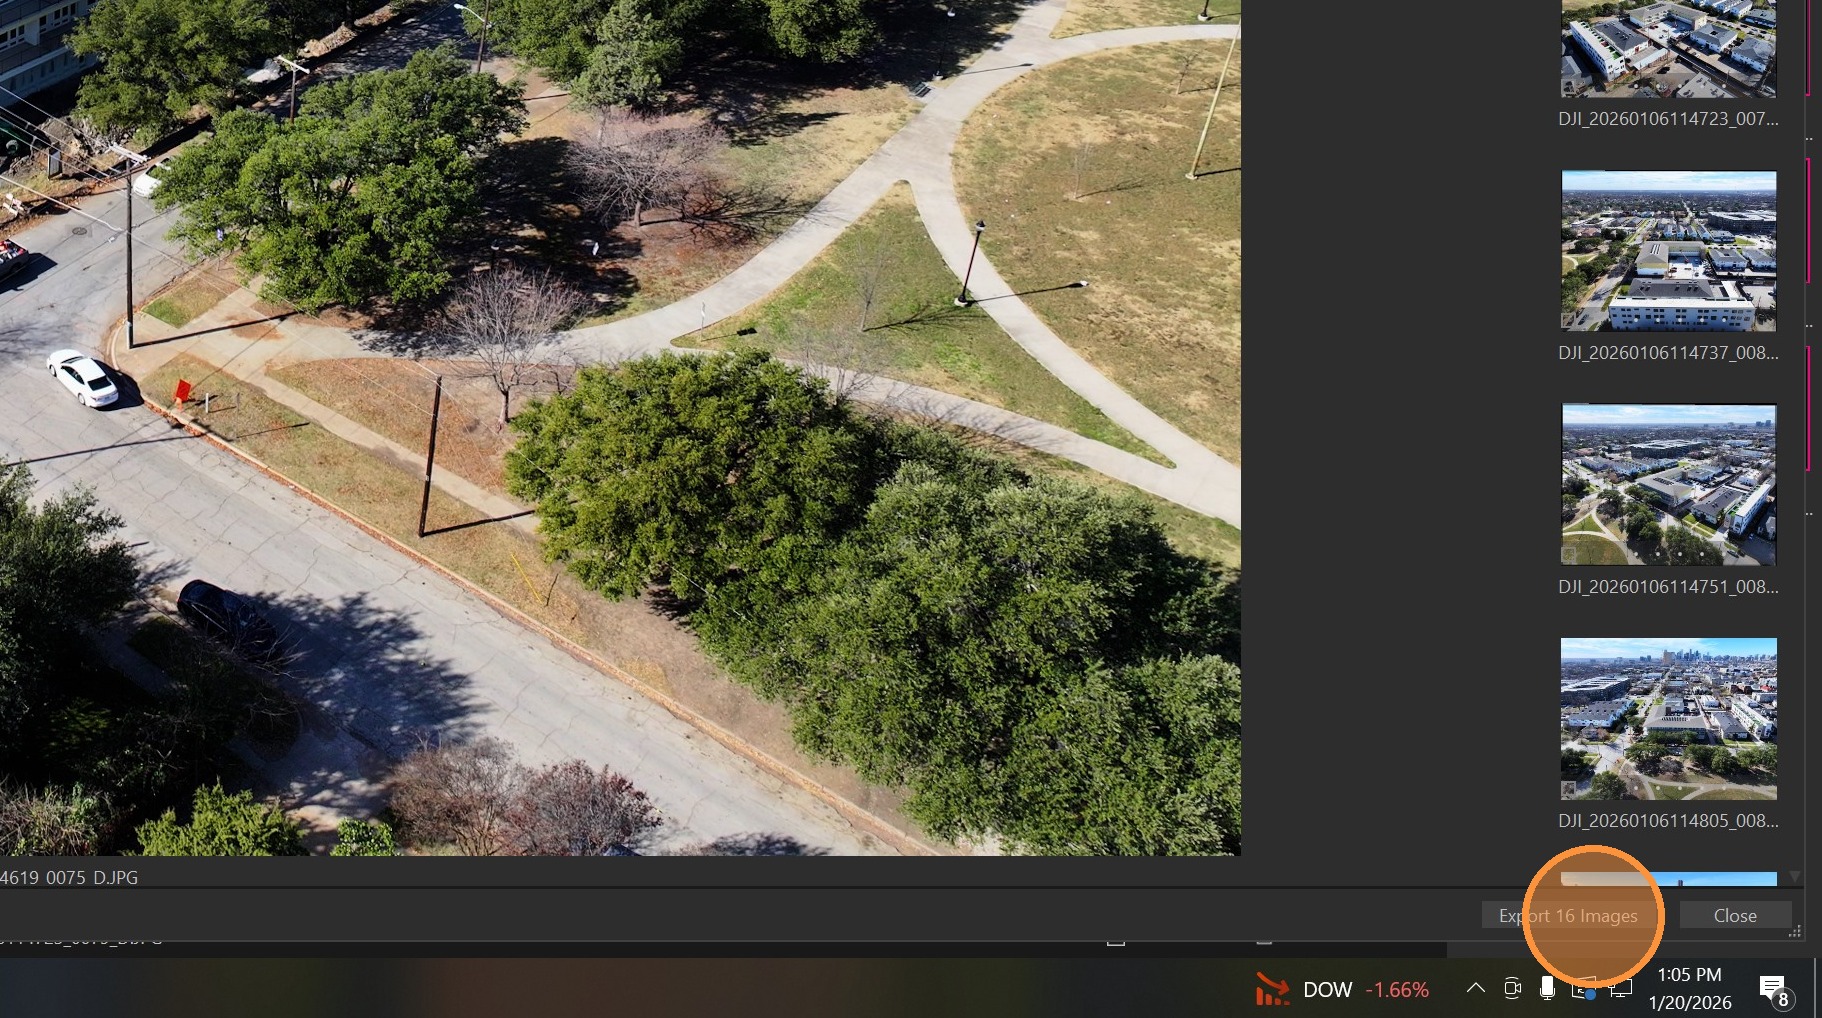
Click "Export Images"
Click "Export" again
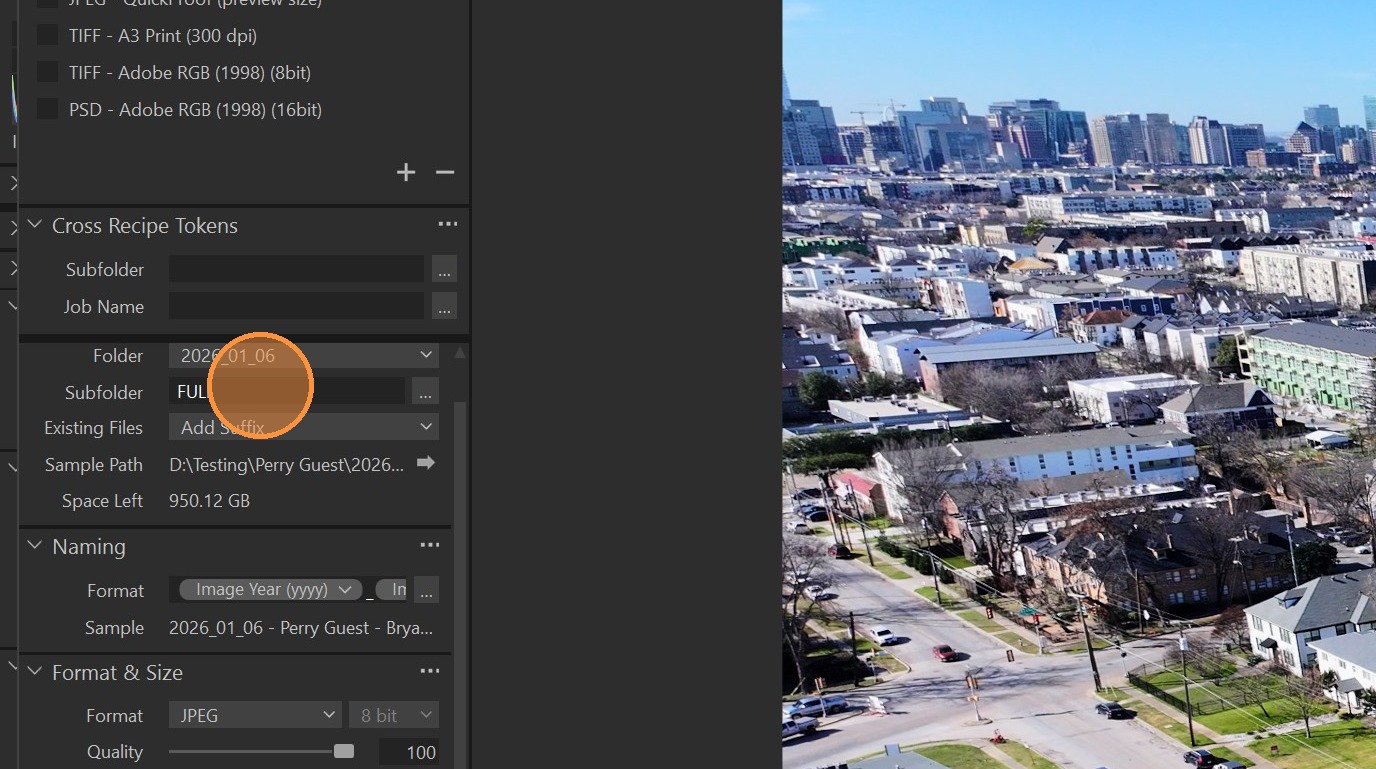
Change the Subfolder name to "FULL"
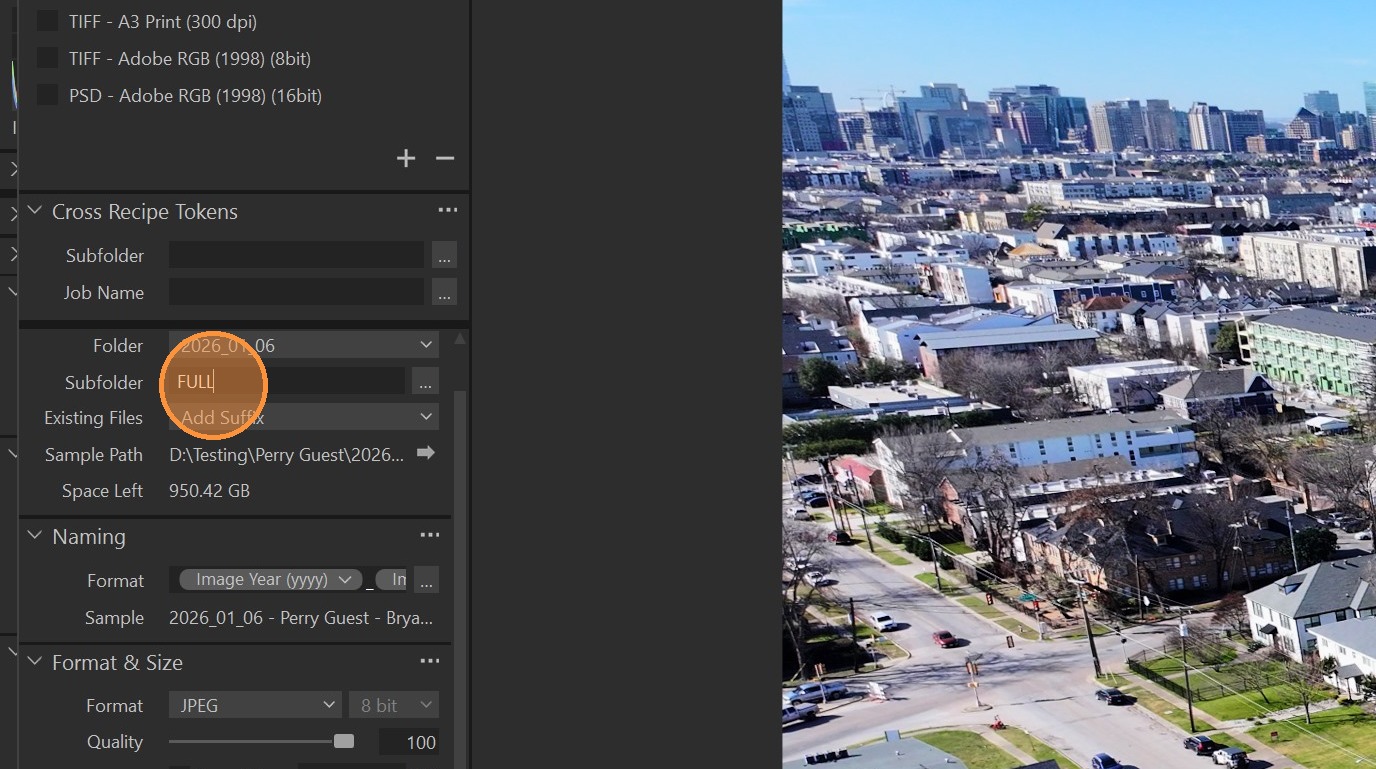
Open "Affinity Photo 2"
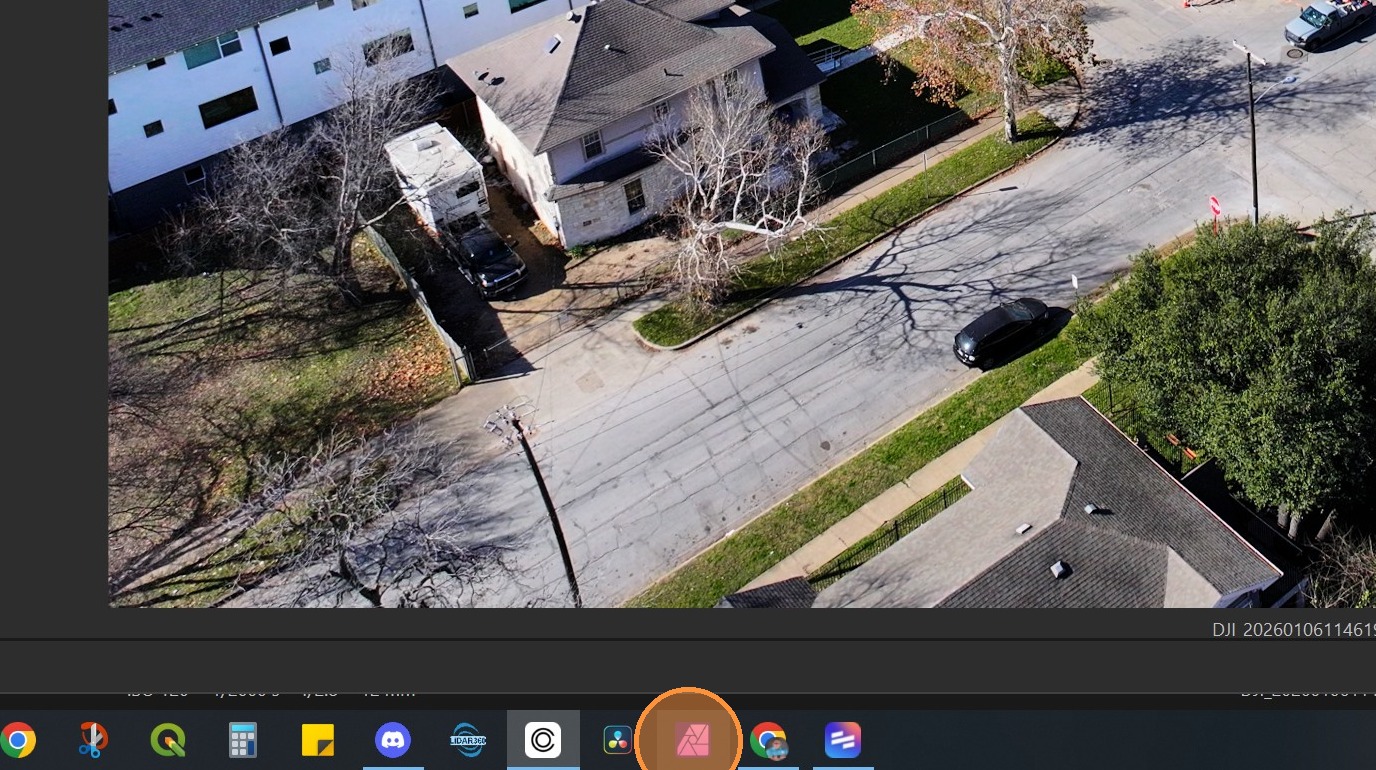
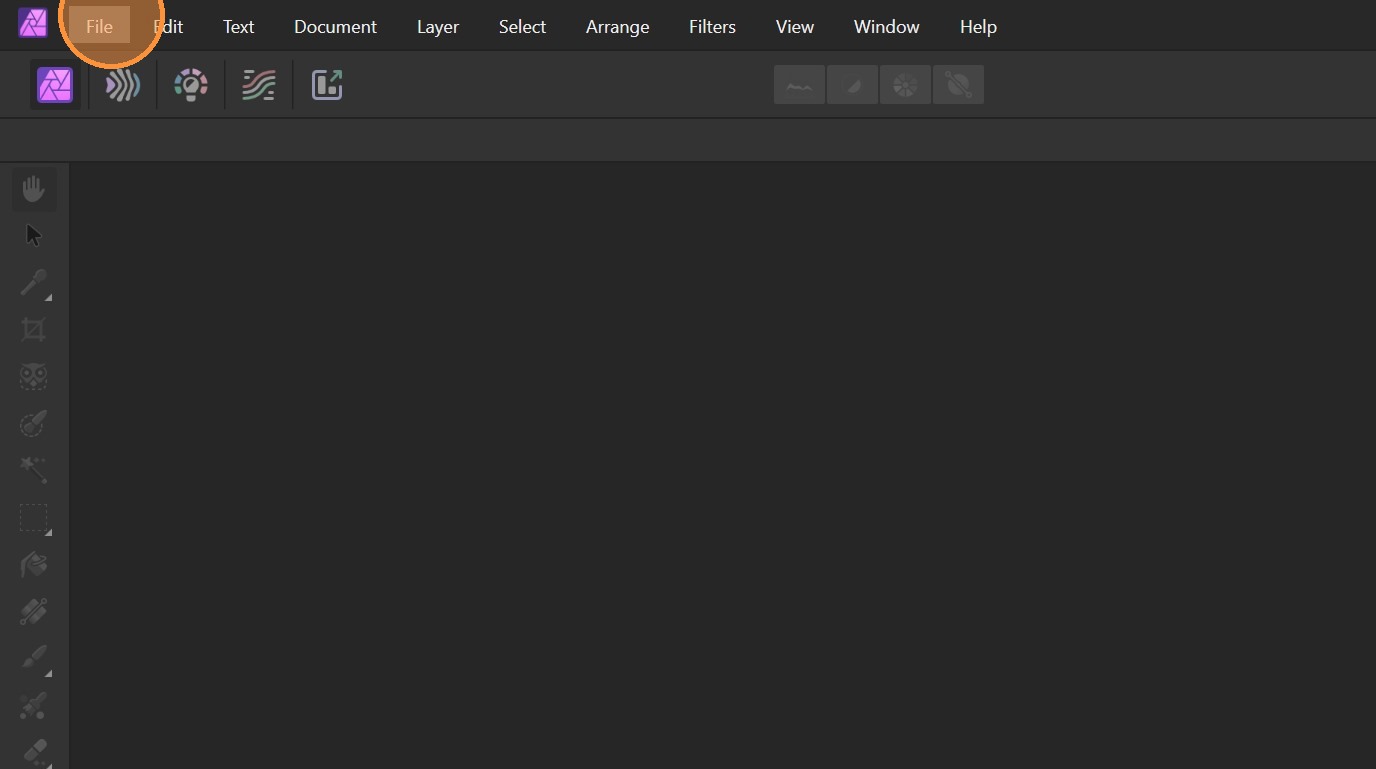
Click "_File"
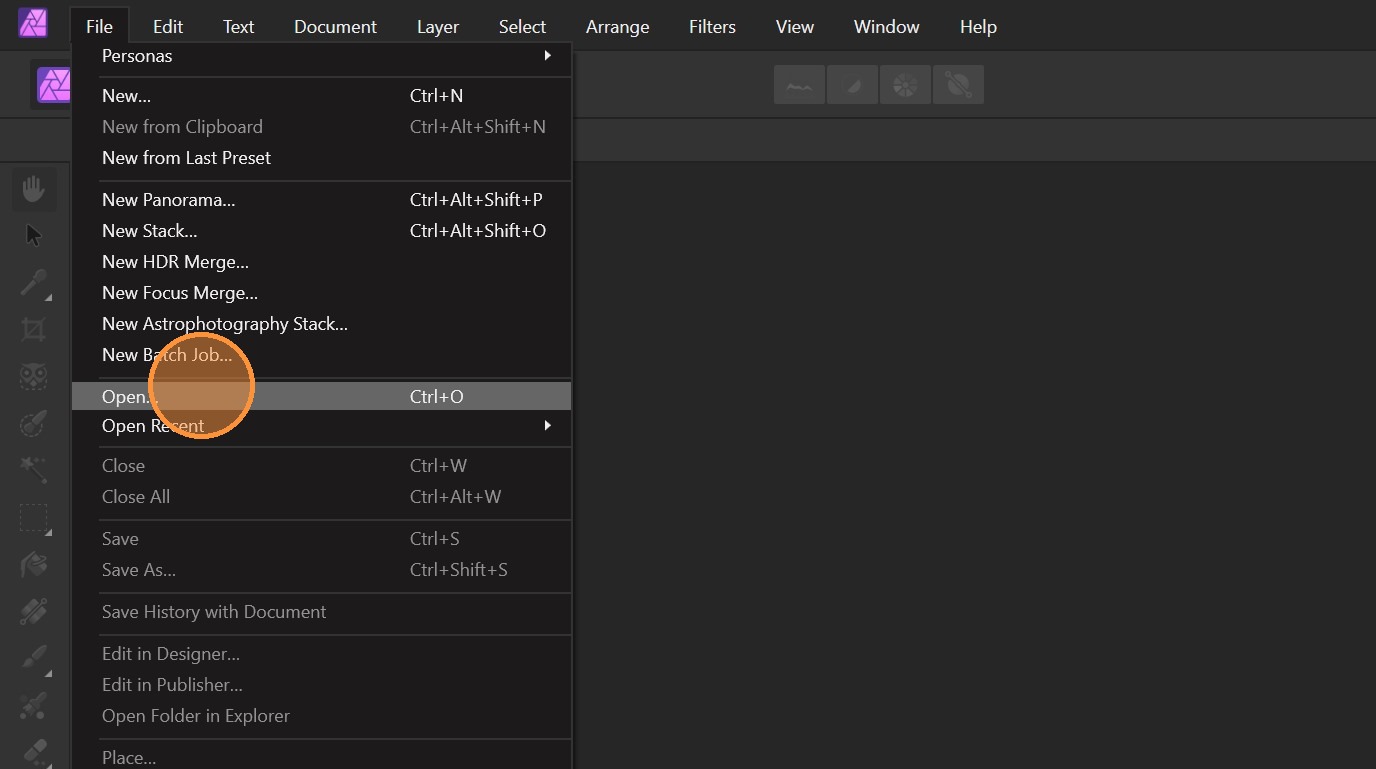
Click "Open…"
Navigate to the picture frame project file.
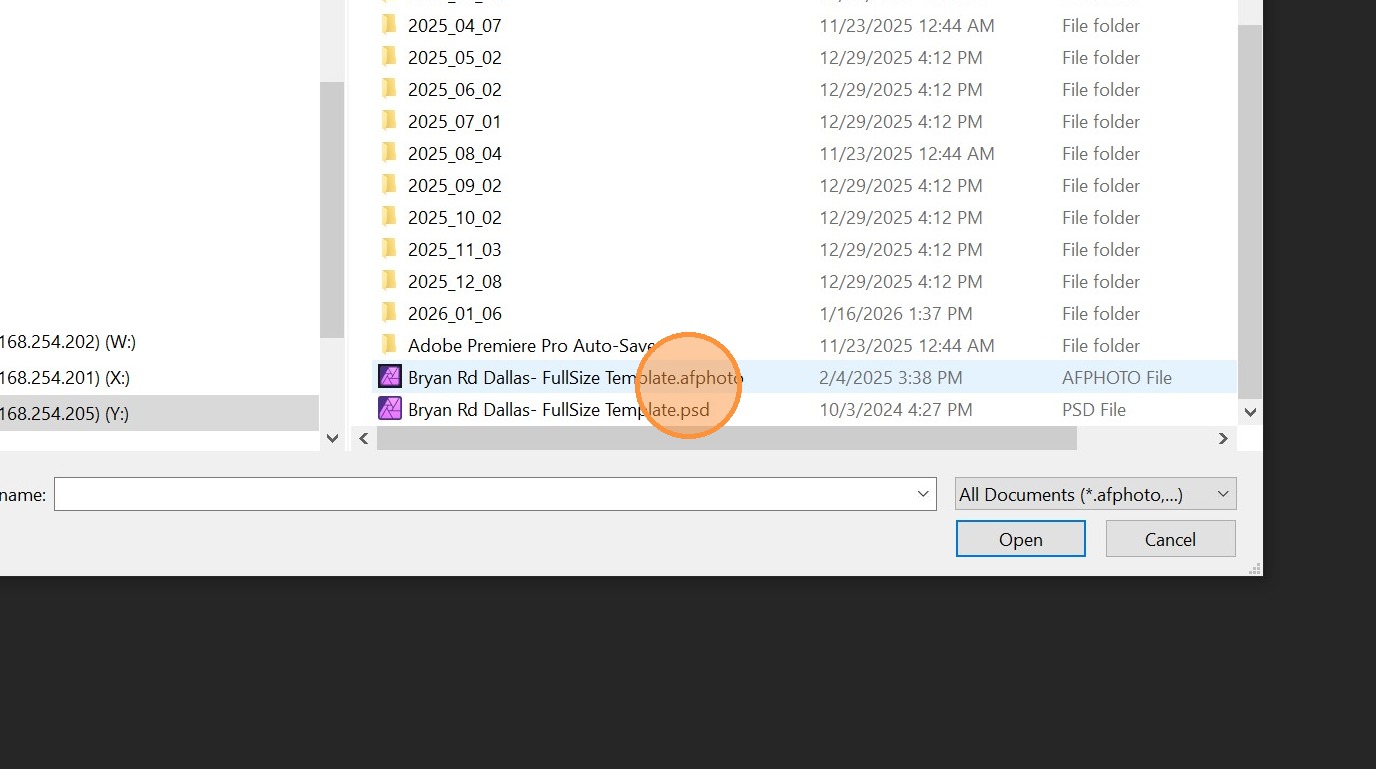
Click "Open"
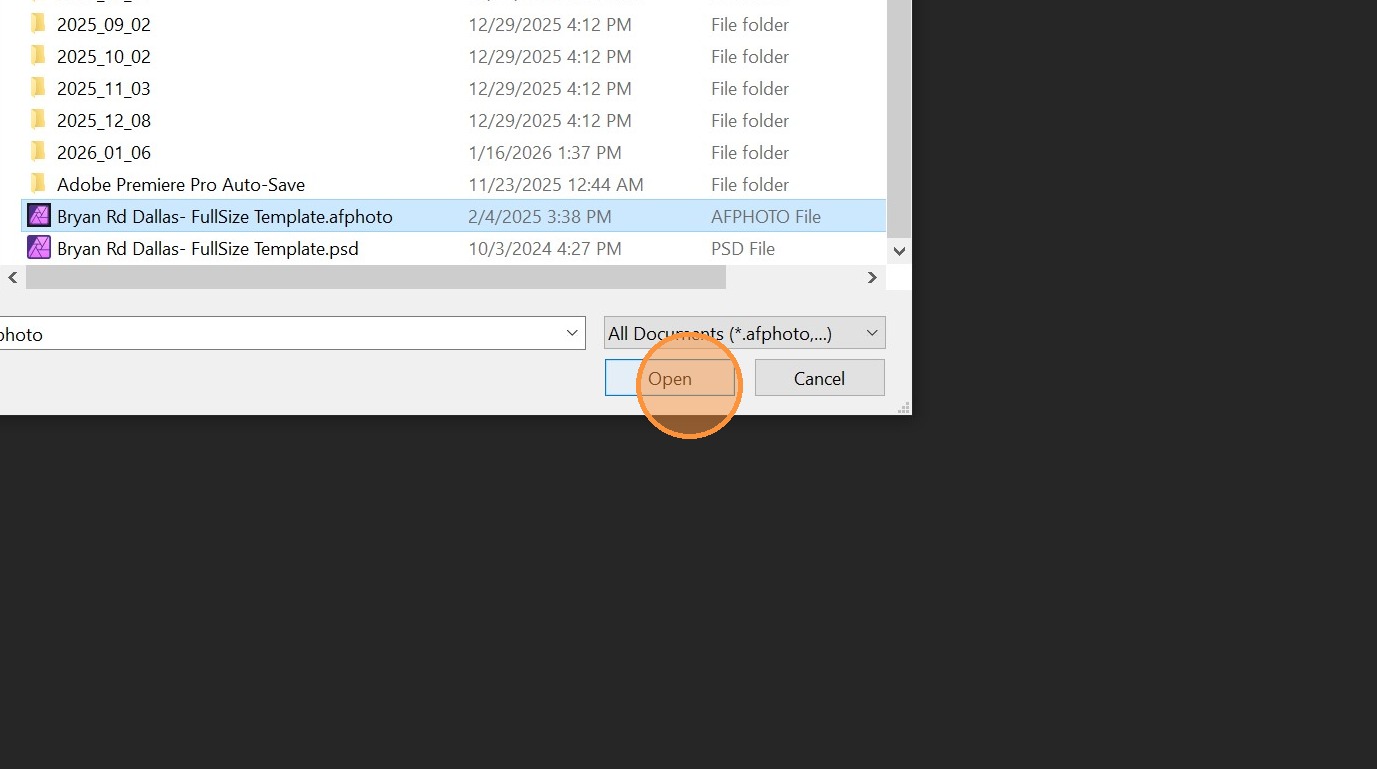
Select the text tool
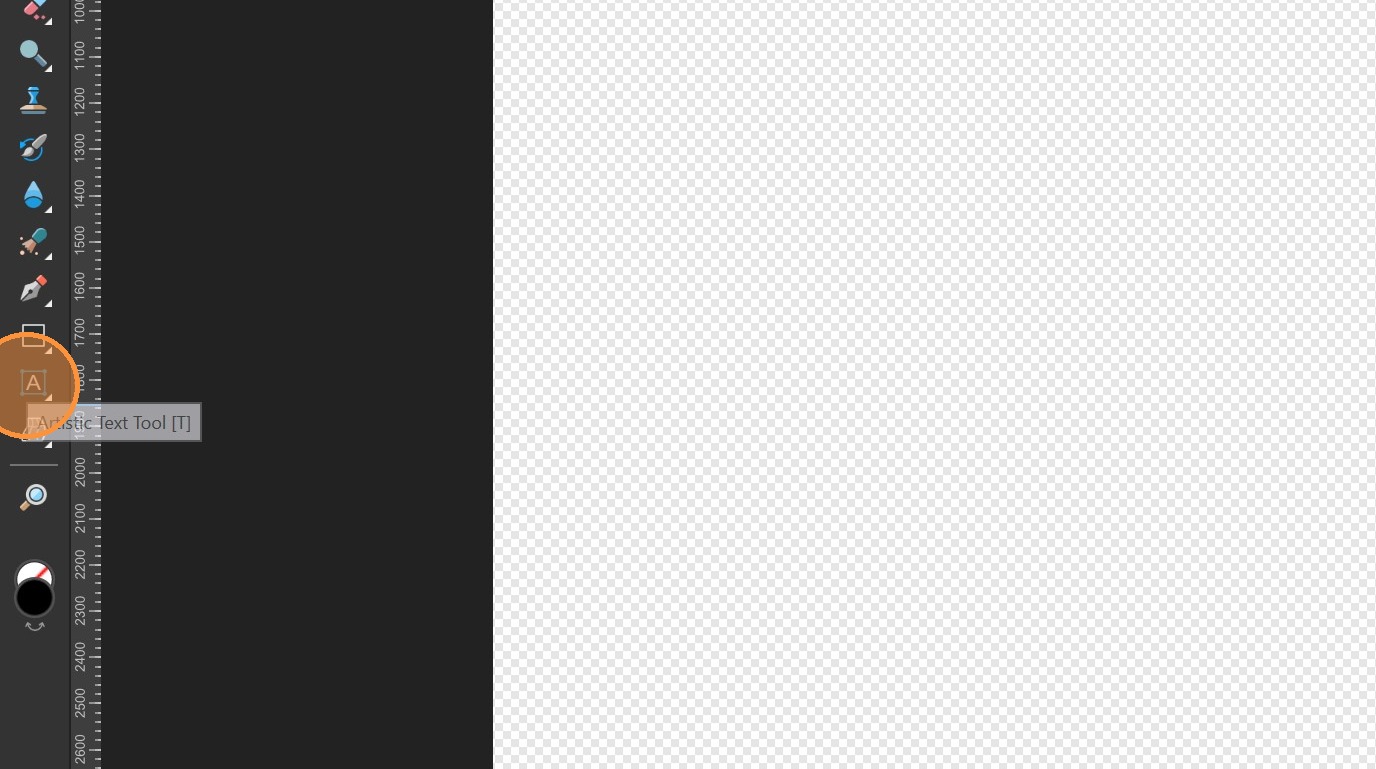
Change the project date to the current capture date,

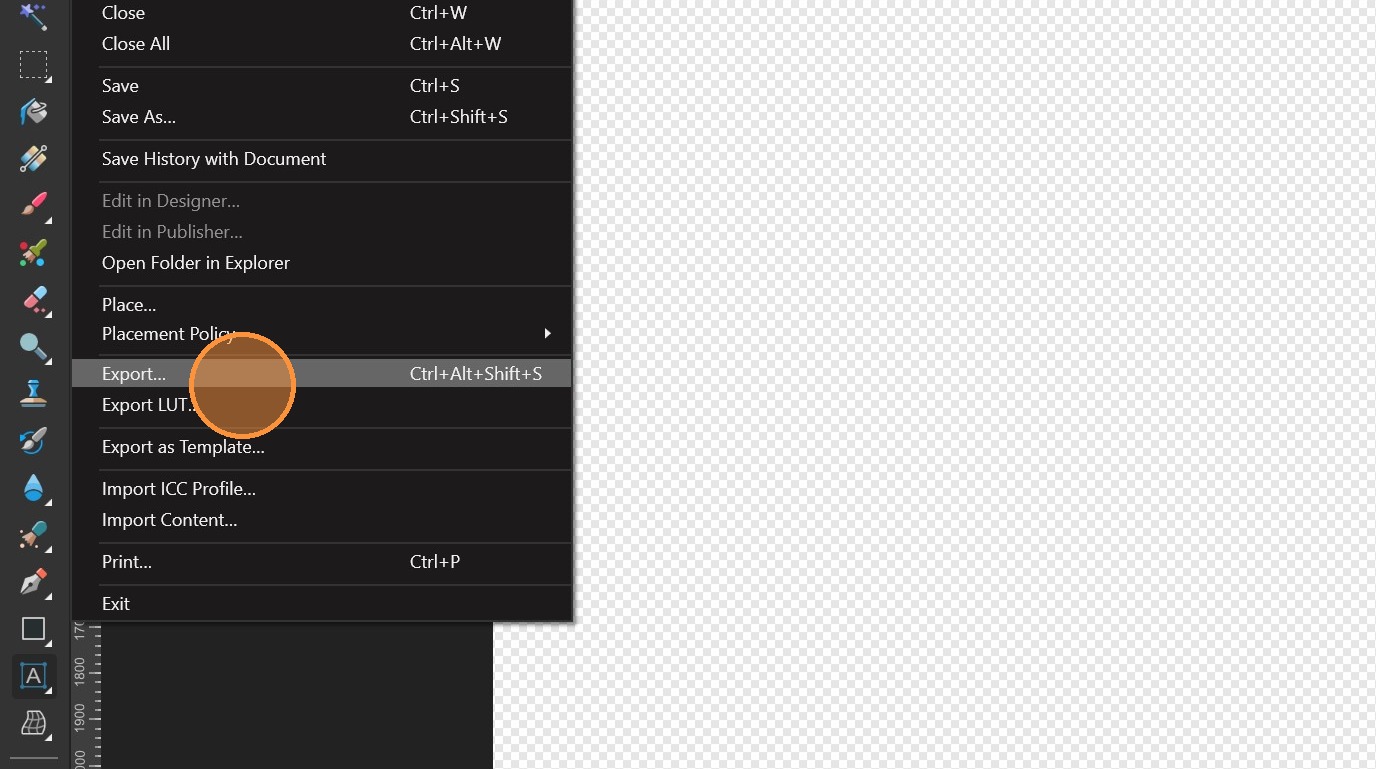
Click "File"
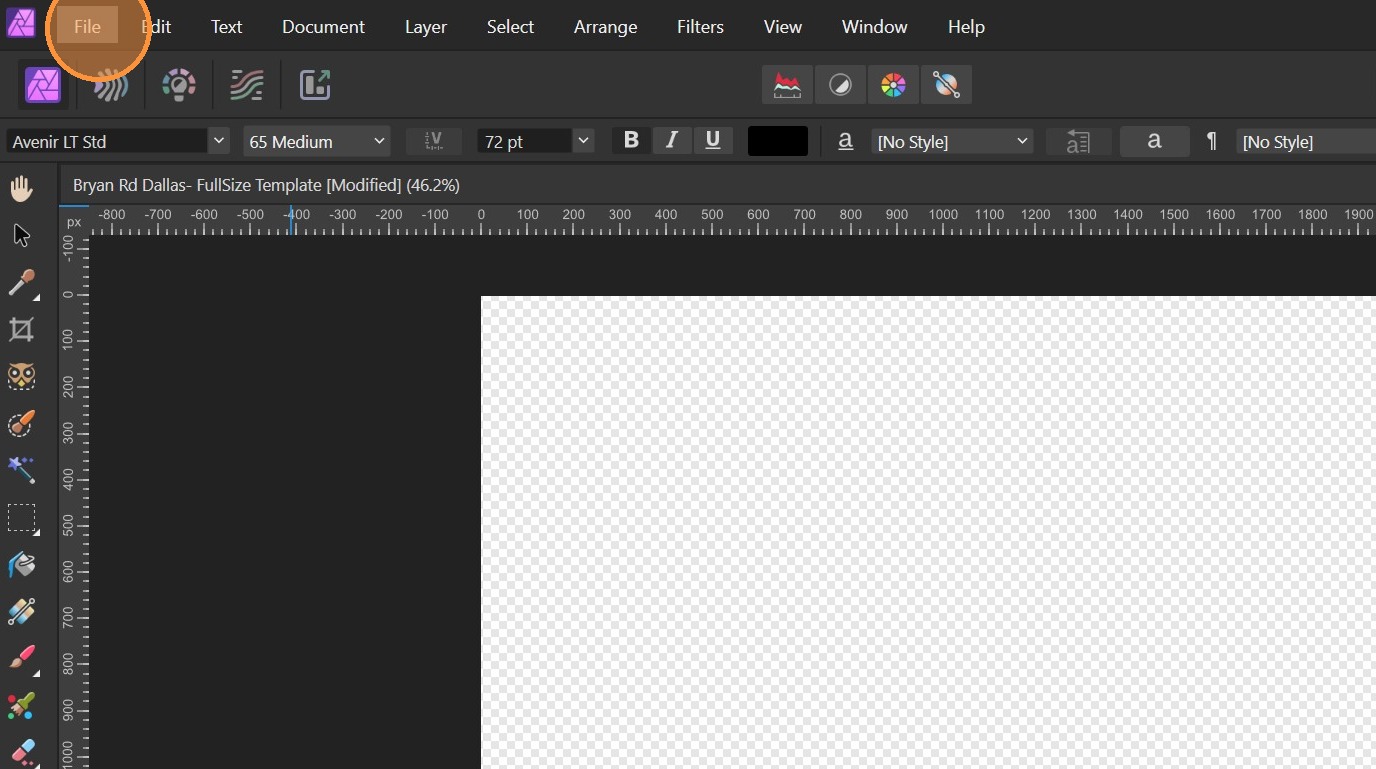
Click "Export…"
Click on the export format dropdown
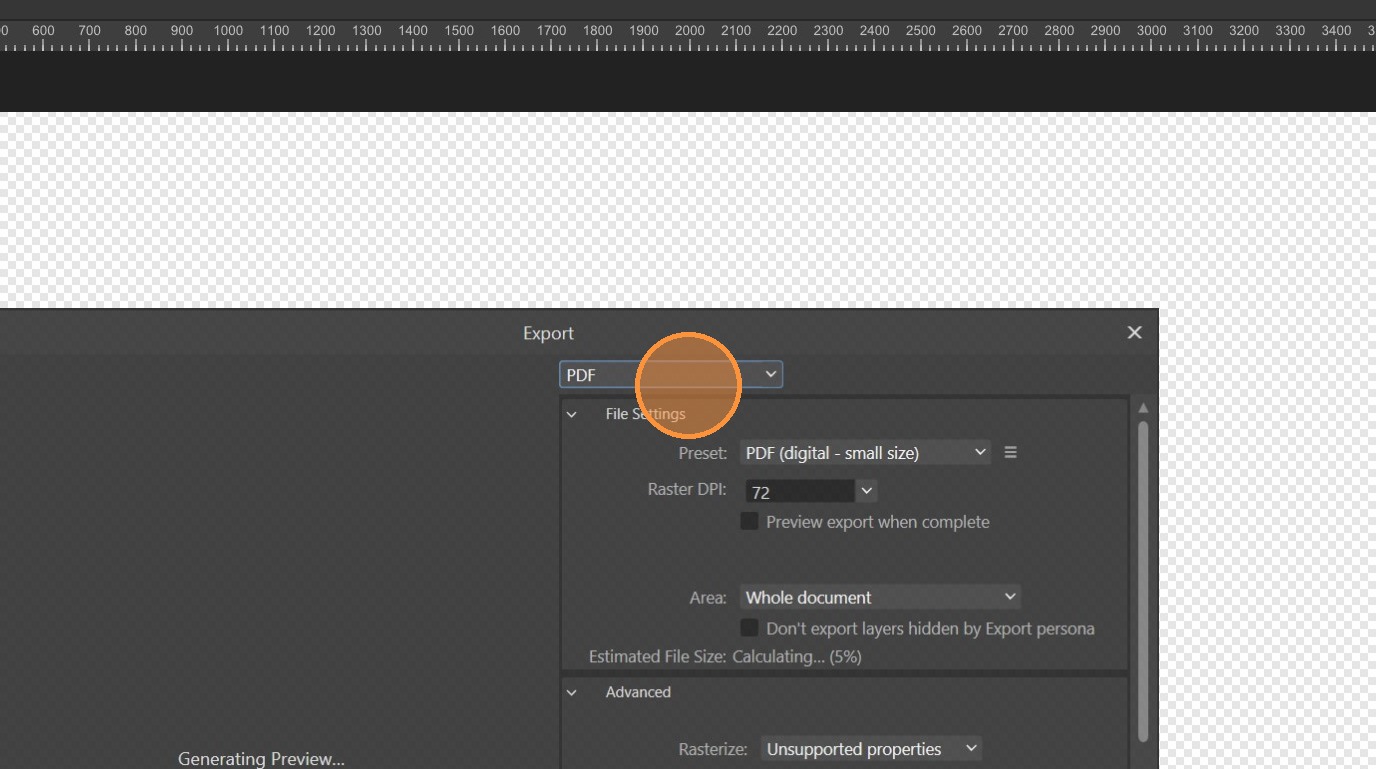
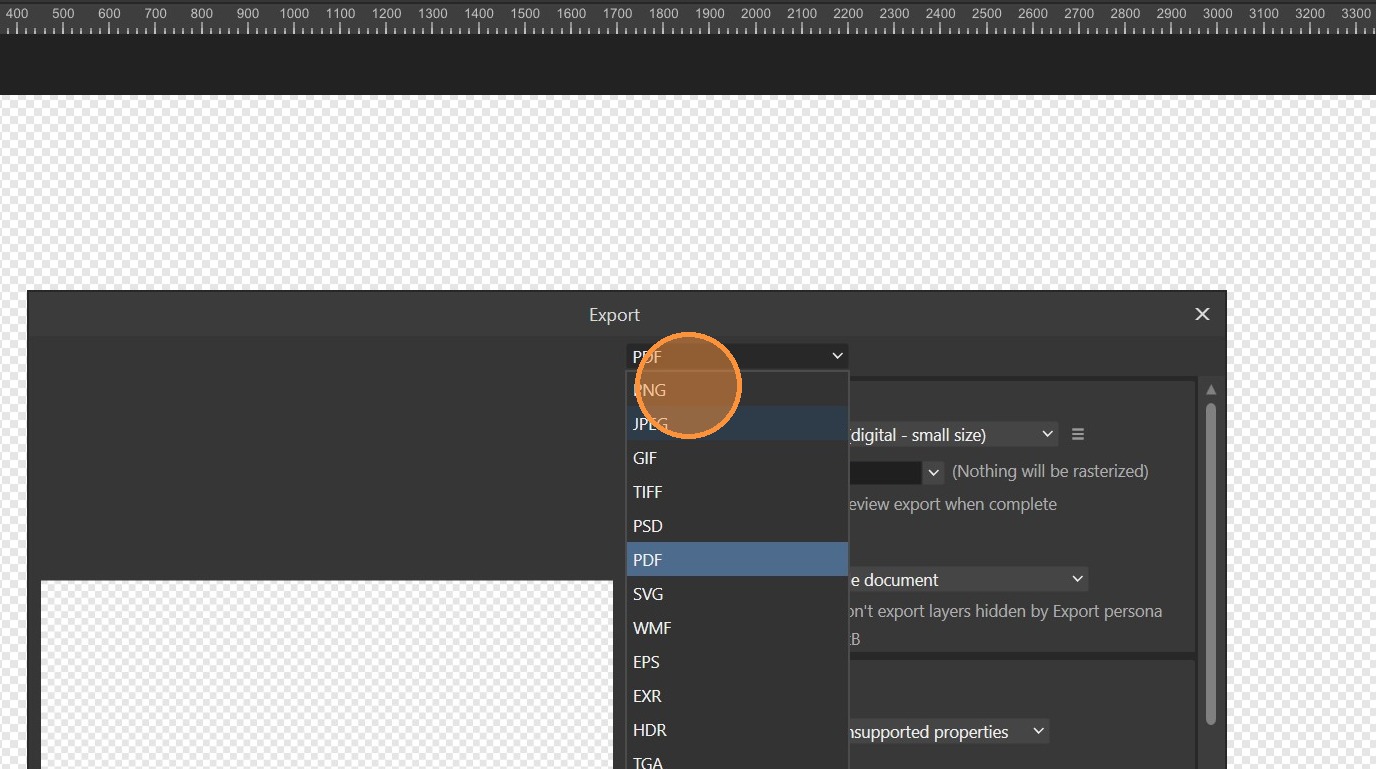
Select "PNG"
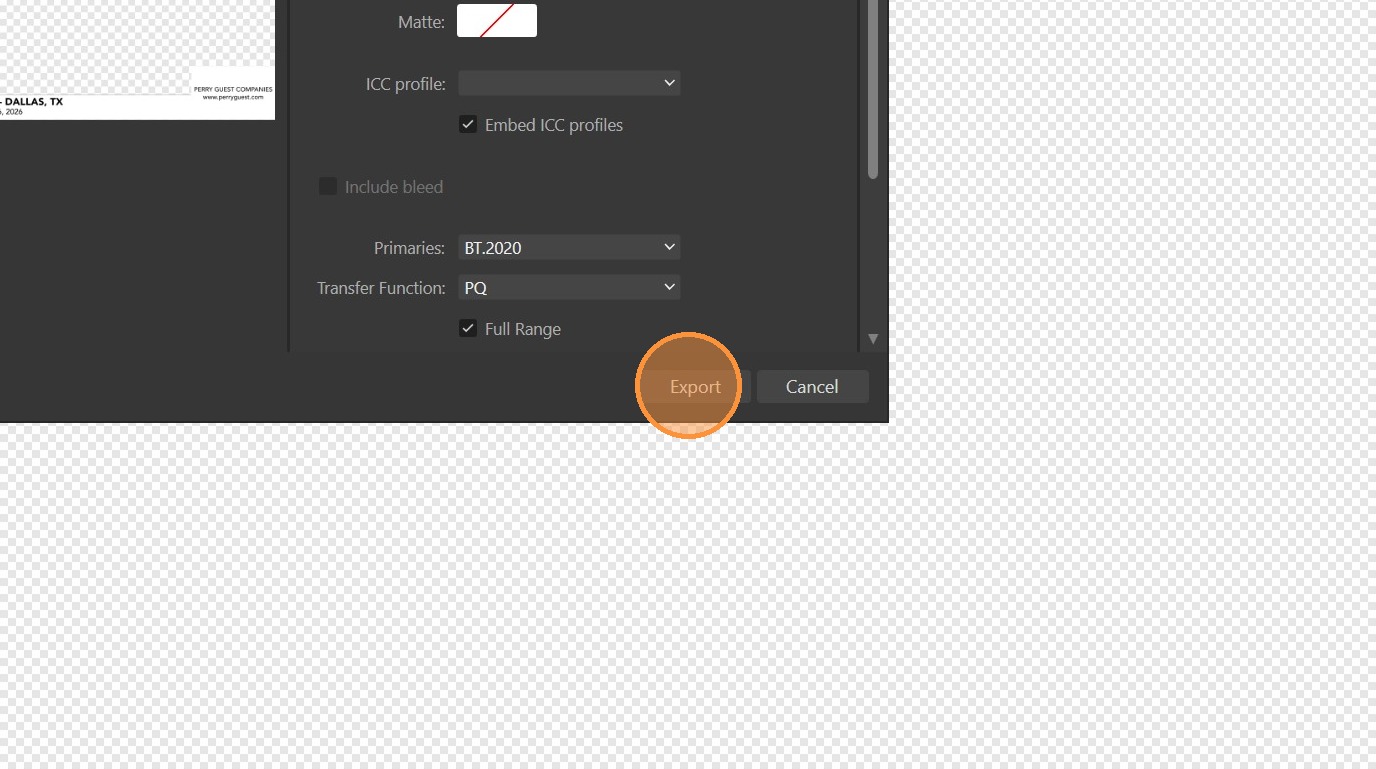
Click "Export"
Navigate to the export folder.
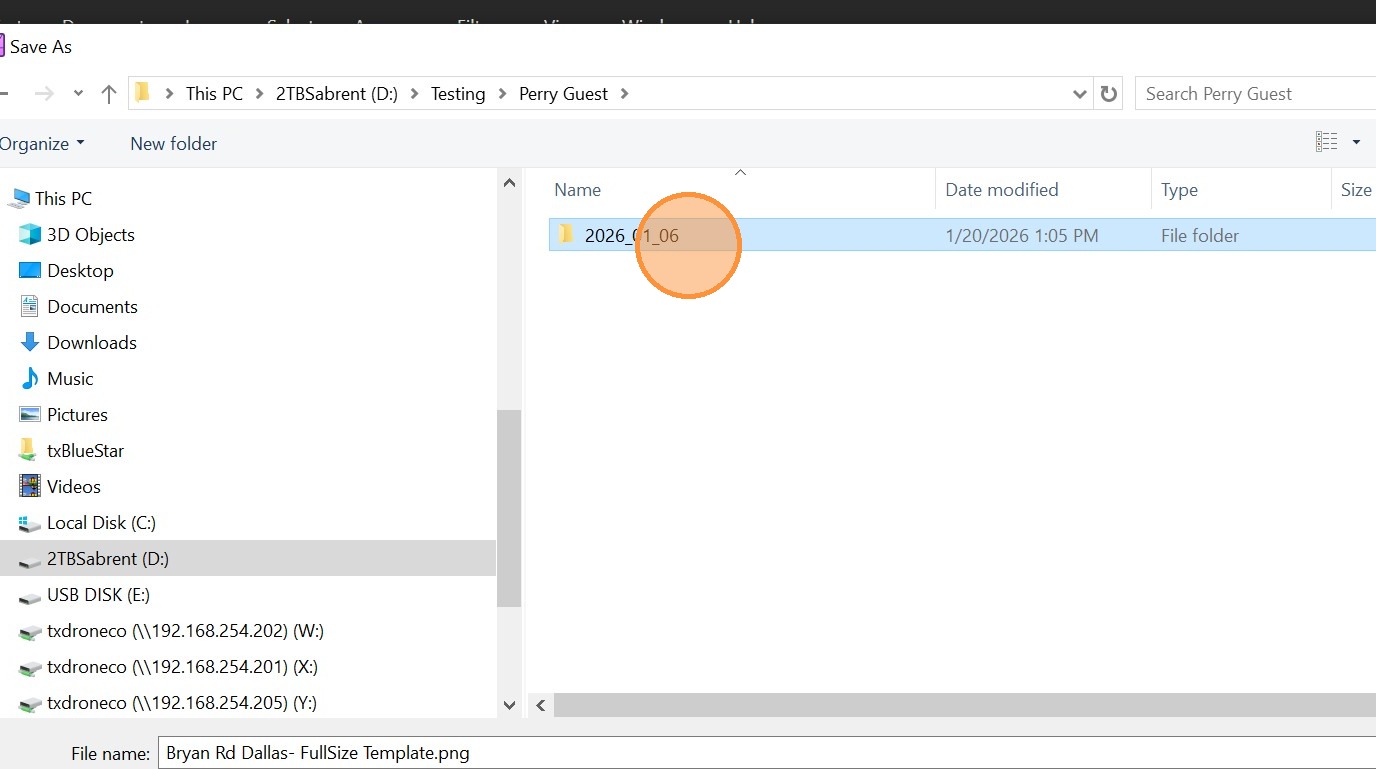
Click "Save"
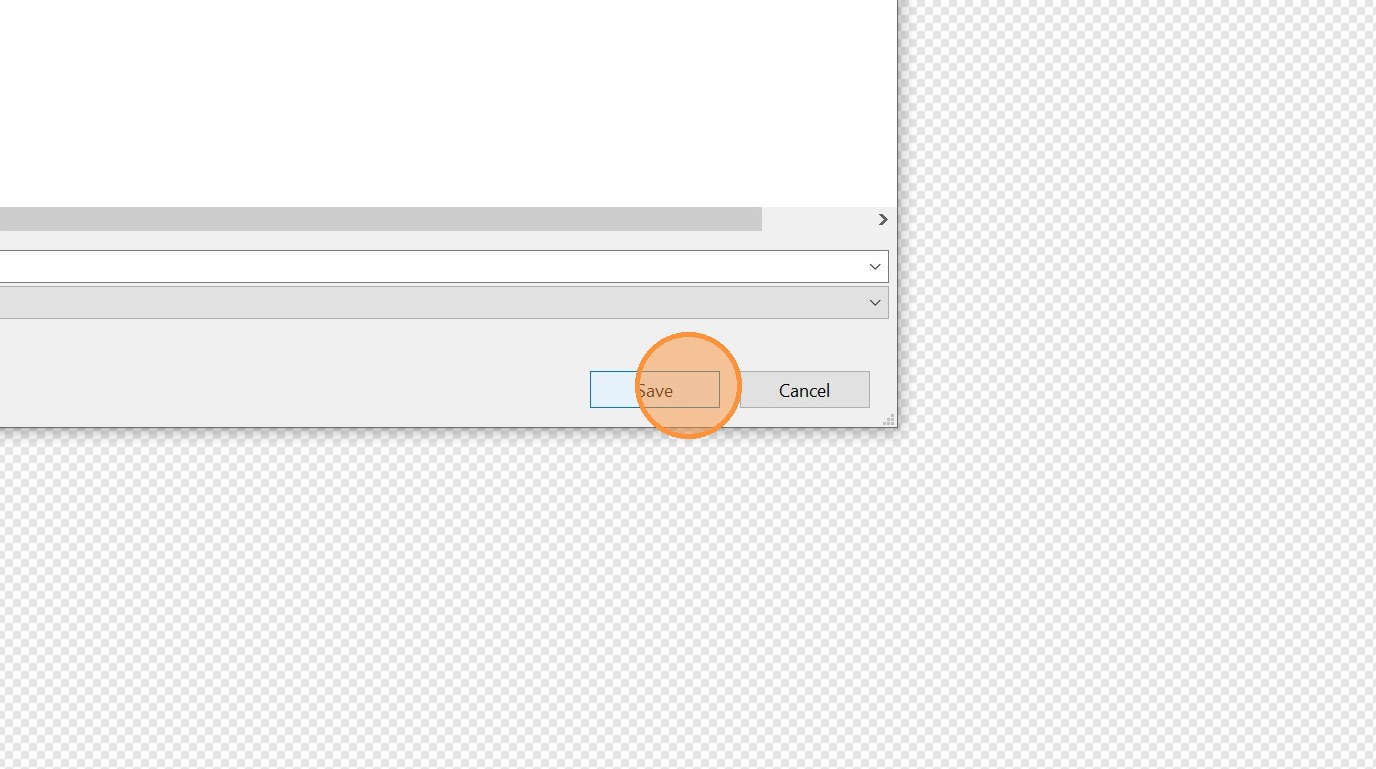
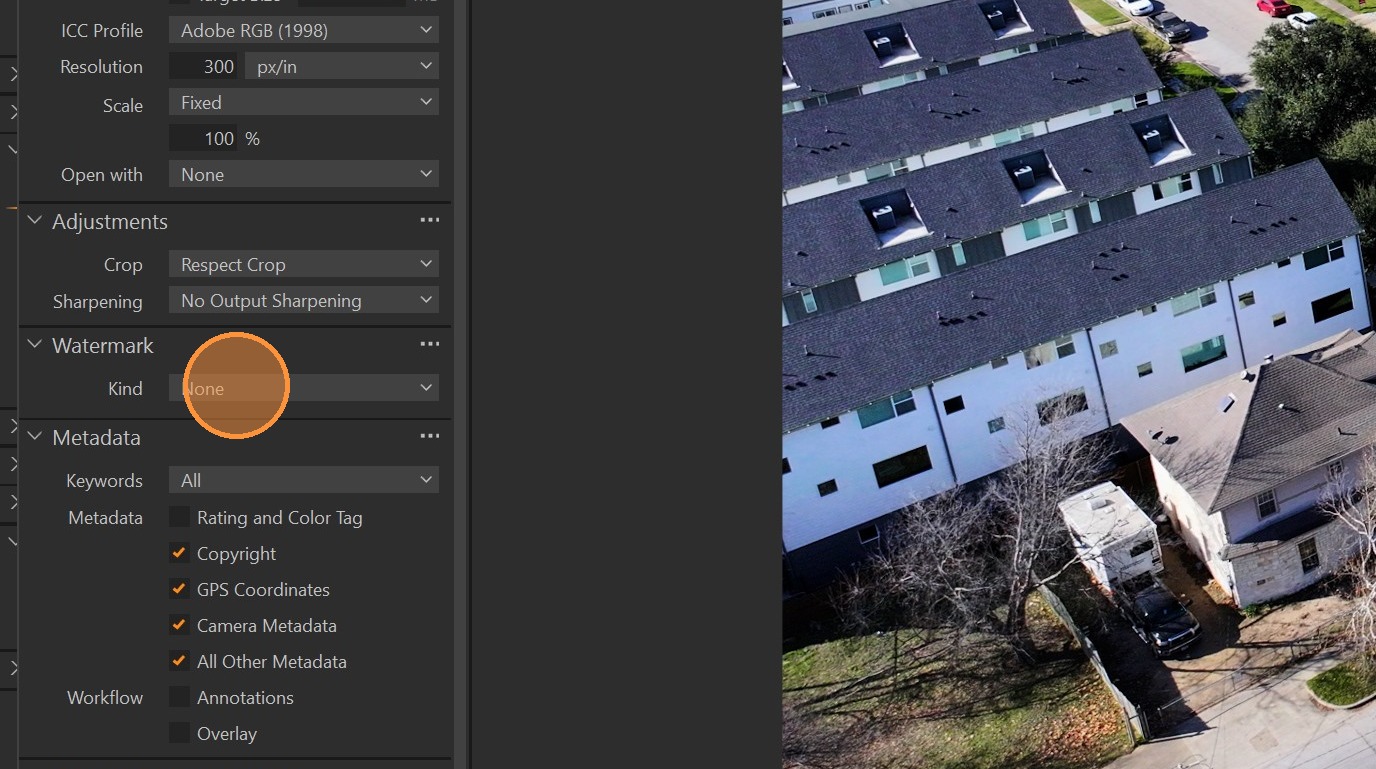
Click the "Kind" dropdown in the Watermark menu and change it to "Image".
Click on the three dots for the file source
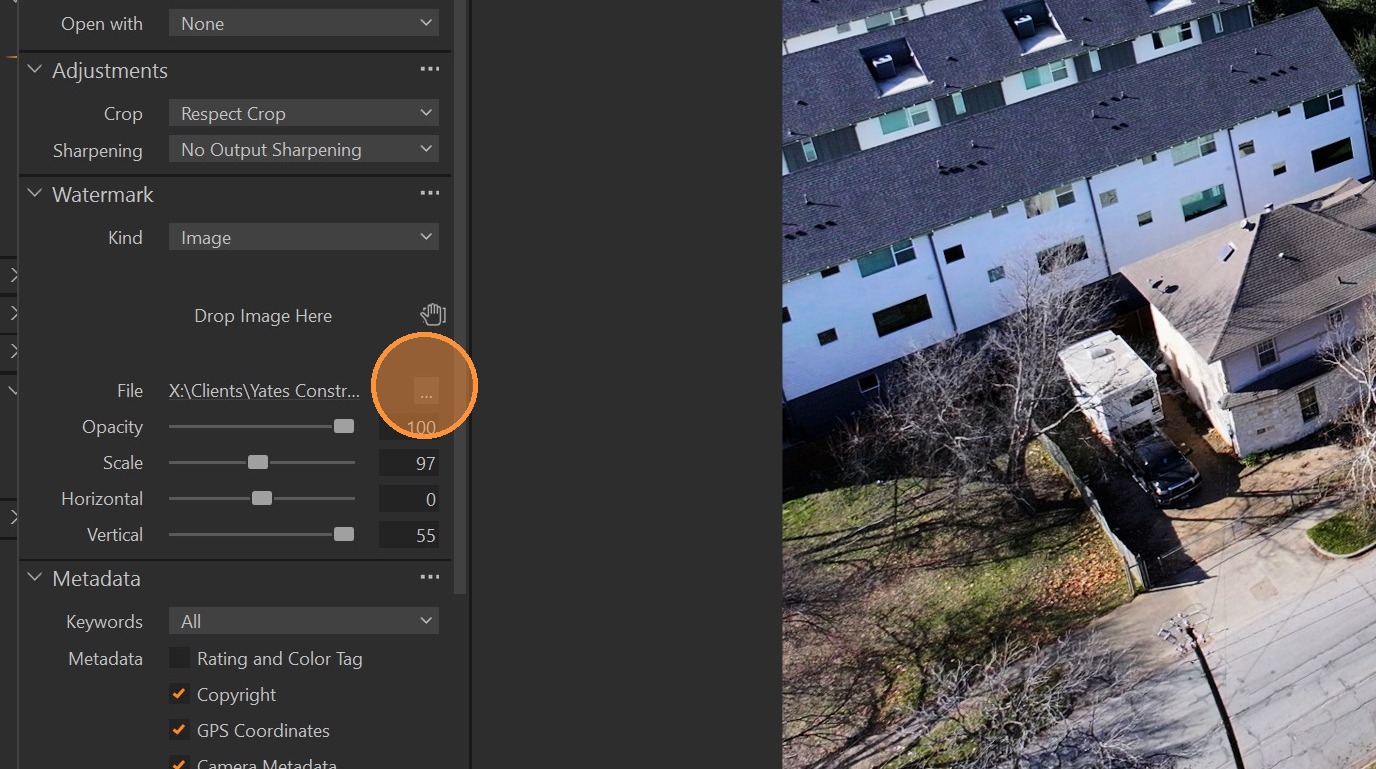
Find the frame file that was exported out of Affinity Photo.
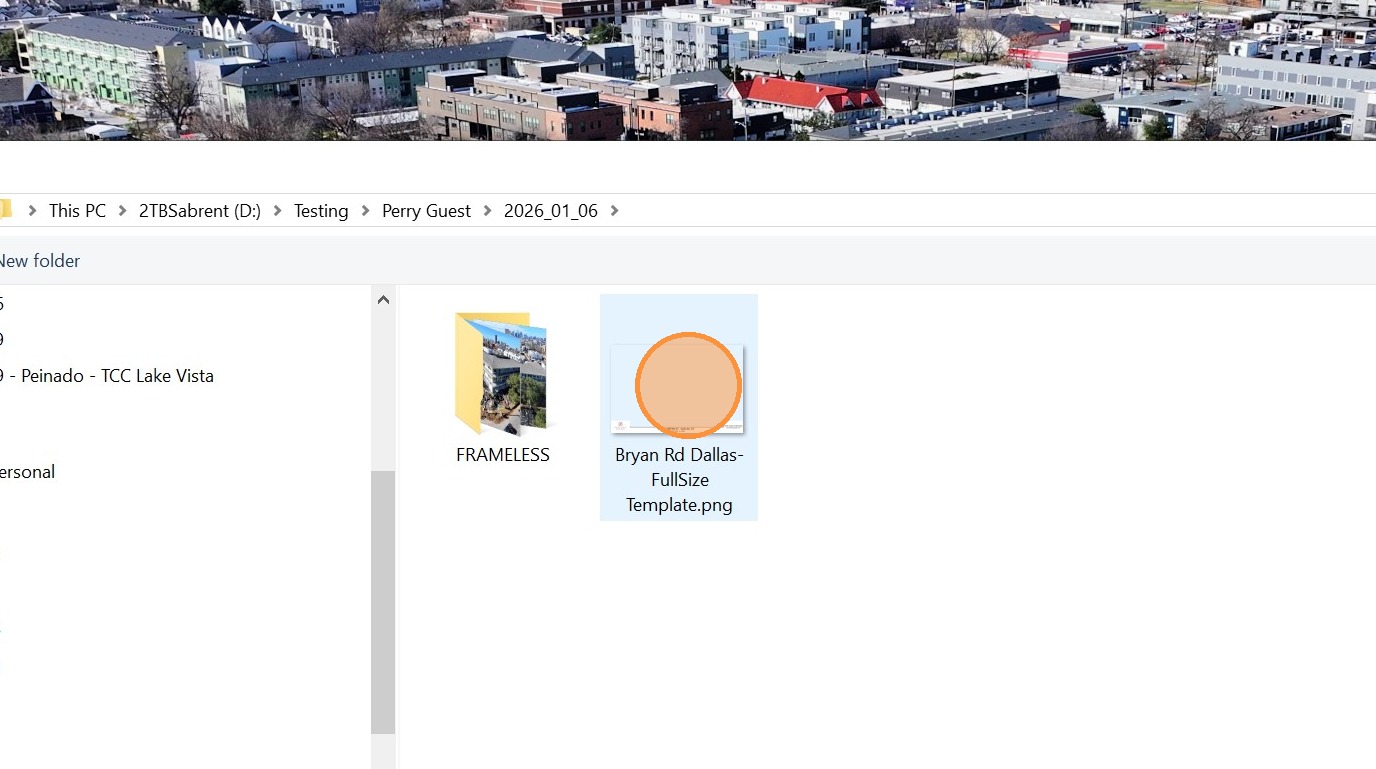
Click "Open"
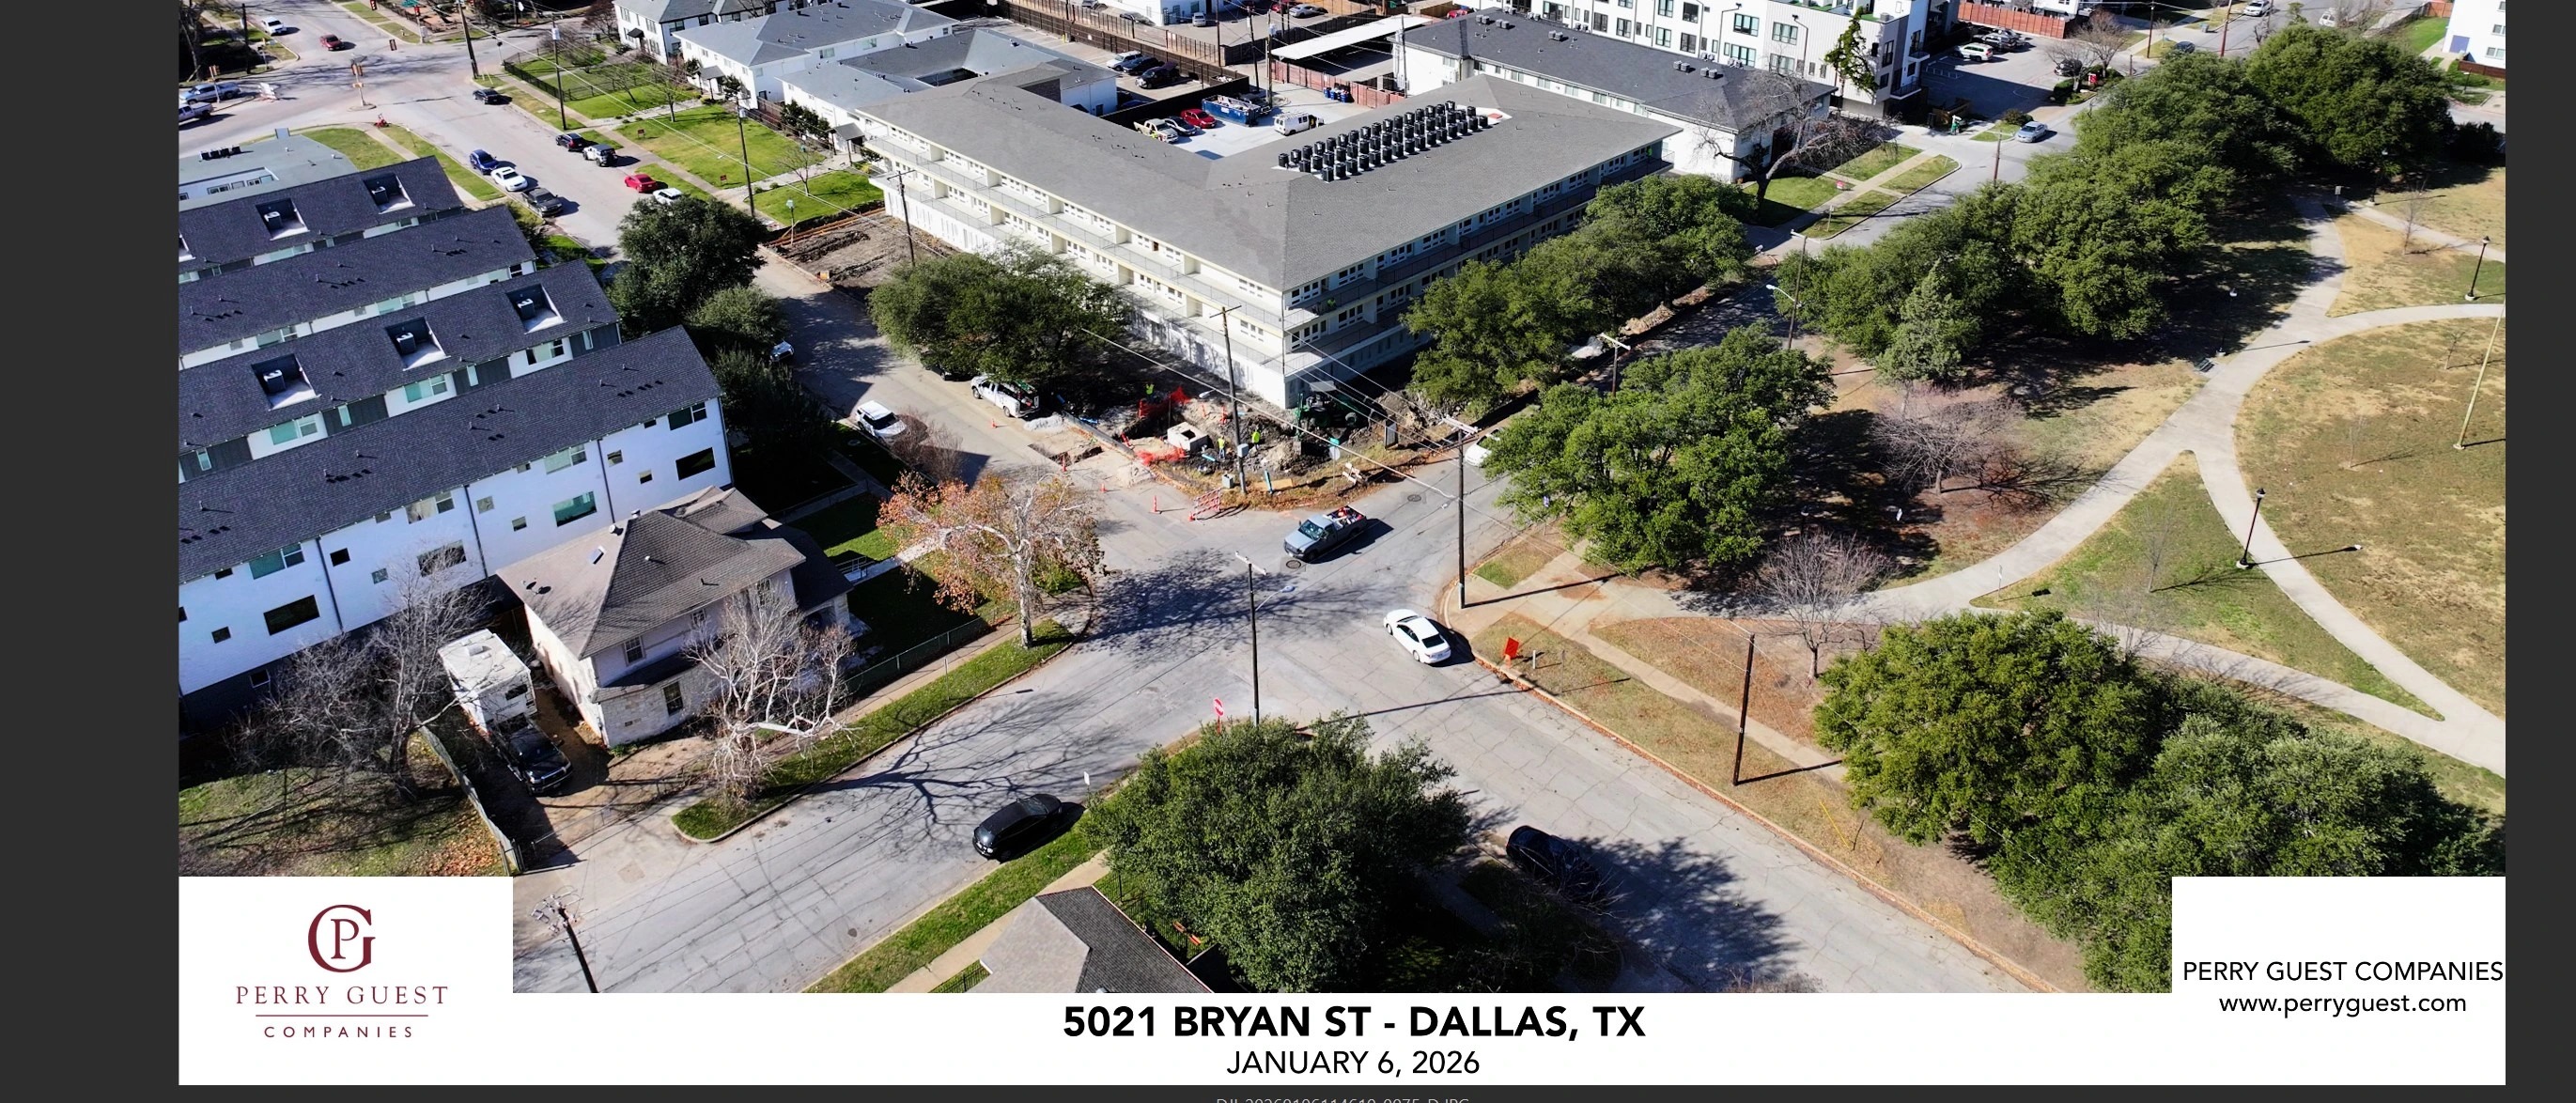
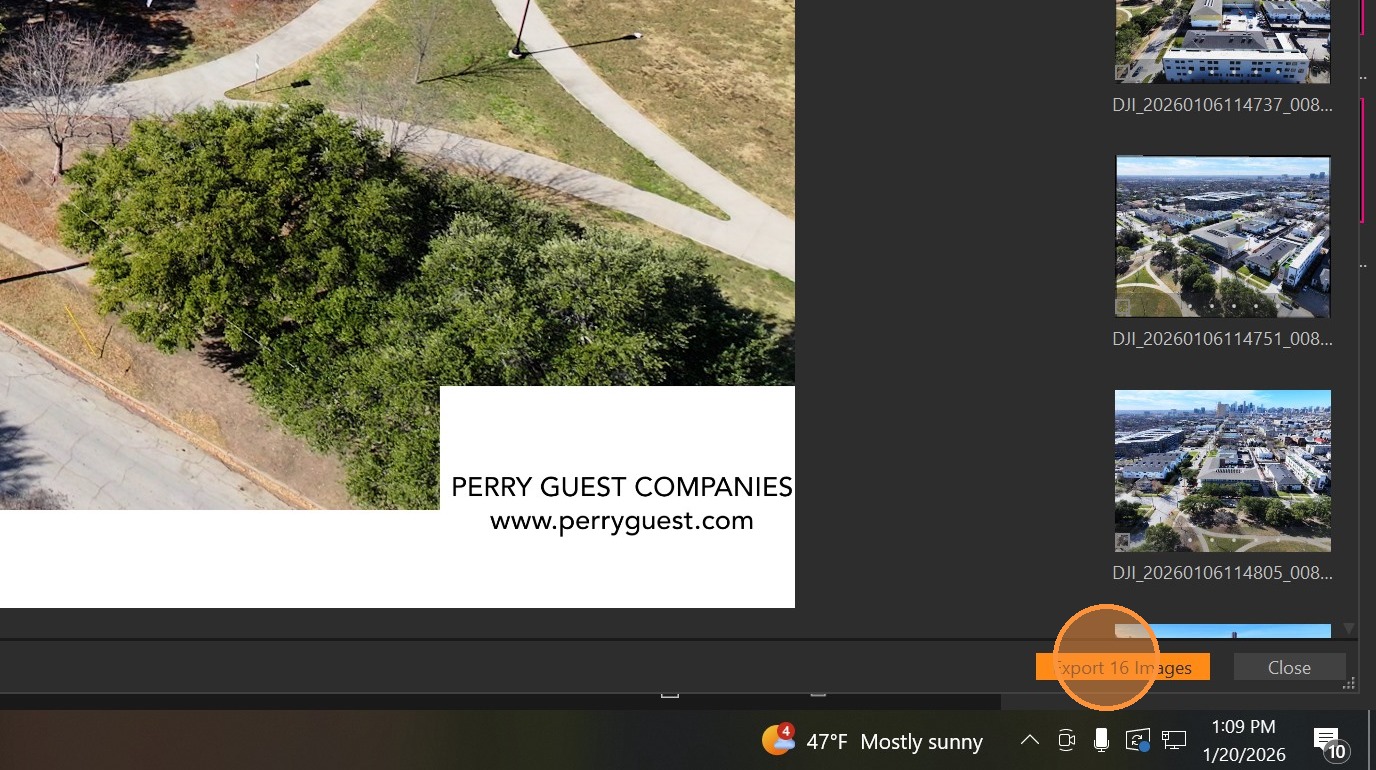
Confirm that the frame leaves no gap on the edges.
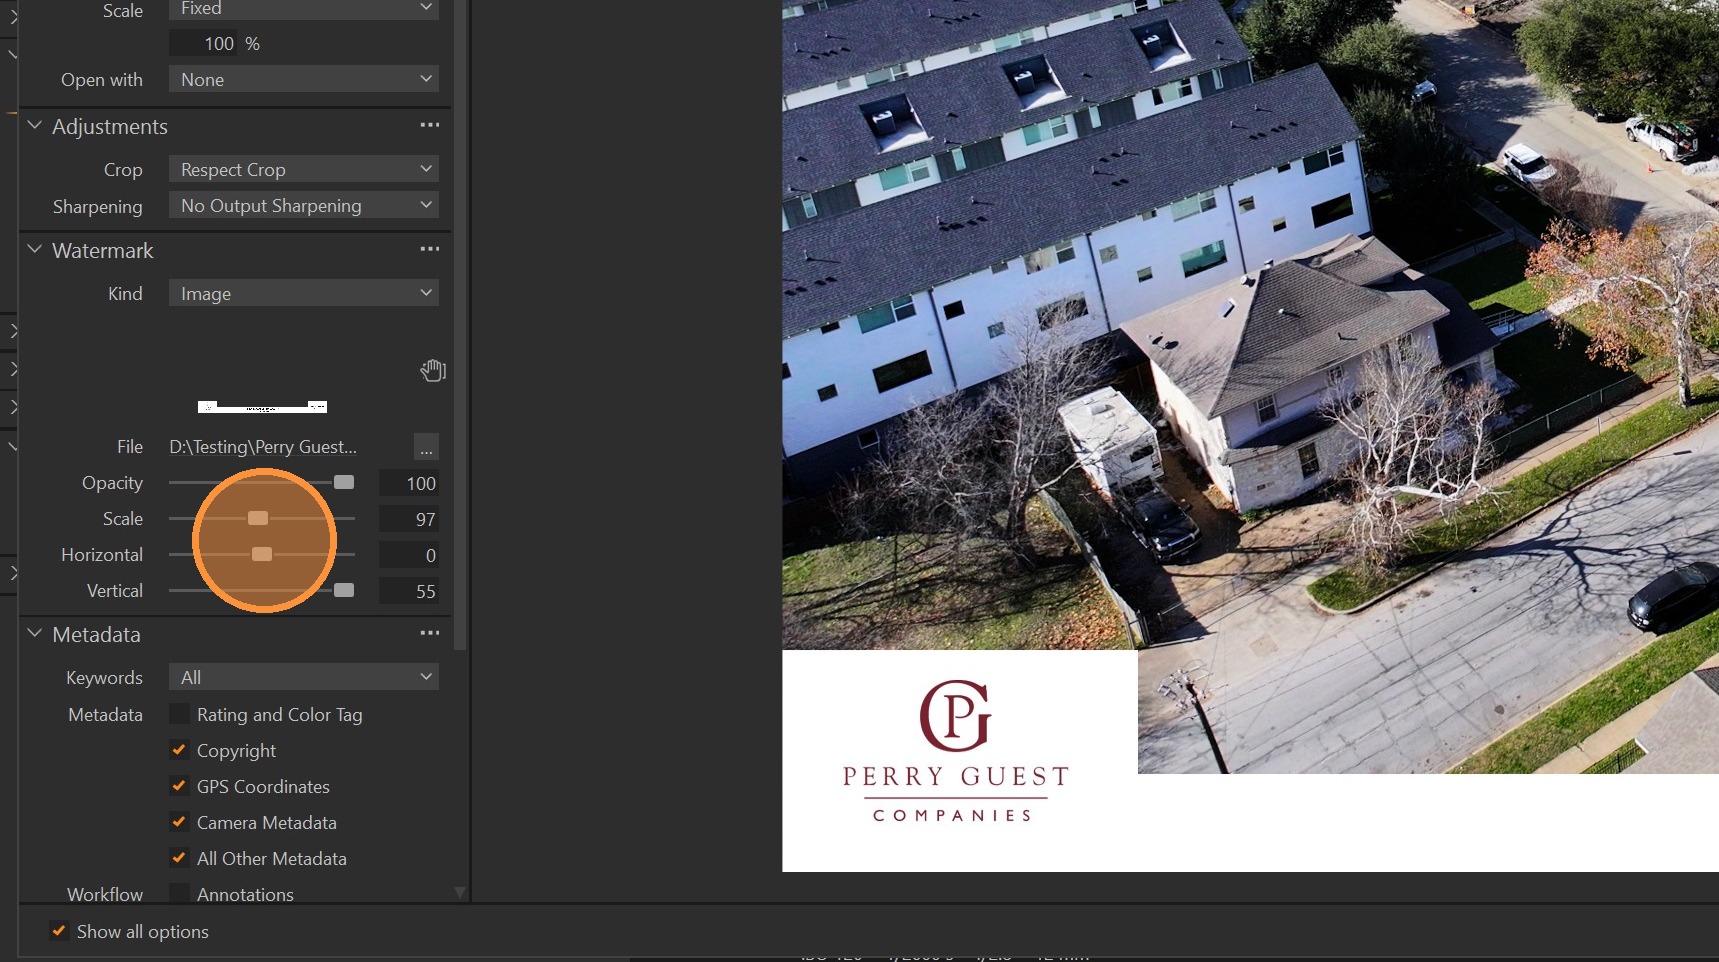
If there are gaps, change the "Scale", "Horizontal", and "Vertical" values until this is fixed.
Click "Export 16 Images"
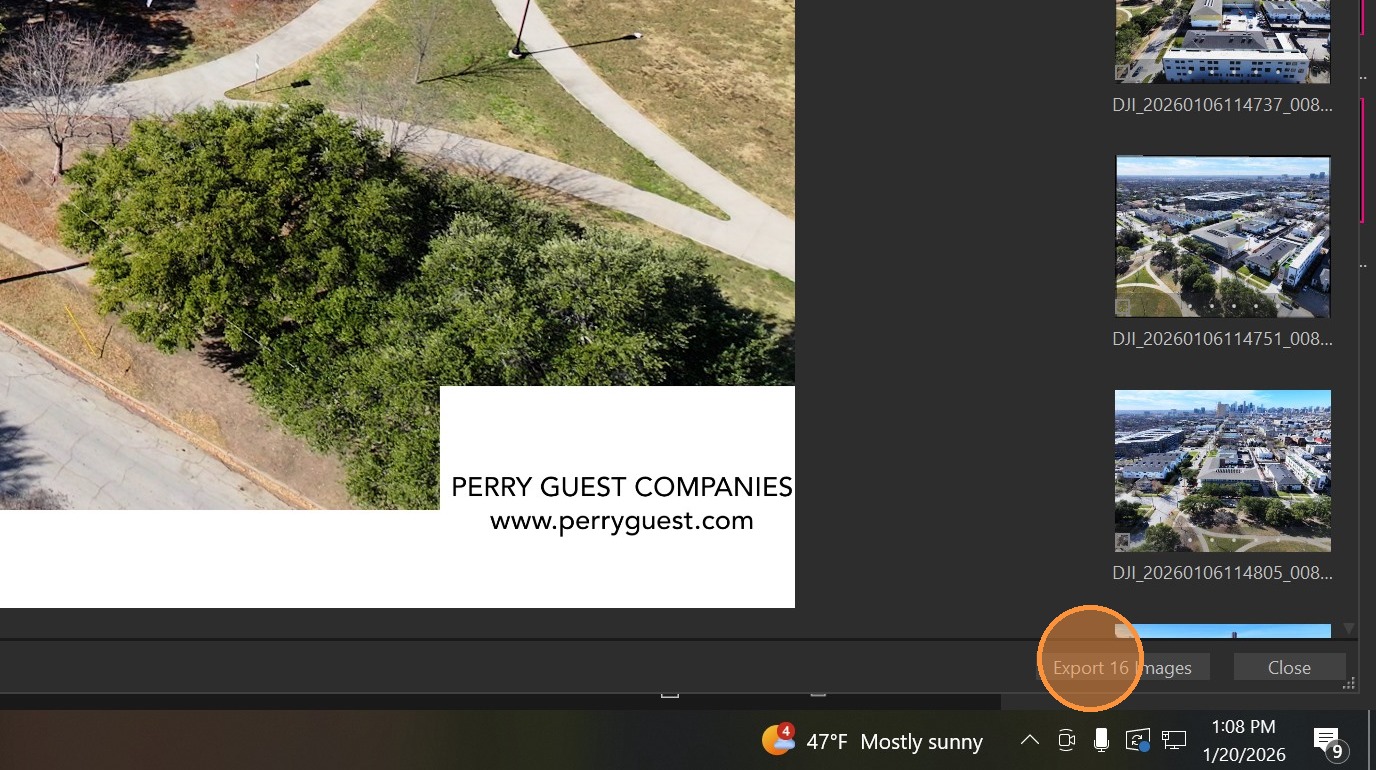
Click "Export"
Change the Subfolder Name to "WEB"
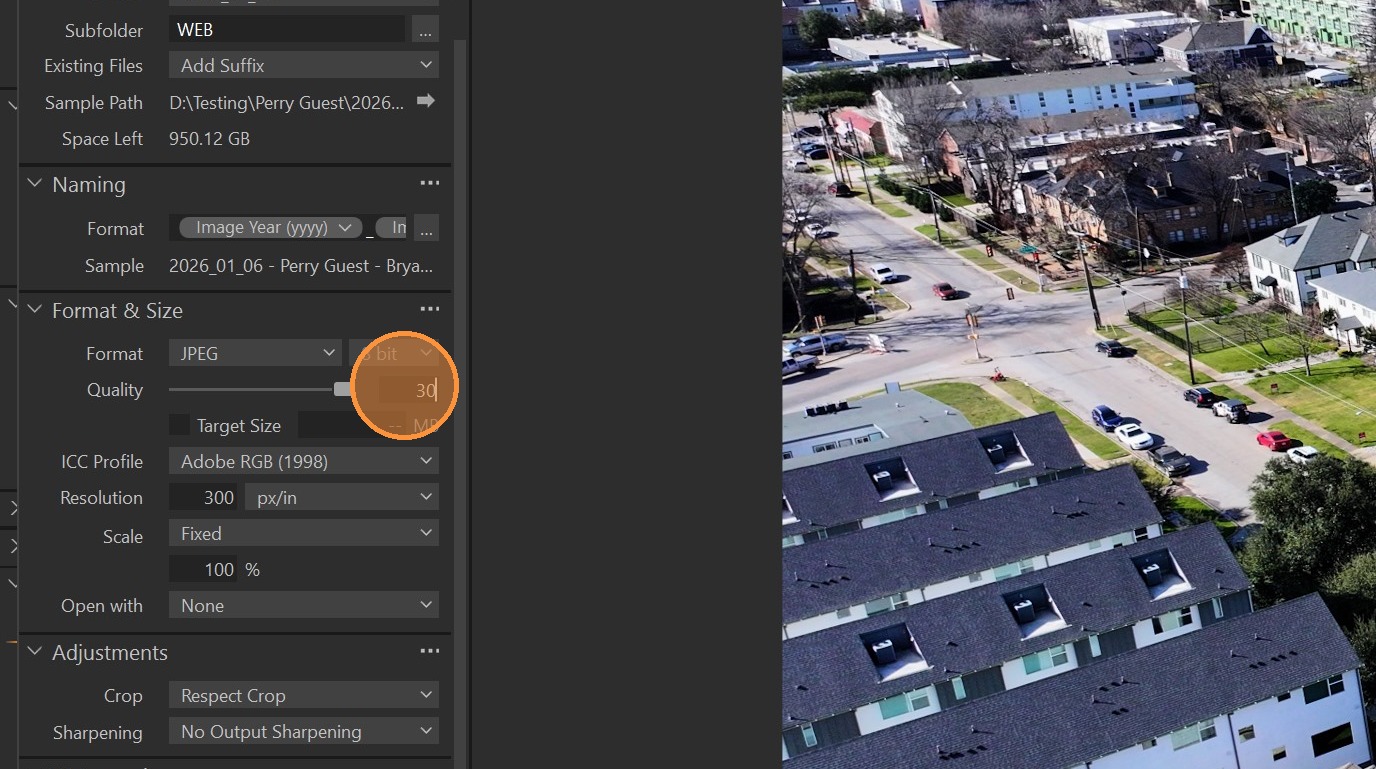
Change the Quality Value to 30
Click "Export 16 Images"
 https://wiki.txdroneco.com/link/215#bkmrk-%23%23%23%23-%5Bmade-with-scri