
Strayos Stockpile WorkFlow
- Navigate to WOS

- Click Project Capture Date

- Click "Current Project Name"

- Click "Checkin"

- In a new tab, navigate to https://app.strayos.com/login
- Login To Strayos

- Click "Texas Drone Co"

- Click "txDroneCo - Demo Sites"

- Click the project you want to work on.

- Click the most recent captured project. Then in your browser tabs right click this tab and click "duplicate".

- Click "3D"

- Inspect 3d Model for Warping, bending, failures.

- Click the blue bar drop down.

- Click the previously captured project.

- Click "Measurements"

- Click 3 dots next to CalPoint.

- Click "Copy to another project"

- Click the most recently captured project.

- Click "Copy"

- Click "Continue"

- Switch to your earlier duplicated tab with the most recently captured project.
- Click "2D"

- Zoom in to point to ensure it is in the same spot as previous project.

- Right-click here.

- Click "Edit"

- Click the "Notes" field.

- Read the project elevation and copy it into the first set of numbers in the notes string. The second elevation should be the elevation you calibrate to. If there are no numbers in the notes, use the EOM reference sheet here to find the projects elevation cal value.

- Highlight the second elevation number.

- Press [ctrl] + [c]

- Click "Save"

- Click this icon - Calibrate Elevation.

- Match up the CalPoint and the calibration tool icon and click.
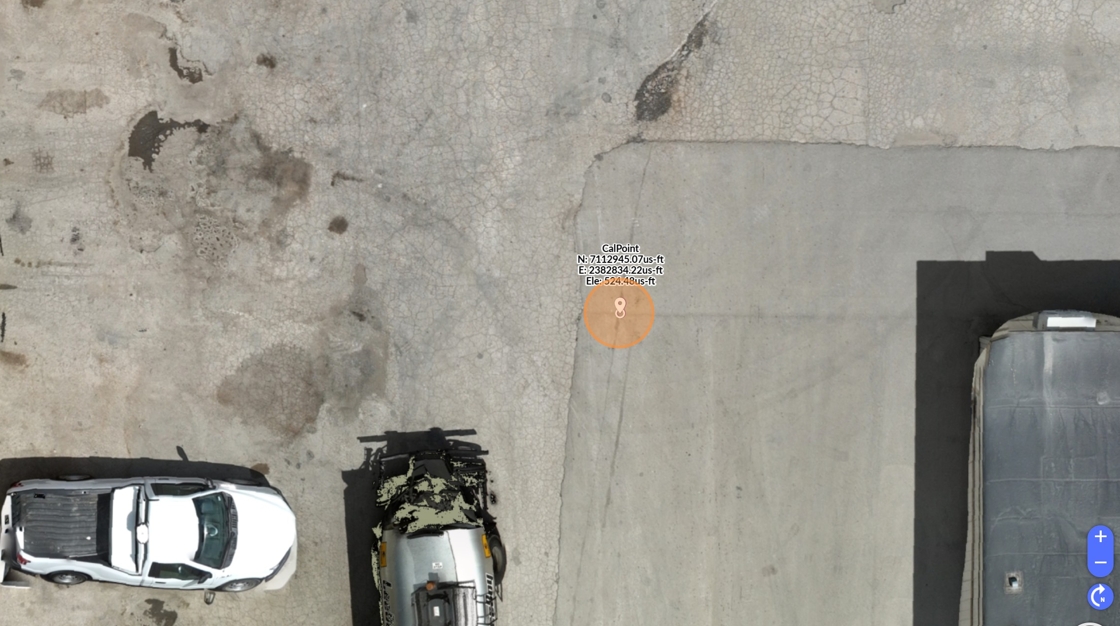
- Click the "Custom Elevation (feet)" field.

- Press [ctrl] + [v]

- Click "Save"

- Click Stockpile Measurement - "Manual"

- Click Copy.

- Click the previously captured project.

- Click "All"
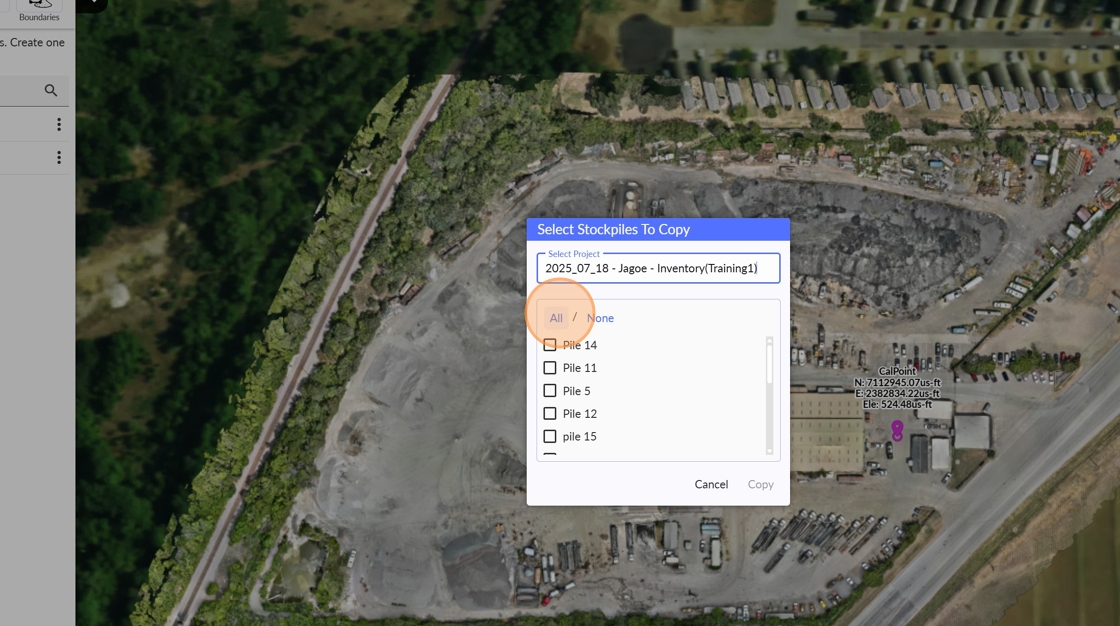
- Click "Copy"

- Refresh browser page
- Click "Design and Layers"

- Click "Layers"

- Click the "Hillshade (DSM)" field.

- Click here.

- Click "arrow_back"

- Click "Manual"

- Click 3 dots

- Click "Find on map"

- Adjust boundary Appropriately

- Select the appropriate model for measurement.

- Select the appropriate measurement method (Generally Triangulated).

- Toggle file off.

- Repeat process until all stockpiles have been toggled off.

- Toggle all piles back on.

- Search entire site for visible piles that do not already have a boundary drawn. We can see several here.

- Begin drawing new piles by clicking "Create".

- Draw the boundary around the pile - Right click to finish boundary.

- Click the "Name" field.

- Type "Pile " Followed by the next unused number for the site.
- Material Type.

- Select the correct material if known, otherwise select a placeholder material name from the list - "DNI" for example. In this case we will use "Test".

- Select a boundary color that is different from surrounding piles.

- Click "Save"

- Make sure the correct model type and measurement method are selected. In this case we will use DSM (Digital Surface Model) & Triangulated.

- Once all piles are drawn we will move to QAQC. First Click "2D"

- Click "compare"

- Select the previous month's capture from left side dropdown menu.

- Click "Aug 18, 2025 | 2025_07_18 - Jagoe - Inventory(Training1)"

- Select the current month's capture from right side dropdown menu.

- Click "Aug 18, 2025 | 2025_08_18 - Jagoe - Inventory(Training2)"

- Click "Enable DSM"
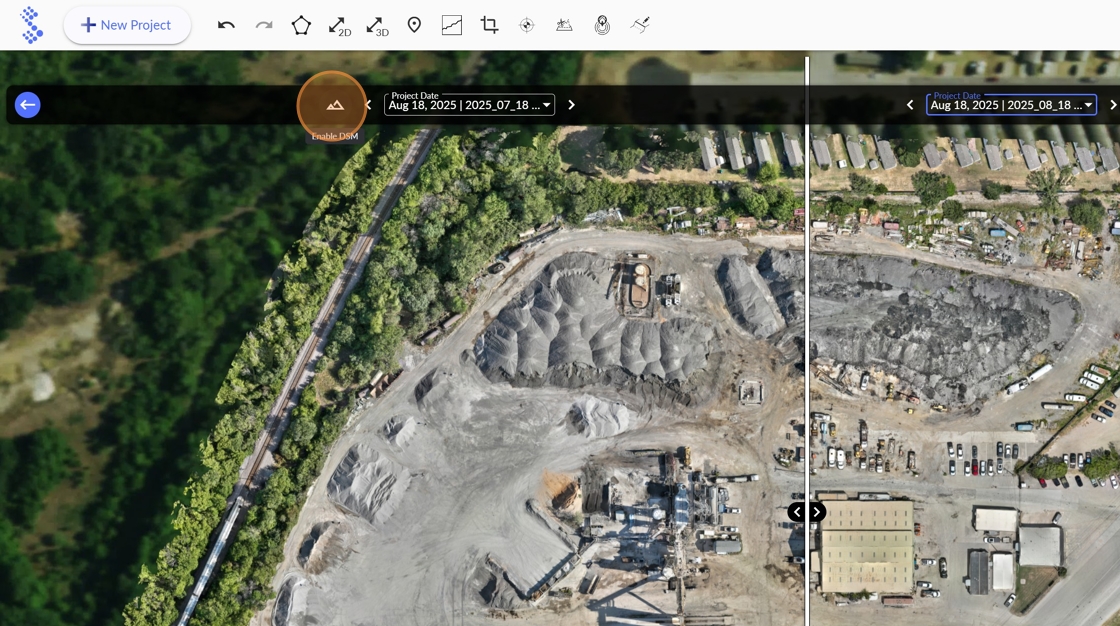
- Click the "Colored Hillshade (DSM)" field.

- Slide the white bar back and forth across the site to identify any unchanged piles.

- Once unchanged pile has been identified click Exit

- Right-click on identified unchanged pile.

- Click "History"

- Ensure that the numbers are within 2% of previous capture.

- Click "close"

- Click "Stockpile Measurement"

- Click "Manual"

- Click "Export Report"

- Click "Custom"

- Click this icon.

- Switch to tab to previously captured project - Project - 2025_07_18 - Jagoe - Inventory(Training1)"
- Click "Stockpile Measurement"

- Click "Manual"

- Click "Export Report"

- Click "Custom"

- Click here.

- Create the QAQC excel document from the 2 downloaded files and perform QAQC.
- Switch to tab Project - 2025_08_18 - Jagoe - Inventory(Training2)"
- Click "Export Report"

- Click "Custom"

- Click "person"

- Click the "Report Title" field.

- Type in the capture time - you can find this by looking the the data folder and noting the first image capture time and last image capture time. In this case it will be "Flown: 815am - 8:23am"
98 A. Click "Save"
 98 B. Click the 3 line button on the left and toggle on the following.
-"Include Bottom Type"
-"Include Material Summary"
Hit "Save".
98 B. Click the 3 line button on the left and toggle on the following.
-"Include Bottom Type"
-"Include Material Summary"
Hit "Save". - Adjust the orthophoto until it is as large as can be while still showing all piles on site.

- Click this icon. (PDF EXPORT)

- Click this icon. (CSV EXPORT)

- Open your download folder and open both reports to ensure the generated properly. Click "Convert" when prompted on the csv and hit save.
- Move the downloaded reports to the correct client folder.
- Navigate back to the project in WOS and Click "Check Out"

- Click here.

- Click "QAQC"

- Click "Submit"

- Switch to tab End of Month - Google Sheets"
- Navigate to current Data processing tab

- Click "Complete" checkbox next to your project.

- Move to next project.
No comments to display
No comments to display